There's a bit of a trick to everything with computers. Things are relatively straight-forward in the assembly process, but as with any trade skill, we begin to pick up small tweaks and expeditious build methodologies that can aid in the overall process. The same goes with thermal compound / thermalpaste: It's easy to apply, but doing so correctly takes learning from someone else.
In this quick-reference guide, we'll provide a video tutorial of how to clean a CPU of thermalpaste and how to apply new thermal compound, but additionally, we'll cover how thermalpaste works and why it's recommended.
Before all else, here's the video guide for thermalpaste removal and application:
How does thermalpaste work? Do you need thermal compound?
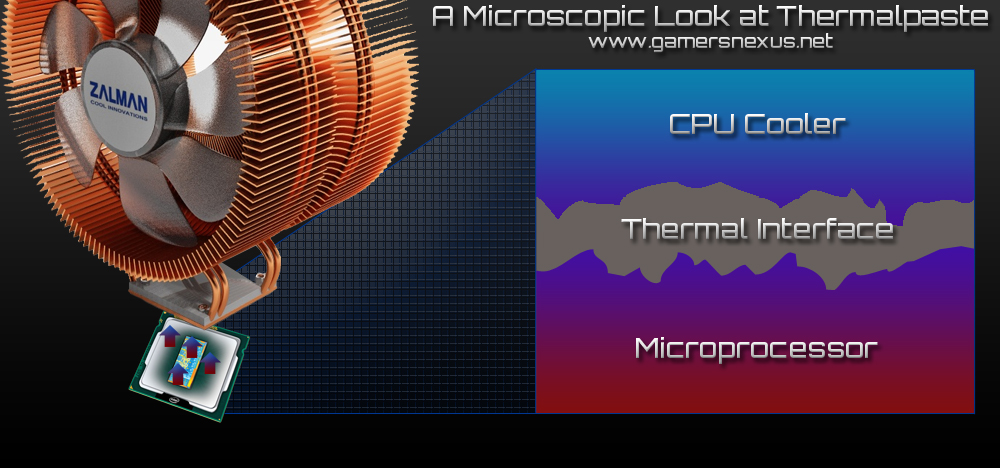
Thermal compound (Thermal Interface Materials, or TIM) is often measured by its heat conductivity, which serves as the only outstanding "spec" for the compound. By filling microscopic air pockets and "divots" in between the heatsink and the device - in this case, probably a CPU - the thermalpaste will provide a cleaner, more constant connection between the two components, thus allowing better transfer of heat to the heatsink. The whole idea, of course, is to transfer the thermal energy from the CPU to the heatsink, which is then often dissipated through complex heat routing and cooled by a fan.
The above is an exaggerated representation of what's happening on the surface of the CPU and cooler. The "jagged" ridges represent all the tiny divots and imperfections on the two surfaces. The thermal interface (your compound) will fill the holes to connect the two surfaces).
Due to manufacturing imperfections, the CPU and heatsink will almost always have imperfectly flat surfaces. It'll feel flat and smooth to the touch, but every grain and dip on the microscopic level will significantly impact the CPU's ability to cool without a little help. That's where the thermalpaste comes into play. It fills those cracks and provides a smooth, constant surface through which it can transfer heat. Higher thermal conductivity ratings will aid in the conduction of heat to the heatsink. Thermal conductivity is measured in W/mK for thermal compound, or watts per meter Kelvin.
Common thermal conductivity ratings for computer thermalpaste will range from ~1.5W/mK to 6W/mK, where higher is more conductive and thus better at transfer of heat. There is thermalpaste that exceeds 6W/mK, of course, such as Arctic Cooling's MX4-20G, rated at 8.5W/mK. For the purposes of most system builders, Arctic 5 or Antec's Formula 6 are the best cost-to-performance options out there. Serious overclockers tend to prefer products of a thermal conductance capacity similar to the MX4-20G's, though in their cases, it is also beneficial to lap the CPU and apply the heatsink directly to the copper.
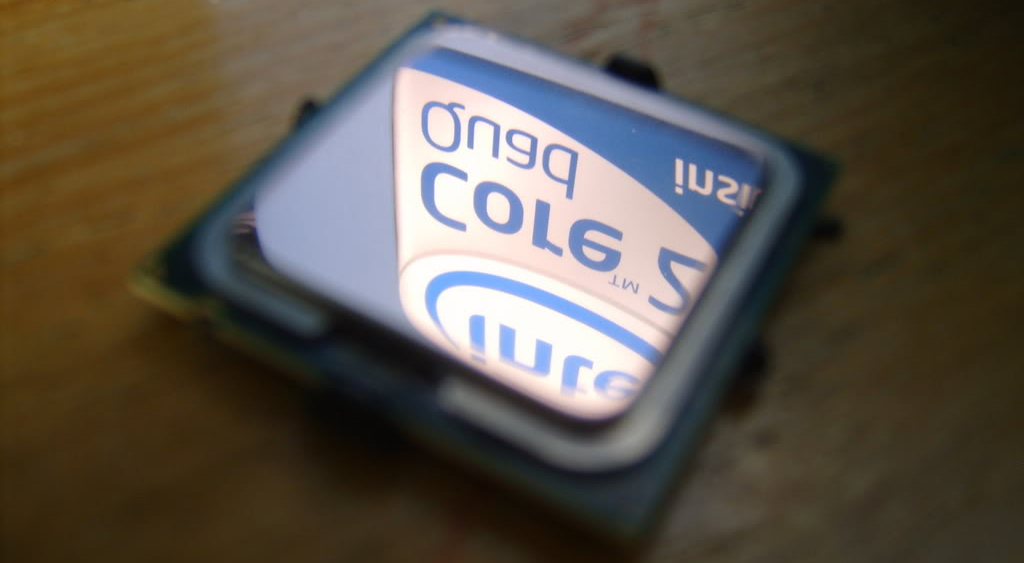
 A lapped CPU, mirror finished, by w3bbo of the Overclockers forums.
What type of thermalpaste is best?
There are numerous types of thermalpaste -- you'll see diamond-based compound (which uses microscopic diamond fragments to amplify cooling ability), silicon-based compound, metal-based compound (silver), carbon compound, and ceramic-based compounds.
A lot of stock paste is of the silicon-based family, and ships at around 1.5W/mK; this compound is pretty poor in performance and is primarily advantageous for its affordability.
For most applications, a 5W/mK metal-based compound will provide excellent thermal conductivity at an affordable price (normally ~$5-$7). These compounds use microscopic metalloid particles to enhance thermal conduction, but along with this enhanced thermal conduction comes the capacitance to carry a charge (and thus damage components). However, as long as you're not spreading it over the motherboard like it's butter, it shouldn't be too much of an issue.
The earlier-mentioned high-grade thermalpaste (such as Arctic's expensive option, the 8.5W/mK Arctic MX-2) will make use of carbon nanoparticles, which are not electrically conductive as the metal compounds. These could be classified as "the best," albeit unnecessary for many users and prohibitively expensive, at $30 a tube.
Video Transcript: Removal and Application of Thermalpaste
The above video covers this in detail, but for those who like to have text to follow along with, here's a transcript of the video:
--
"Hey everyone, this is Steve from GamersNexus.net! I'm here with my hardware editor, Patrick Stone, to show you how to remove and apply thermalpaste. We'll cover how to thoroughly remove and apply new thermalpaste to your CPU in the event you change the cooler or are simply working on a new build. At the end of this video, I'll give a little more depth and explain why proper technique can make a difference of a few degrees Celsius in a real-world environment.
What you need
Here's what you'll need:
- First, be ESD-free. Ground yourself before working on this - you can read our guide how to do this.
- Anti-static compliant cloth, normally packaged as "lint-free" cloths at stores. Q-Tips will also work for this purpose, just be careful of residual fuzziness.
- Rubbing alcohol. Normal 70% works fine, but 90% alcohol is preferable. Just don't drink it.
- New thermalpaste to apply.
Time to remove some thermalpaste. Apply some rubbing alcohol to your cloth or Q-Tip and brace the CPU -- you'll want to rub with the grain of the metal to make things easier and to ensure no thermalpaste is left in the crevices. Continue removing the compound until the surface is shiny and clean; you should see the alcohol evaporating away momentarily. Set the CPU aside.
Do the same for your CPU cooler. It's not imperative that this is as clean as new, since some thermalpaste will be left behind, but do try to make sure all contact points are fresh. Rub with the metal again, and eventually it should all be removed.
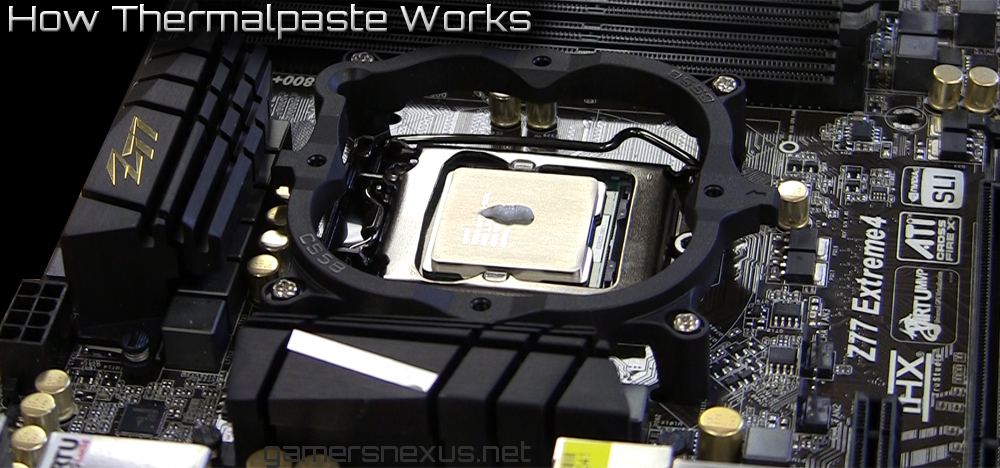
Now... once you're ready to apply new thermalpaste to the CPU and cooler, it's important not to overthink it. Some tutorials will suggest using a gift card to smooth out the paste -- don't do this as it can leave behind airpockets which can impact the cooling effectiveness of the compound. Instead, put a blob of thermalpaste onto the CPU when it's clamped into the socket -- it should be about half the size of a penny. We're going to use the pressure applied by the cooler to naturally spread the paste around on its own, so apply the compound centrally. Clamp the cooler into place securely and you're done, it should have squished the thermalpaste around underneath it.
Now let's talk about understanding thermal compound. First of all, too much compound can detract from its effectiveness. The entire purpose of thermalpaste is to fill air pockets in the metals of the CPU and its cooler. Adding so much thermalpaste that it significantly increases the distance between the CPU and cooler is detrimental, so just keep it small and simple. It is actually better to have too little thermalpaste than too much, as too much can decrease the ability of the CPU heatsink to properly cool. You want the copper of the heatsink to spread across as much surface area of the CPU as possible, and the thermalpaste will be filler.
That's pretty much it! You'll find the full article accompaniment in the description below, so be sure to check that out for further details and graphics. If you have any questions at all, please comment on the linked article as I'll be more likely to see it, but also feel free to comment below.
I'll see you all next time, peace!
--
And that's it for this thermalpaste guide/tutorial! Be sure to follow us on Twitter and Facebook for more hardware guides as they're posted.
- Steve "Lelldorianx" Burke.

