
We visited V-Color in Taiwan to get an inside look into its secret RAM-manufacturing processes
The Highlights
- V-Color employs a lot of custom-built automation to bin high-end memory
- As high tech as testing and manufacturing RAM can be, PCB separation can be a mostly simple process
- One V-Color robotic arm can test about 23,000 RAM modules per day
Table of Contents
- AutoTOC

Intro
Touring V-Color’s factory, we saw robots making thousands of sticks of RAM, numbering in the petabytes, and learned the secrets of RAM manufacturing.
The company’s Taiwan-based factory pumps-out memory using custom-built automation to bin the best overclocking chips for high-end memory.
In this special addition to our factory tour series, we’ll see how SMT lines manufacture memory sticks for multiple large memory brands. We’ll see hundreds of testing stations scattered around, working around the clock to stability test RAM.
Credits
Host, Writing, Editing
Steve Burke
Camera, Video Editing
Mike Gaglione
Video Editing
Vitalii Makhnovets
Web Editing
Jimmy Thang
Automated Binning of Memory
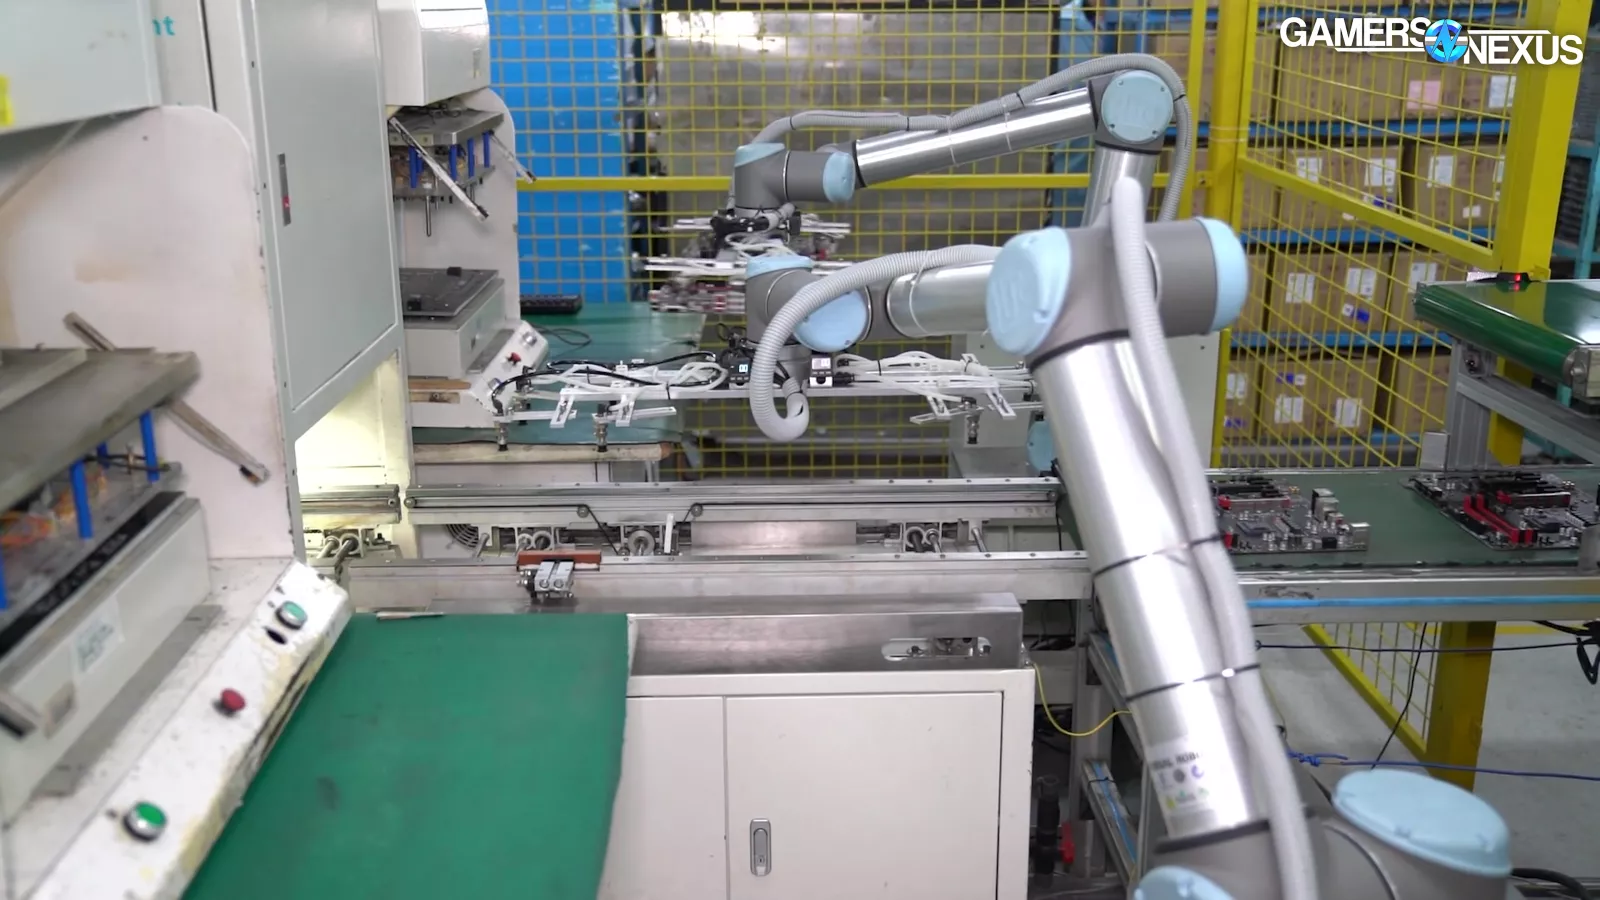
We’ll start our tour of V-Color in its Automated Overclock Binning Lab. There’s no buzzword usage of “AI” here: These are just straight-up robots and automation, the old-school way -- except with ultra-advanced frequency and stability testing of modules.
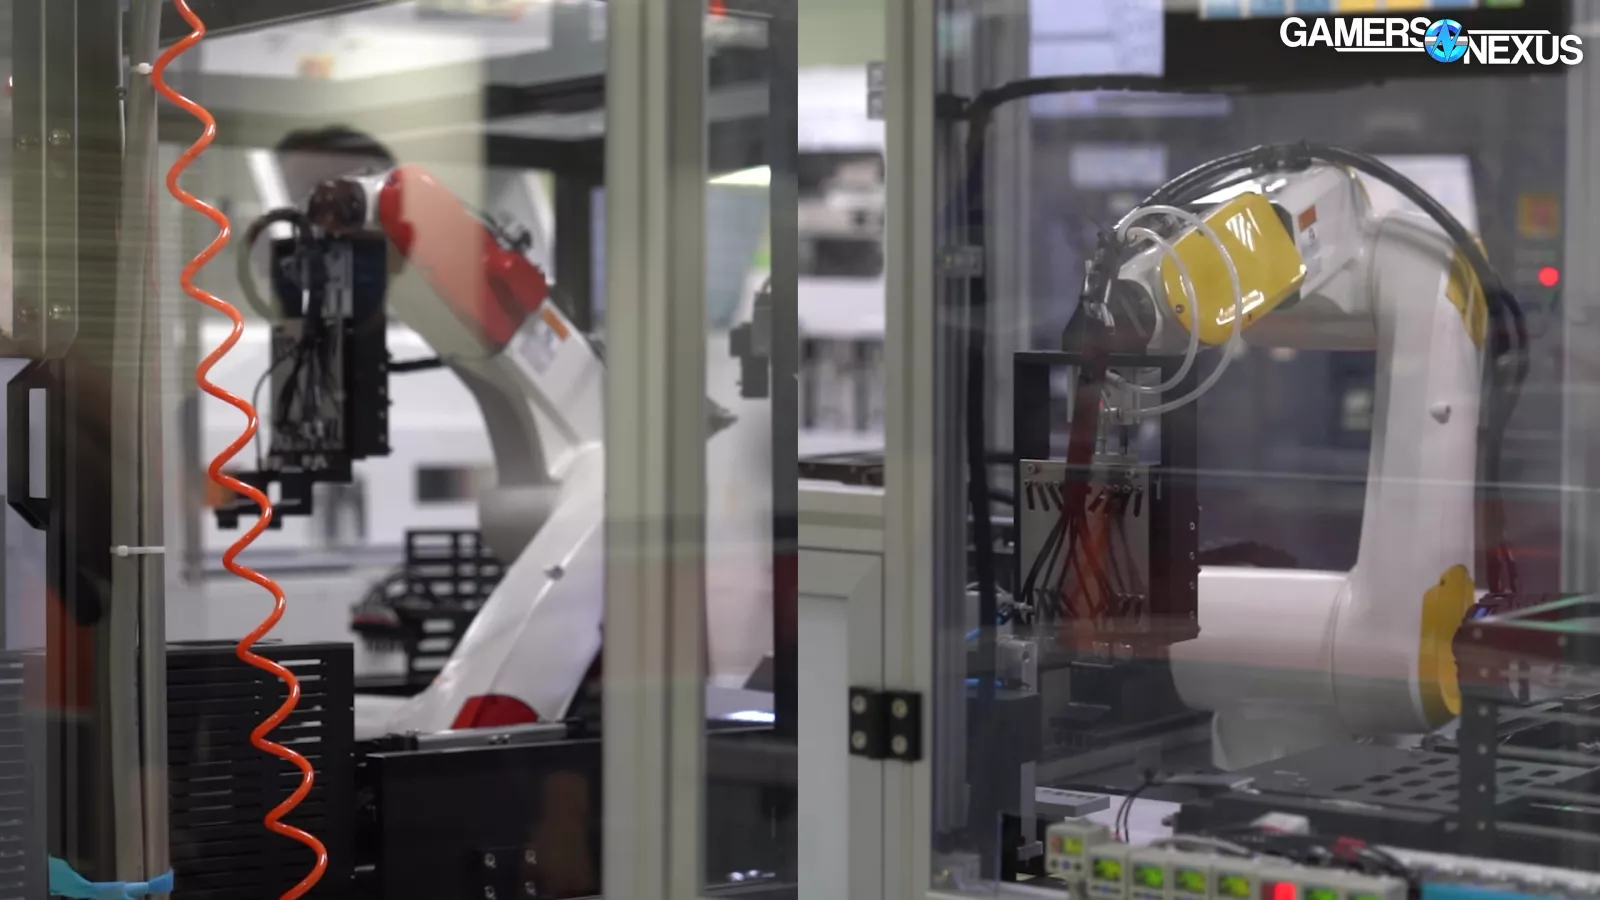
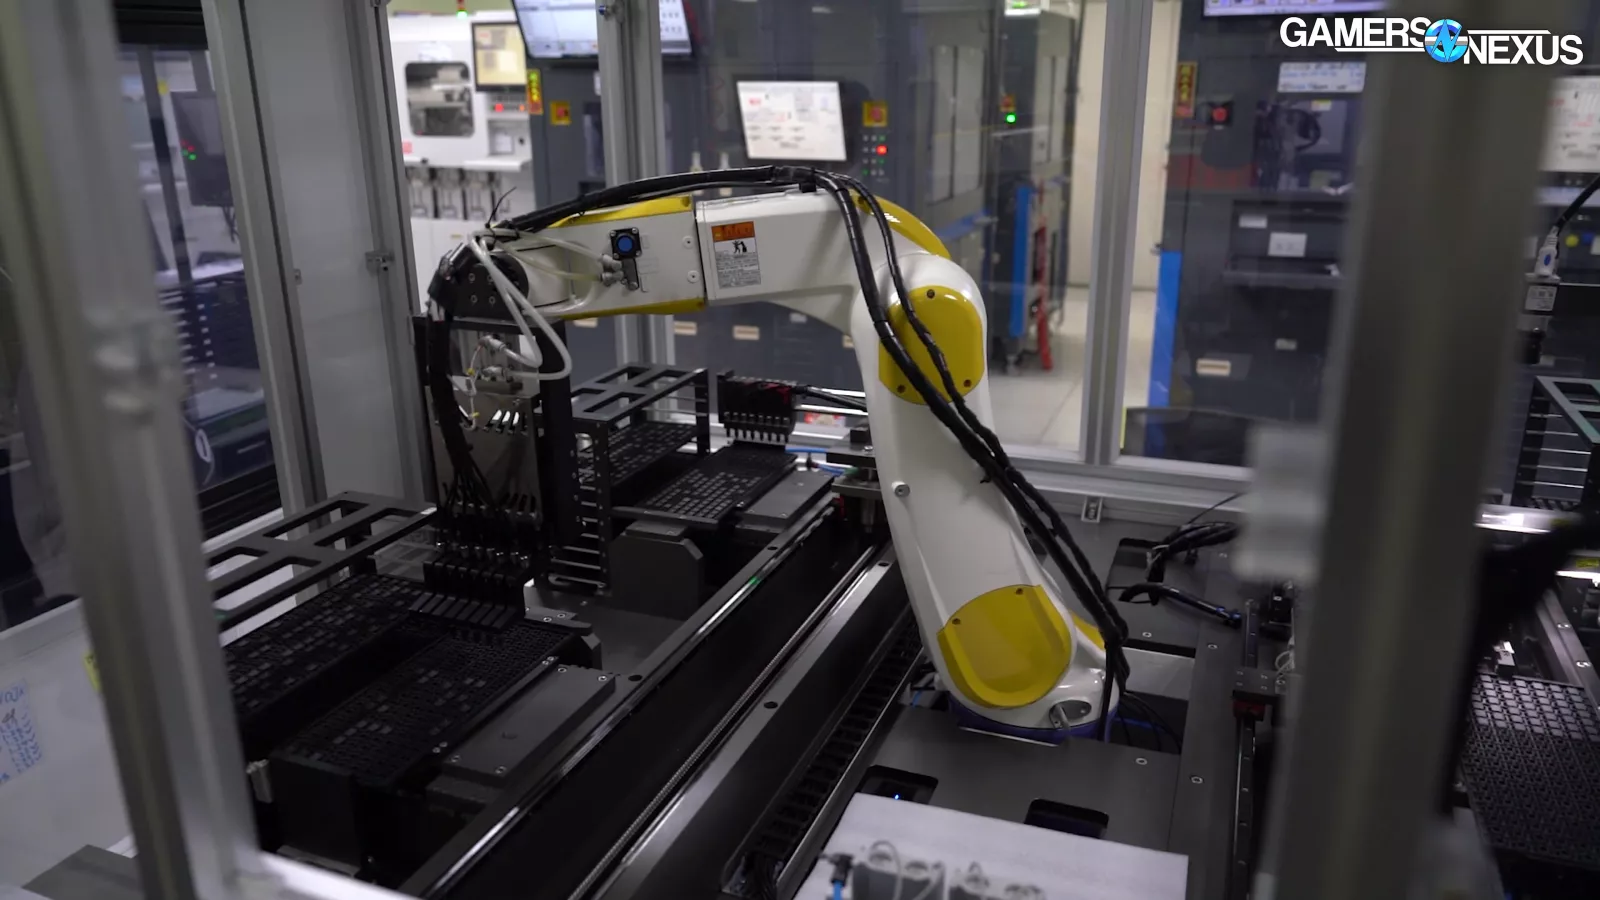
Meet the backbone of this operation: These robots come in yellow and red variations, with each serving a special purpose. Naturally, the red robots are faster -- just like how red LEDs make your PC faster -- and both types set to work quality checking memory as soon as it enters the factory from the supplier.

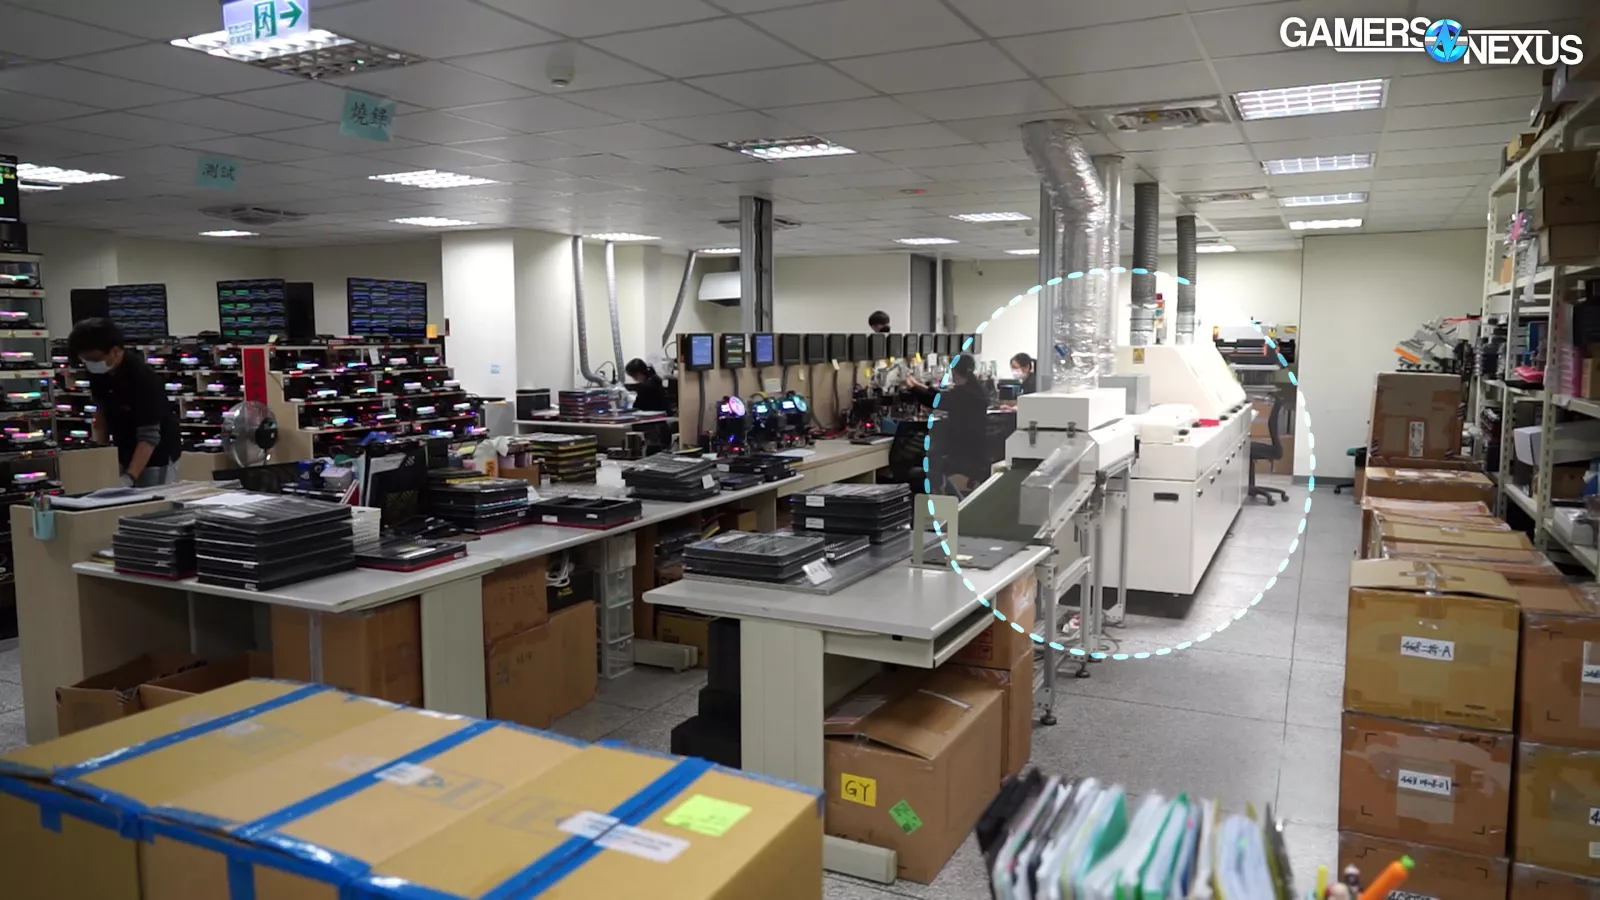
The factory itself is extremely low-key: It’s located in Xindian, Taiwan, and is hidden away upstairs in this older, mixed-use office and residential building.
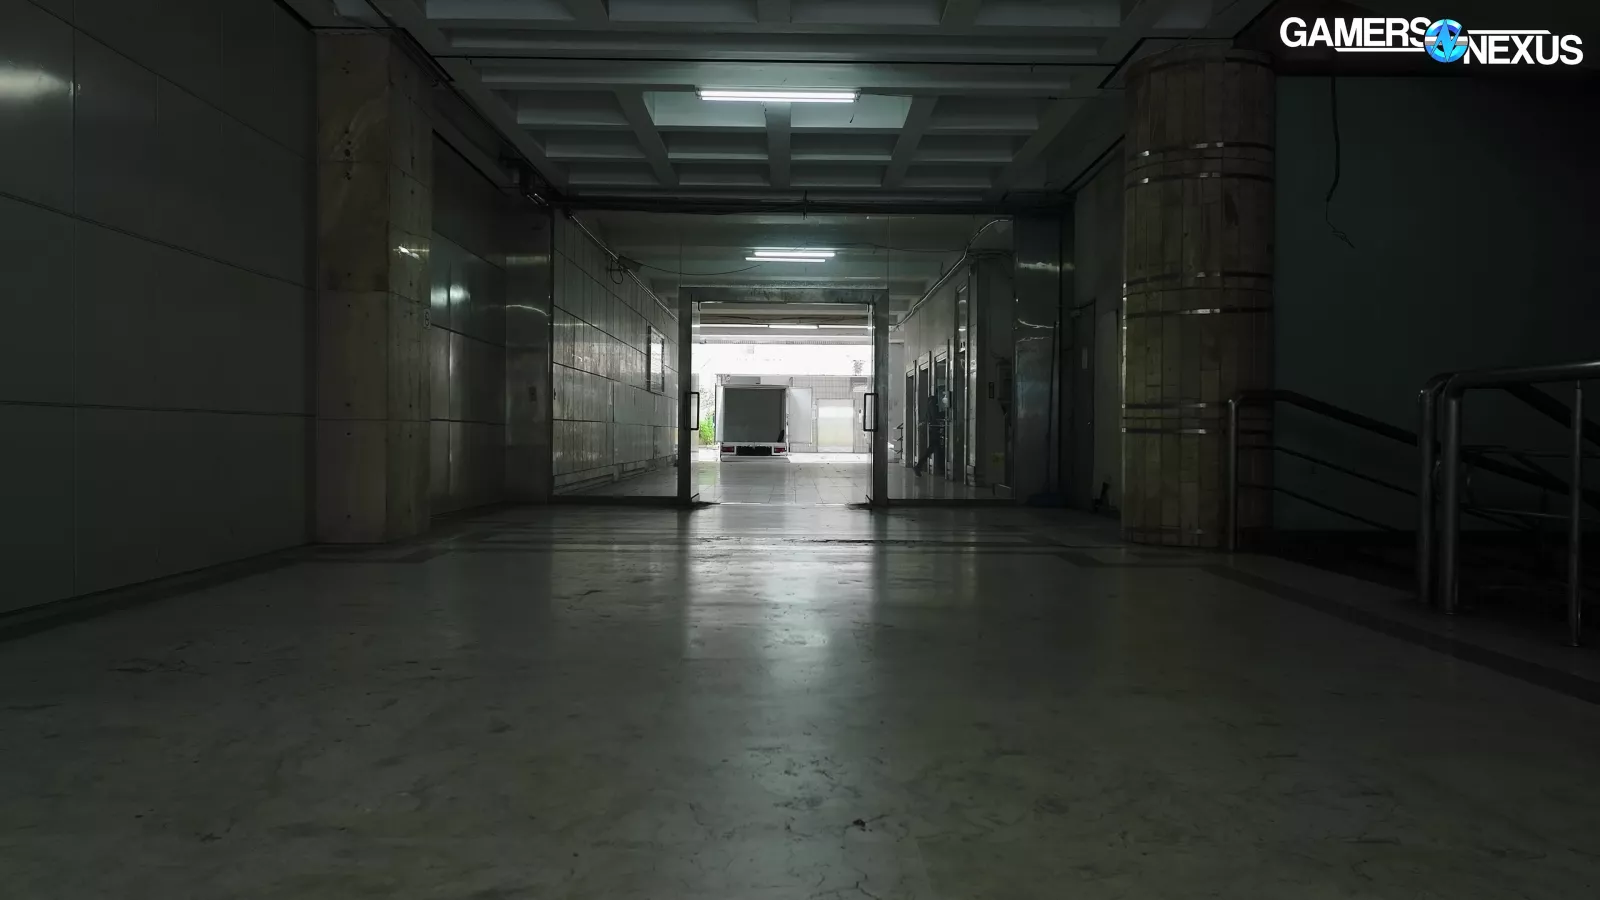
The hallways leading to the advanced, ultra-clean, bright facilities we will see in this tour are deceptively dark, to the extent that we thought we were in the wrong place when we first arrived.
But just upstairs is this advanced OC lab.
This lab features high-speed binning robots and automation to determine the chip quality of each individual module that V-Color buys from suppliers like SK Hynix, Samsung, or Micron. They can process DDR4 or DDR5 memory and perform simple pass/fail analysis at a given frequency. Those that pass progress to burn-in testing on a per-module basis for stability, while those that fail are sent back to other robots for testing at lower frequencies.
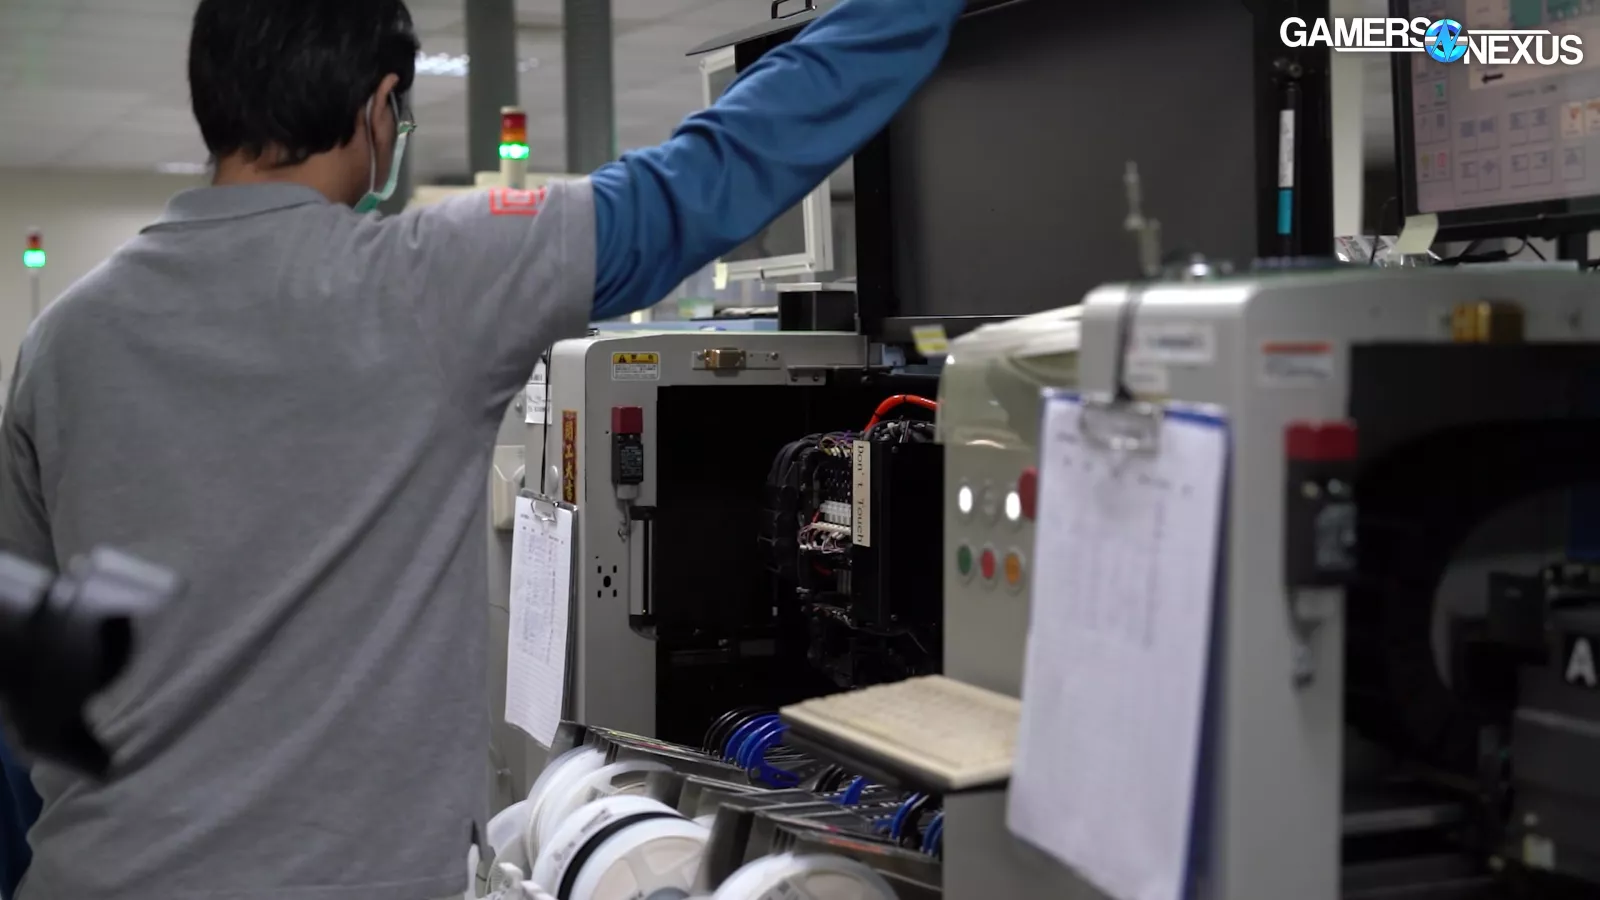
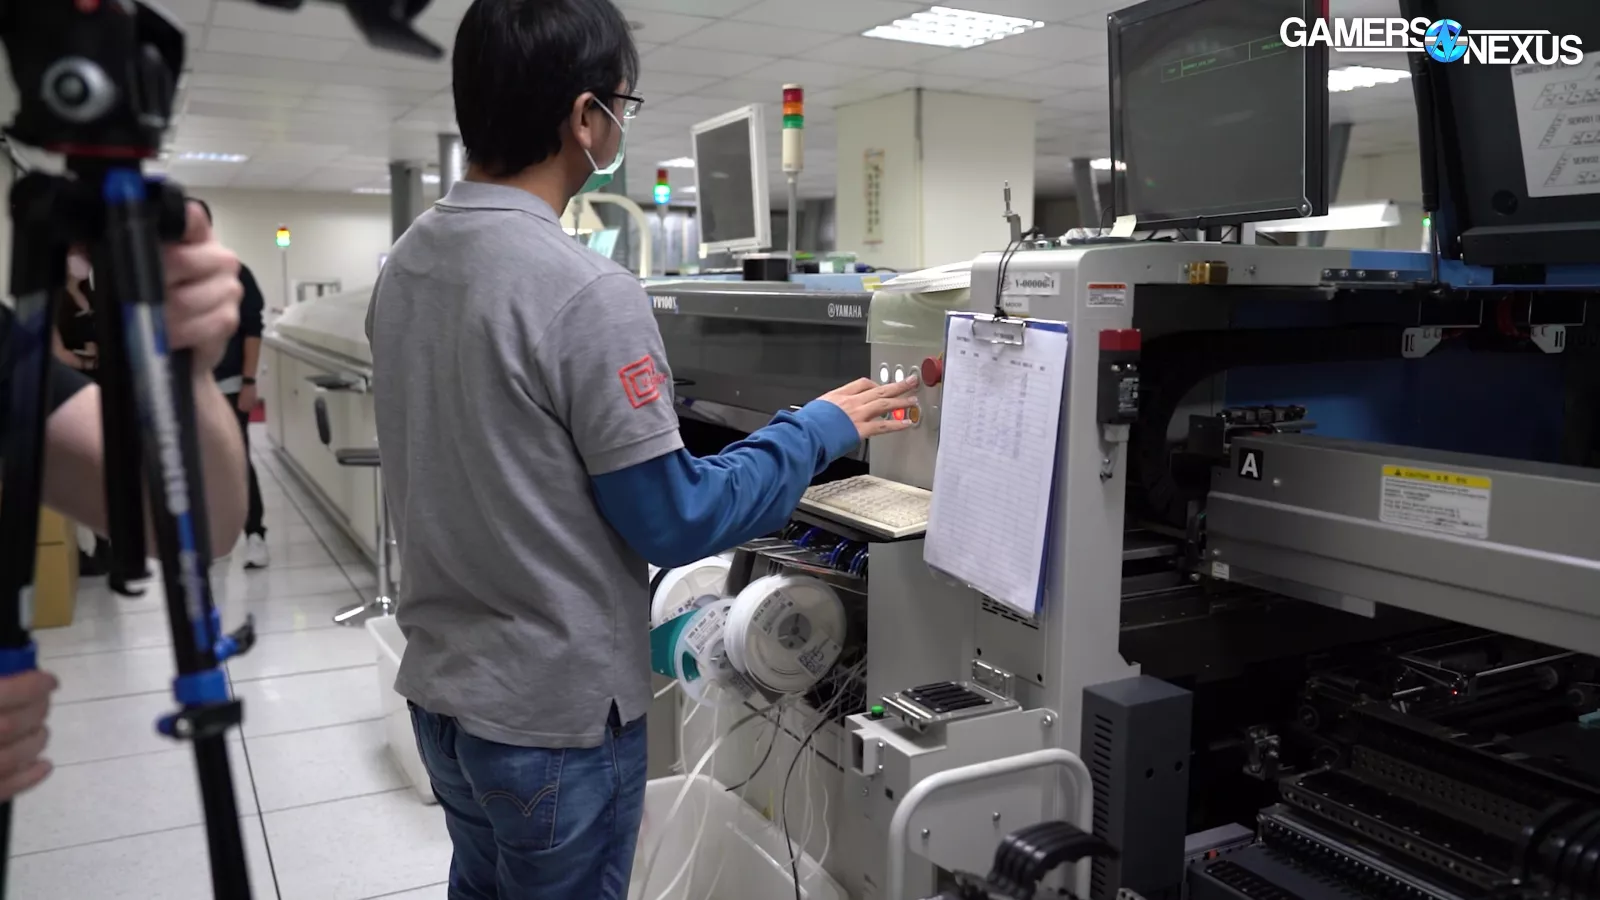
Only two operators are required to keep this entire binning facility running, with the automation able to run 24/7.
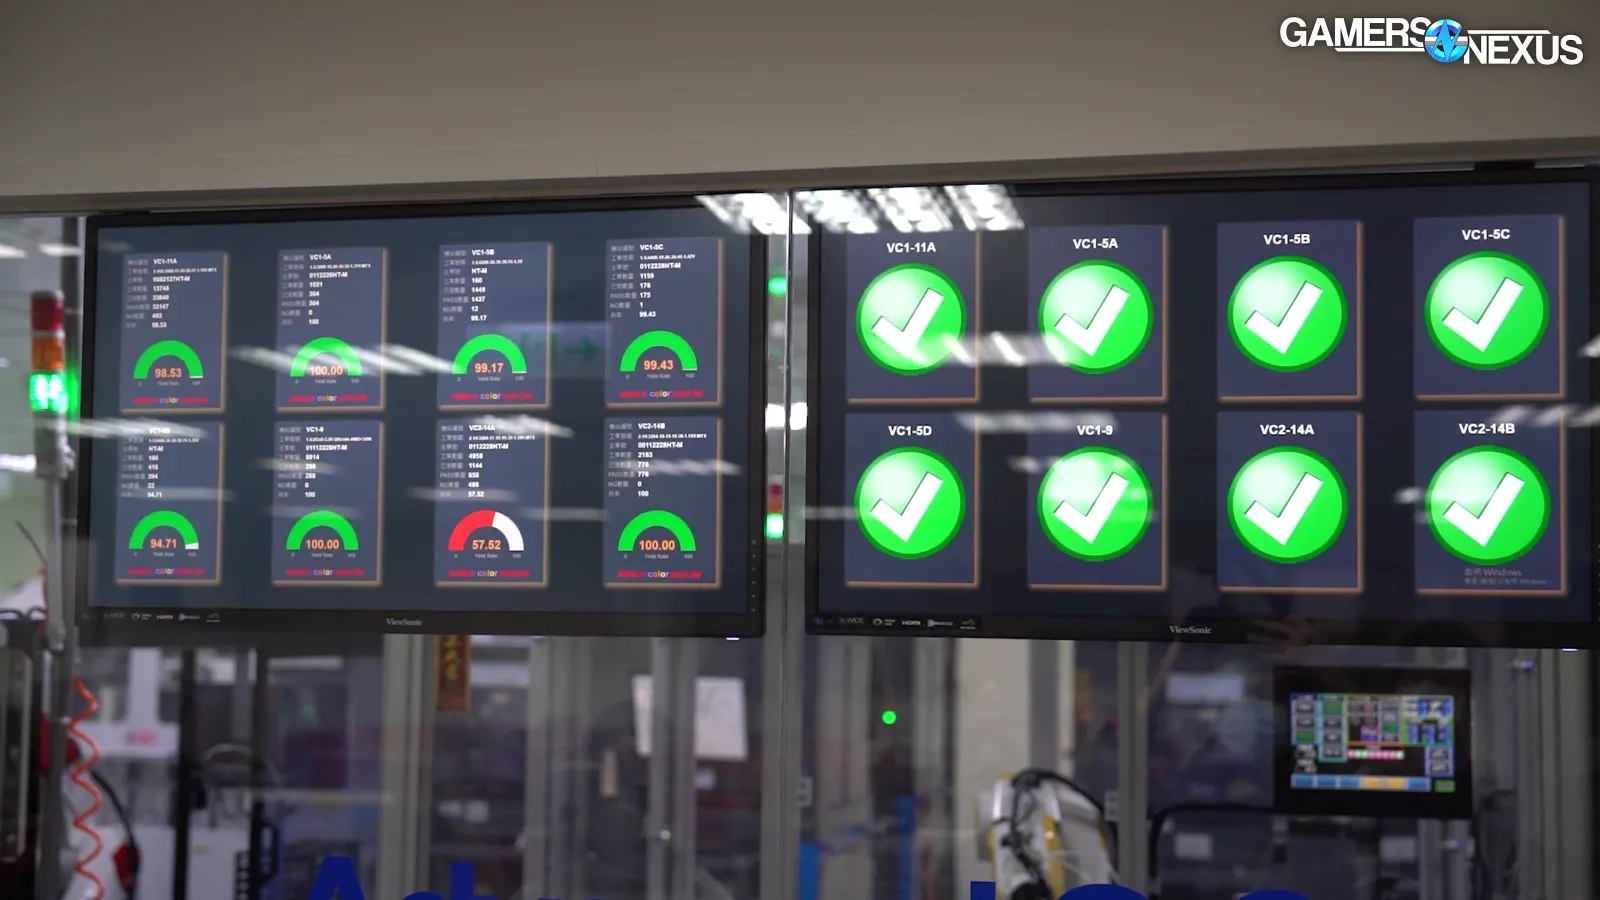
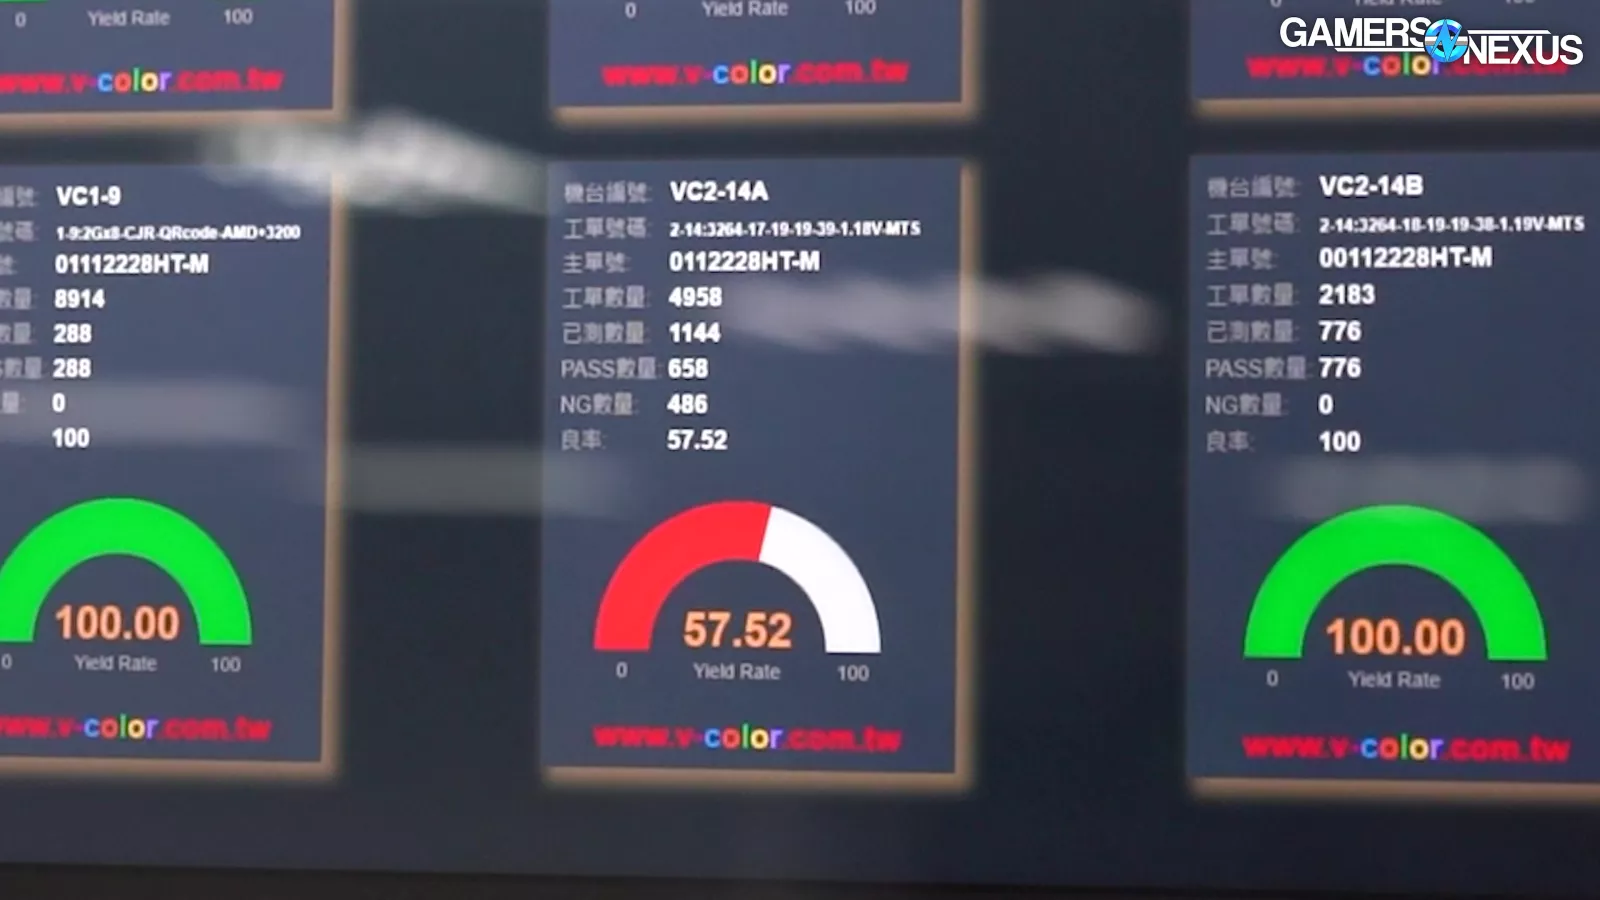
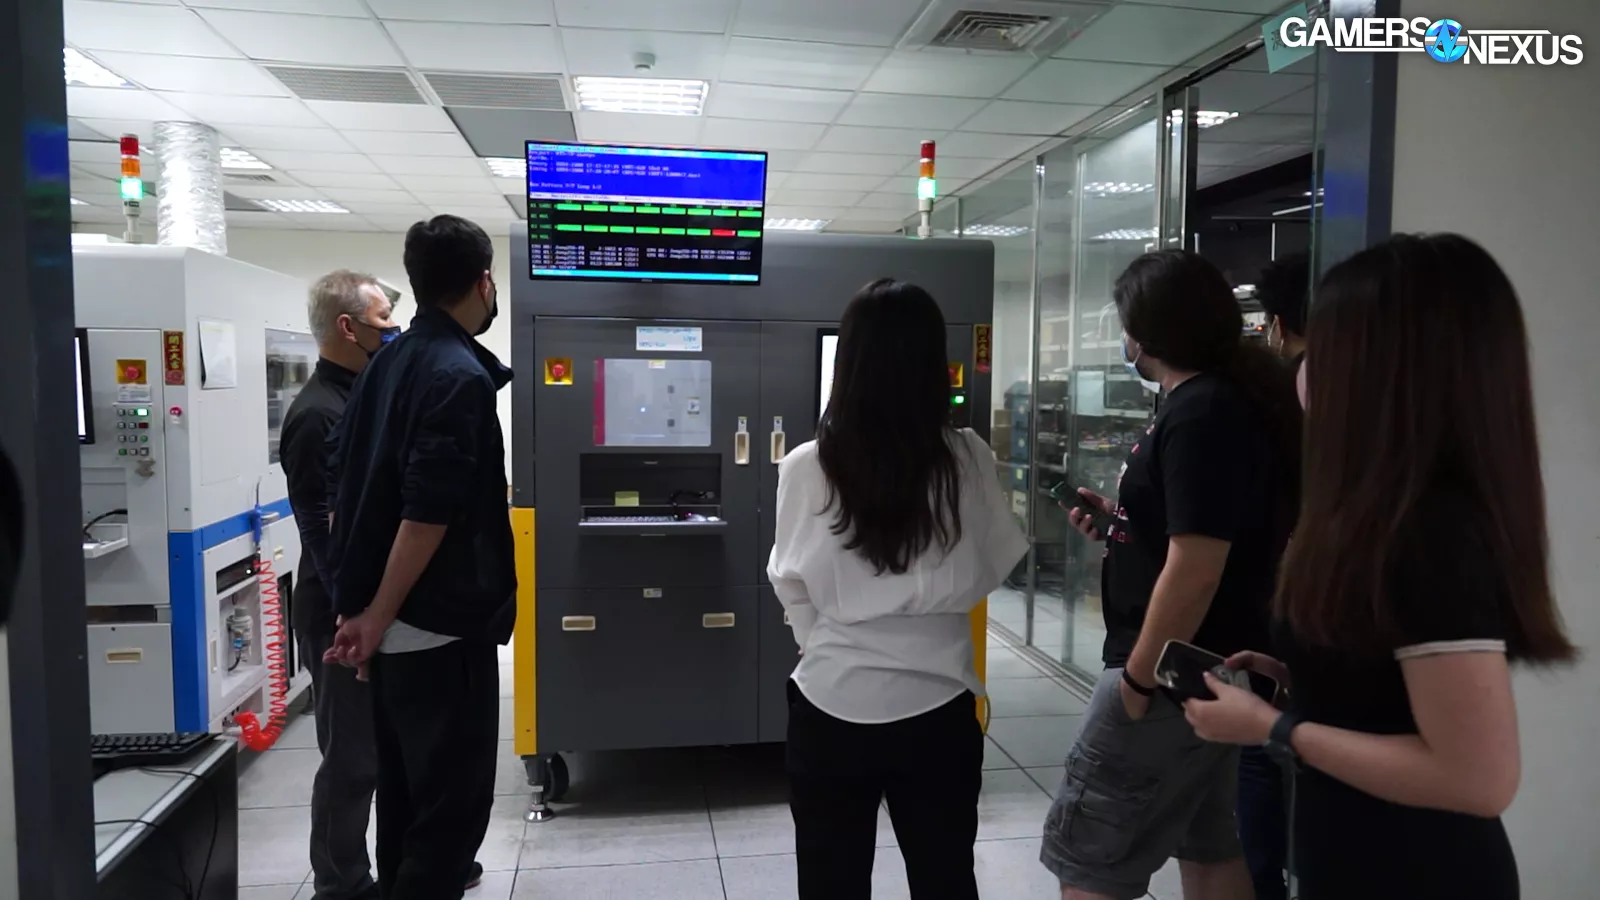
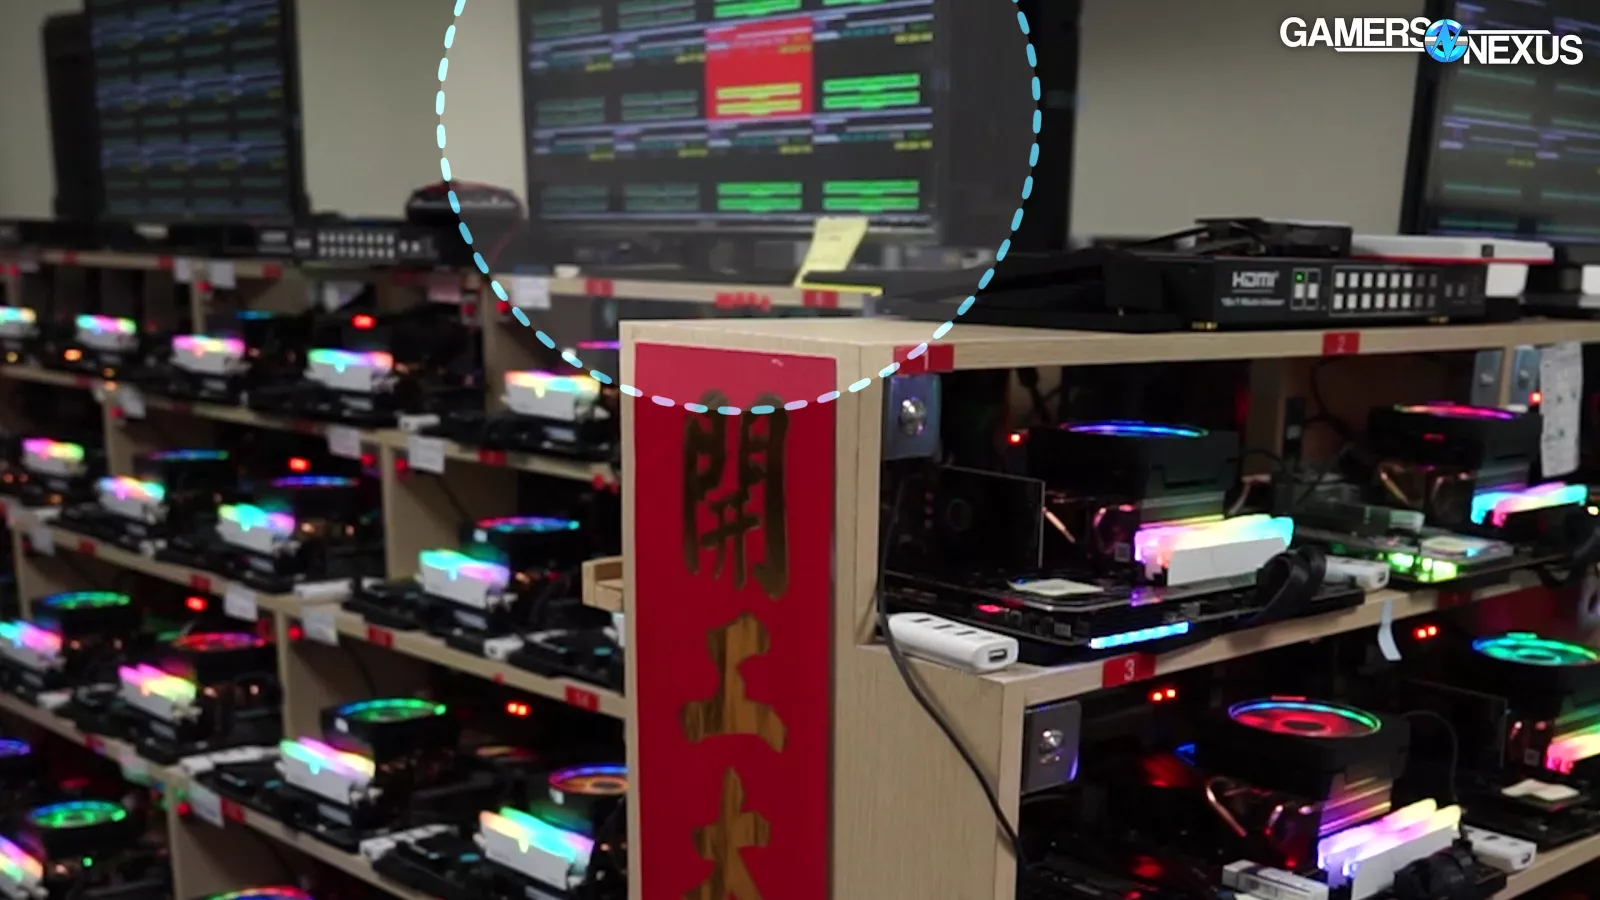
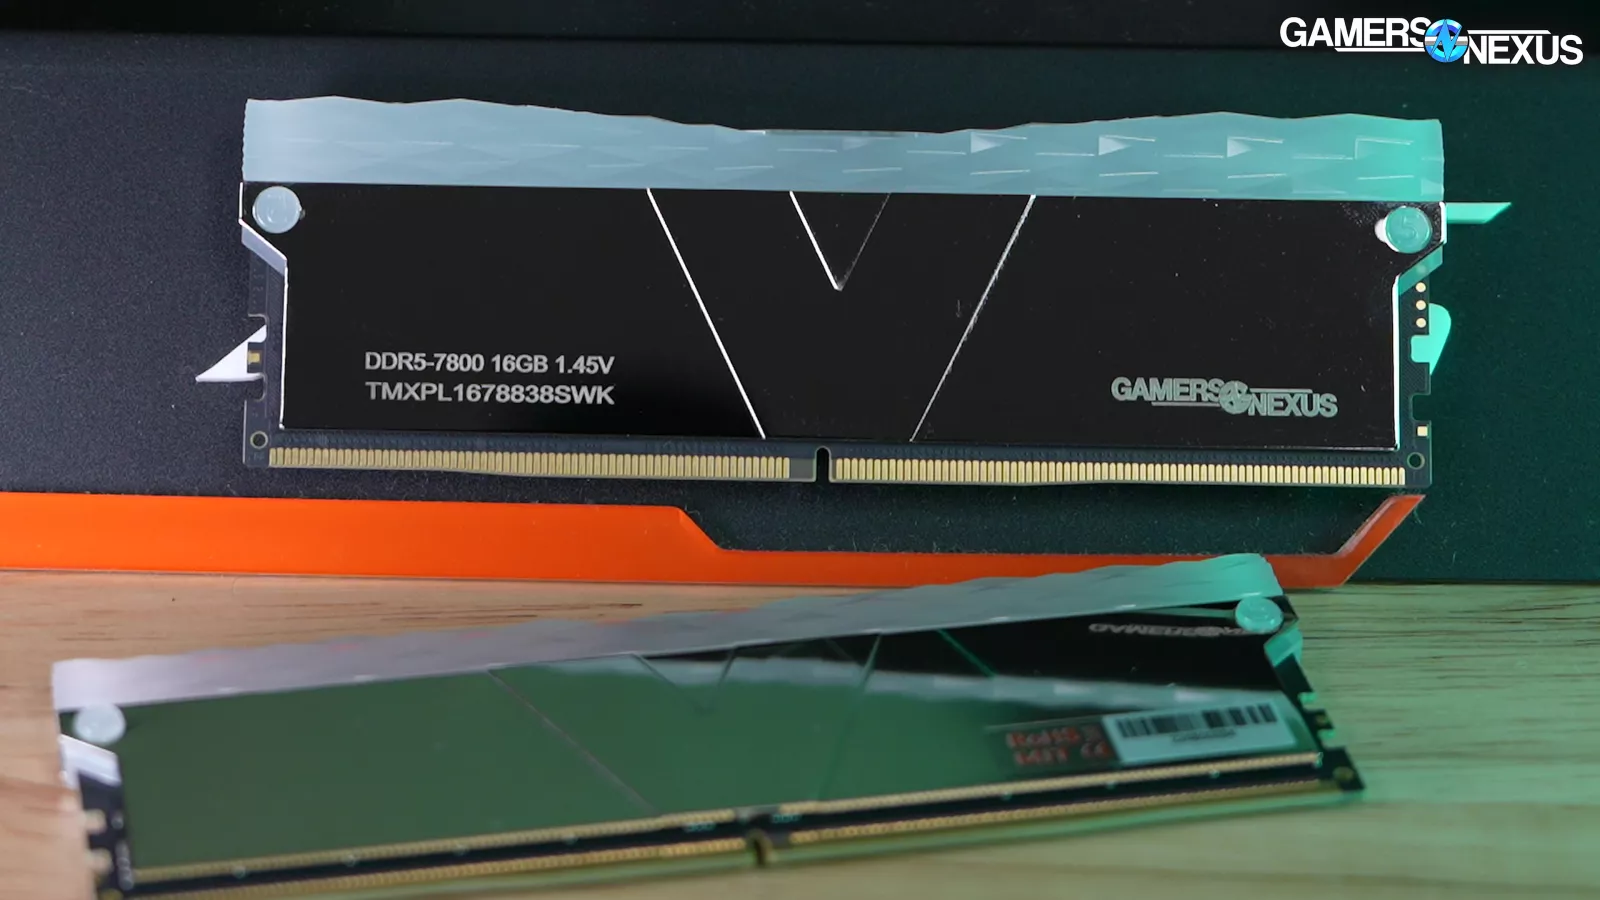
The screens outside of this lab show the different bins that V-color was testing at the time we visited. The large number at the bottom is the yield, or the pass rate, at that spec. A few of these are 100%, with one at 57.52%. That doesn’t necessarily mean the chips are defective, just that they can’t hit these settings. That particular test is configured at 1.18V and using timings of 17-19-19-39.
Other frequencies at the time we visited included 6400, 6200, 4400, and 7000+, but we’ll look at that later.
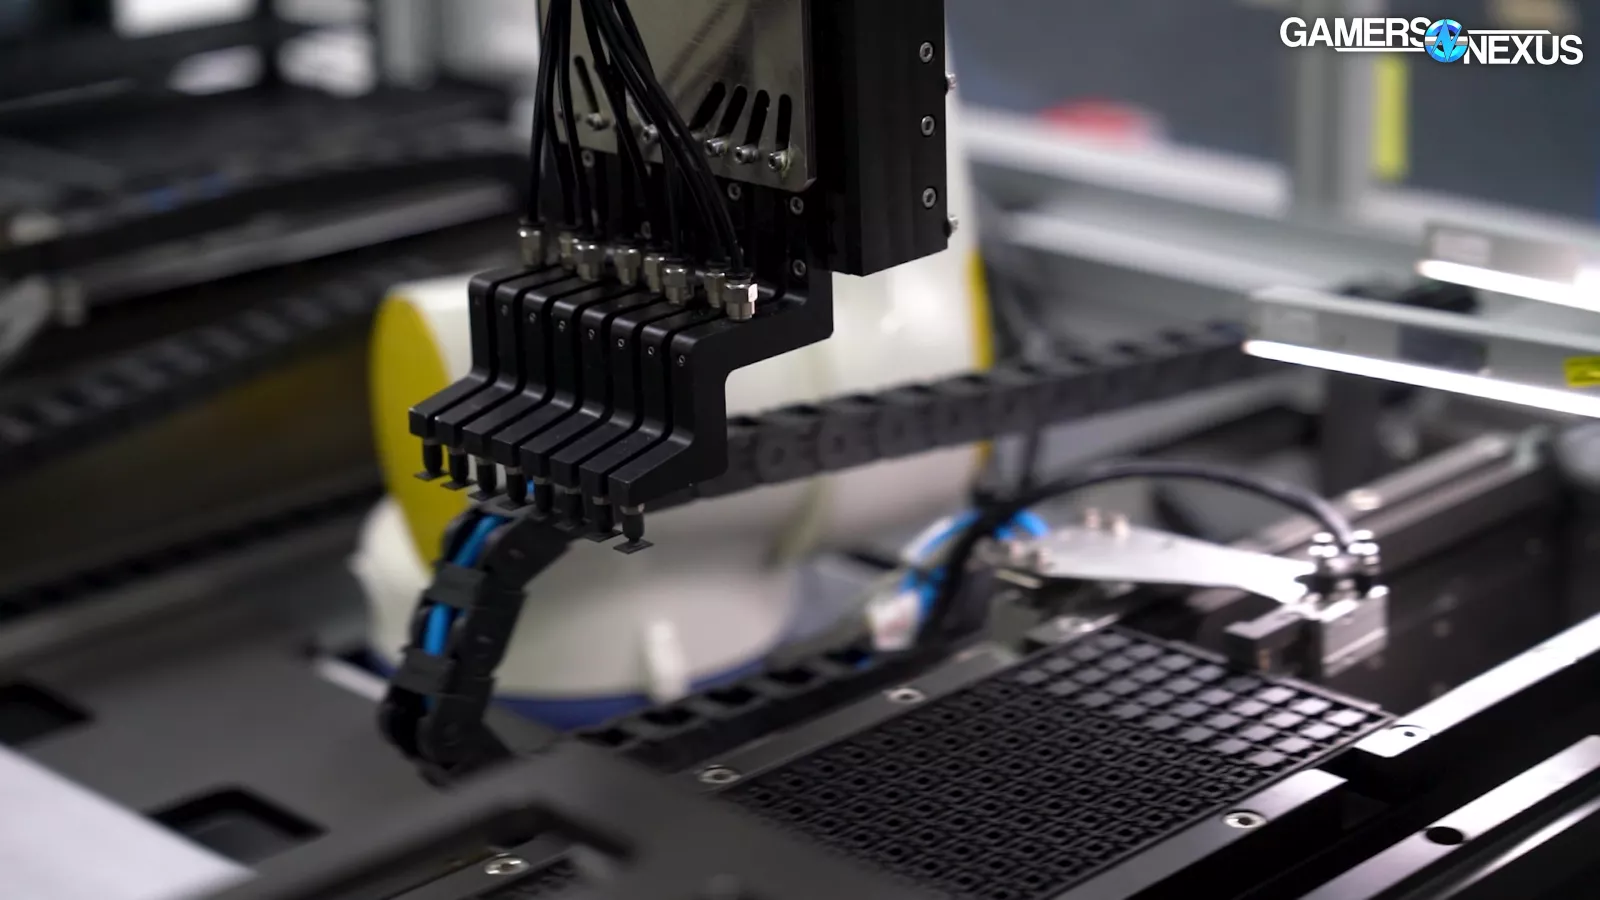
Before we move on to burn-in testing, let's talk about how these robots actually do the binning.
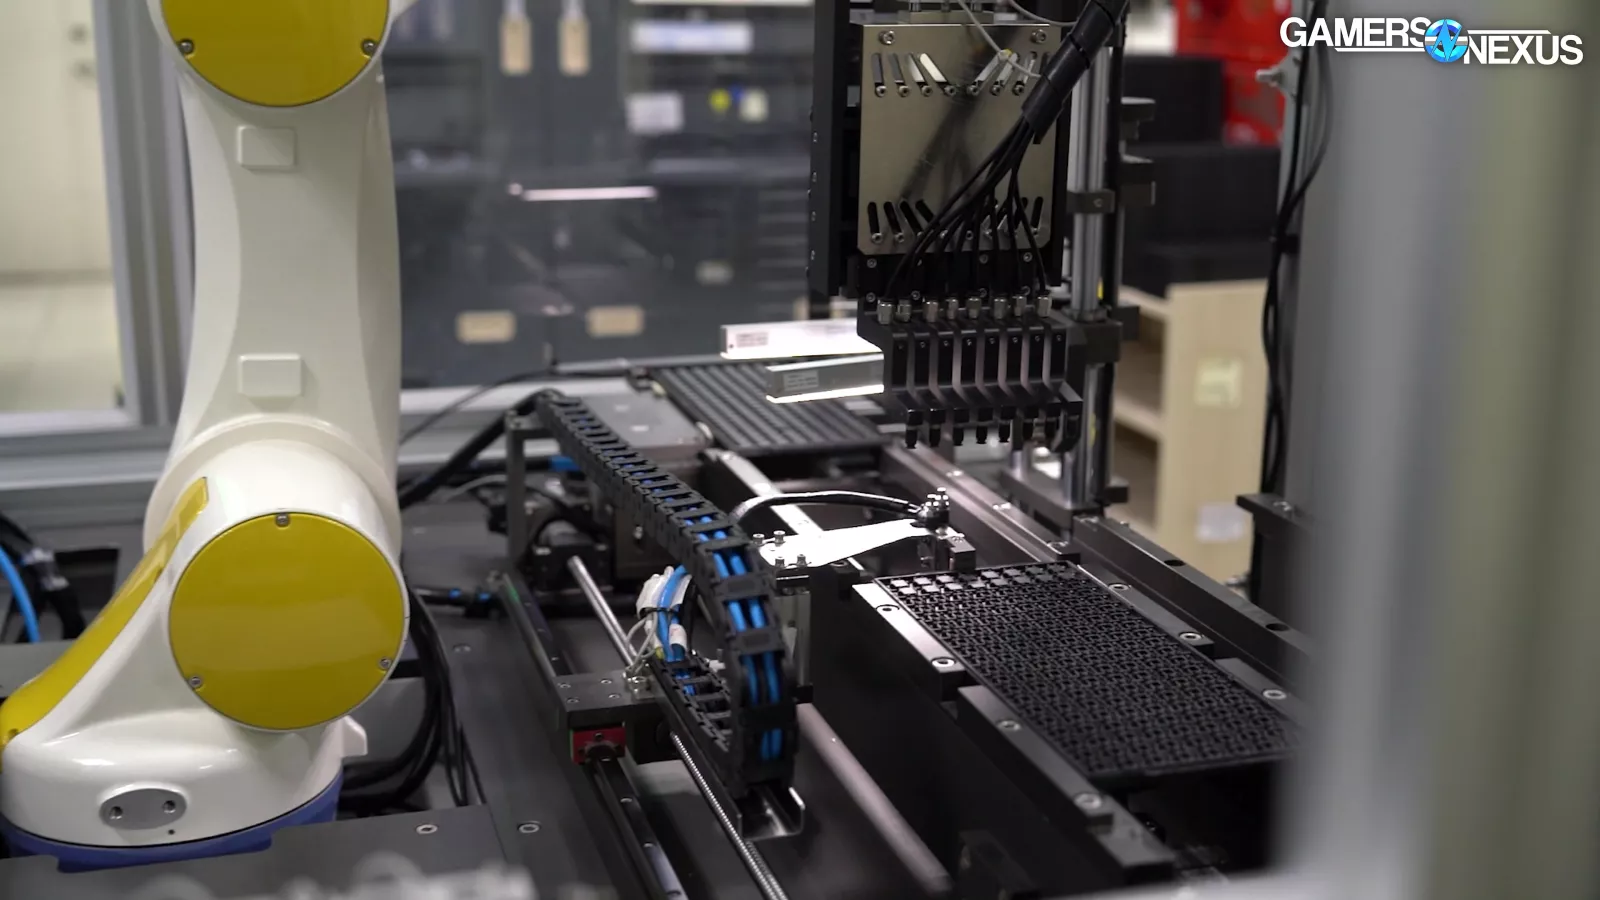
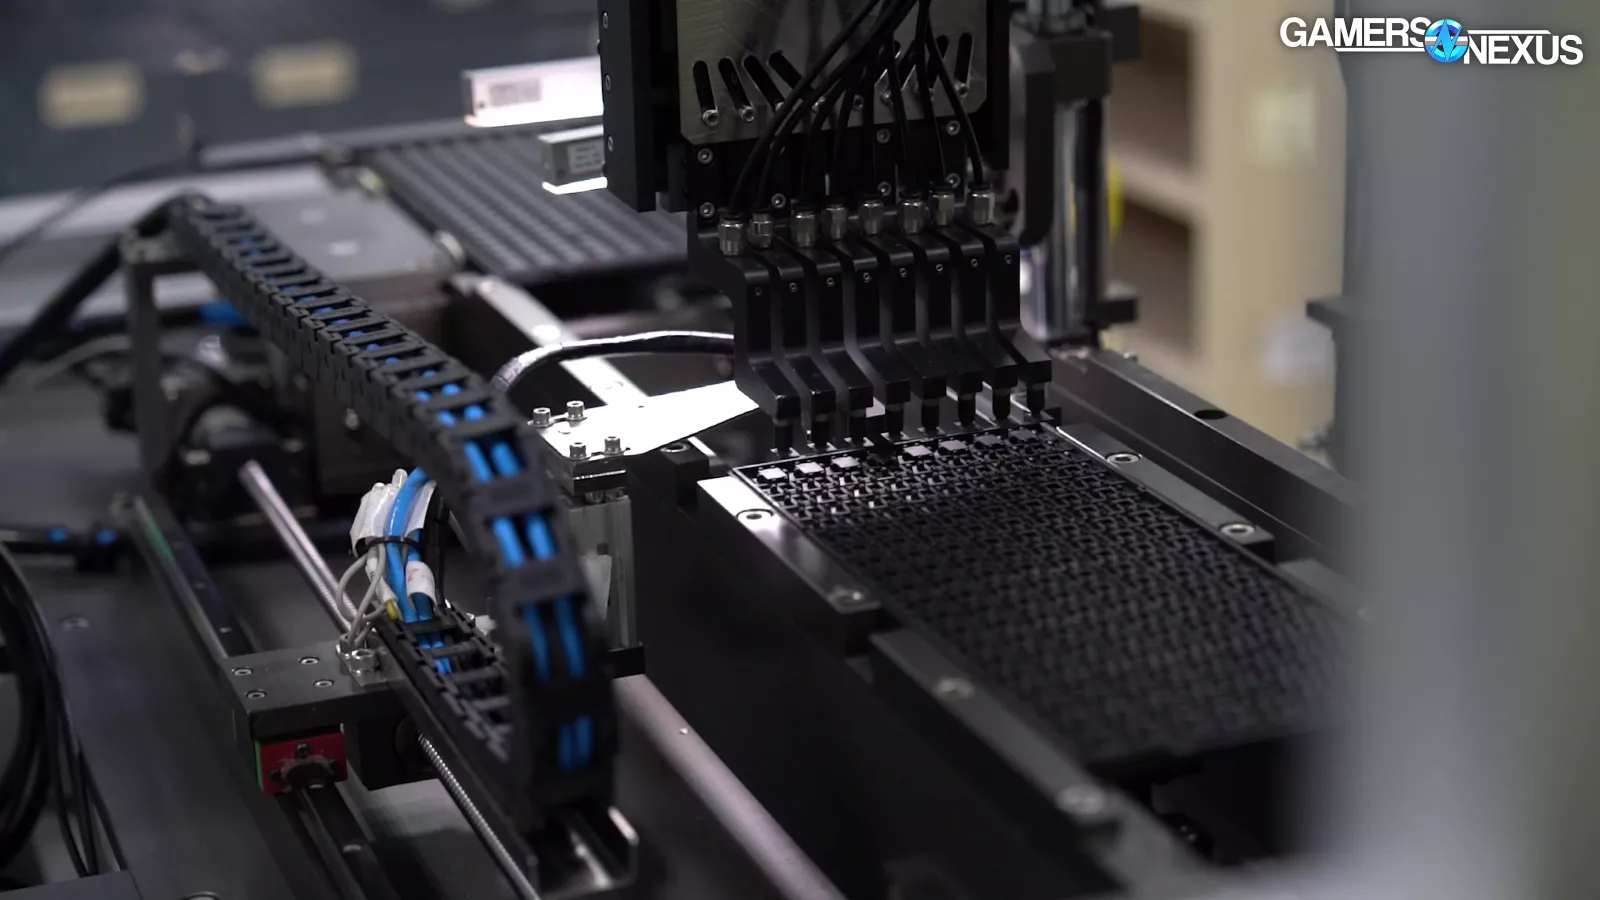

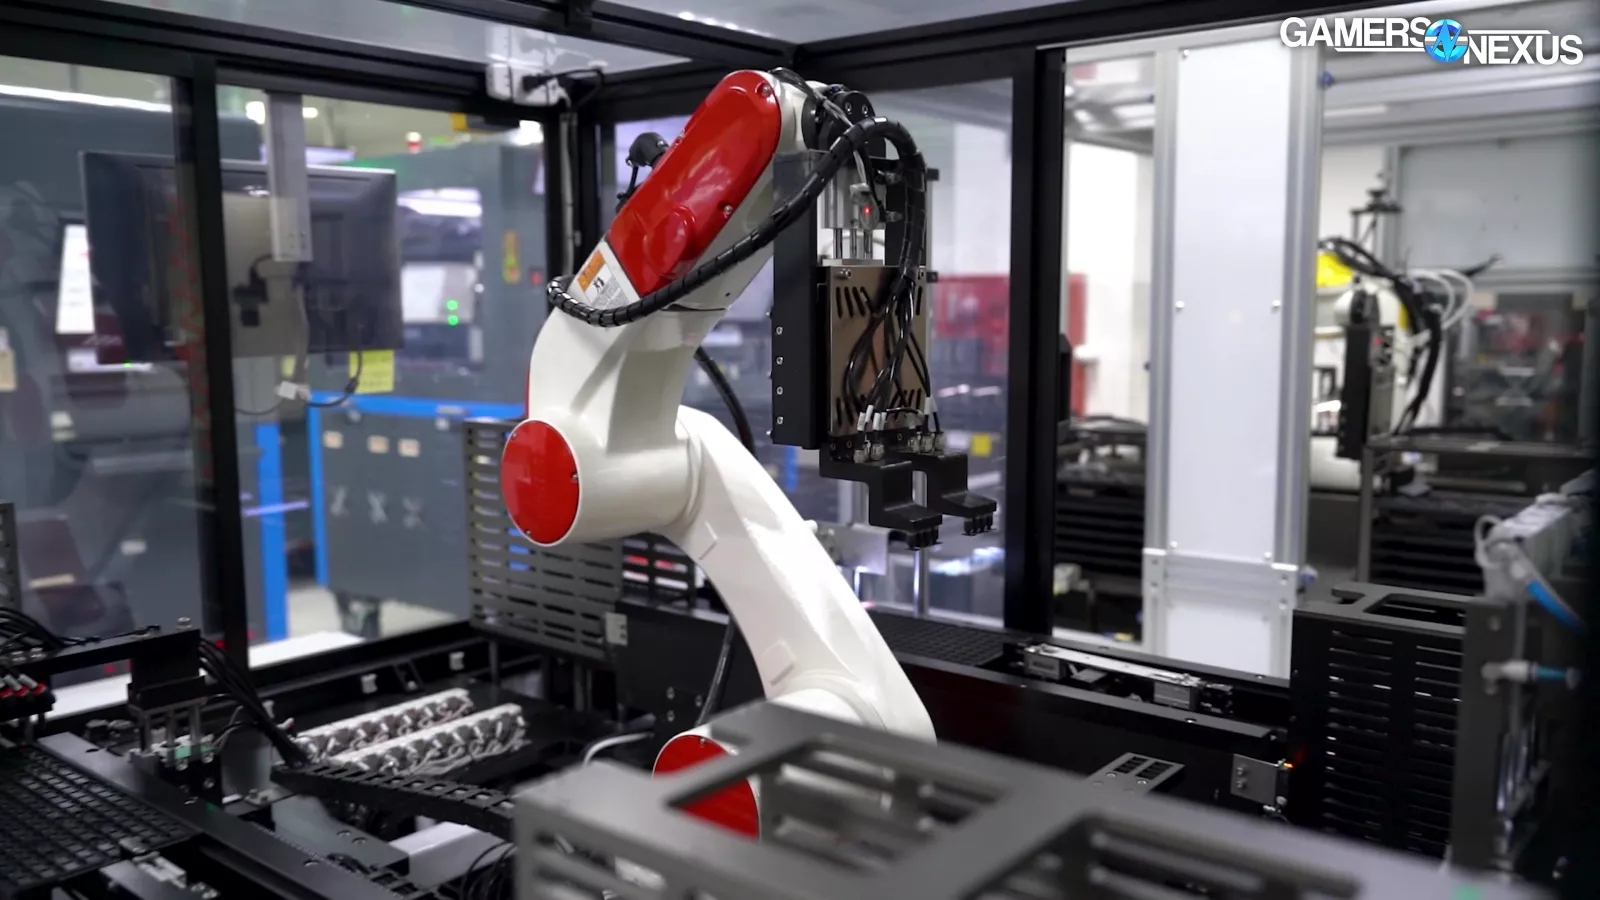
The test is simple: The robot moves into position over the loading tray of fresh memory from the supplier, lowers, and uses 8 suction cups to pick up the individual chips.
It then moves them into a prep board for a couple of seconds, then into the testing platform. The actual test typically takes about 15-20 seconds, with more time required for physical movement of the arm.
The robotic arm then picks the chips back up and moves them over to either a pass or fail tray. Passes progress to the next step, with failures going back for binning at a lower spec or higher voltage. This particular test, including the time it takes the robot to move the arm between trays, took about 50 seconds per 8 chips. At 24/7 operation and assuming zero interruptions, that would mean this machine could complete over 1700 tests per day, which would be almost 14,000 modules per day for this one machine.
The red machines operate much faster and have more complex movements so that the arm can maneuver around the chamber quicker. Its main advantage is that it has more testing trays, so instead of waiting for the test to complete before picking up the chips, it can alternate between two groups of 8 units.
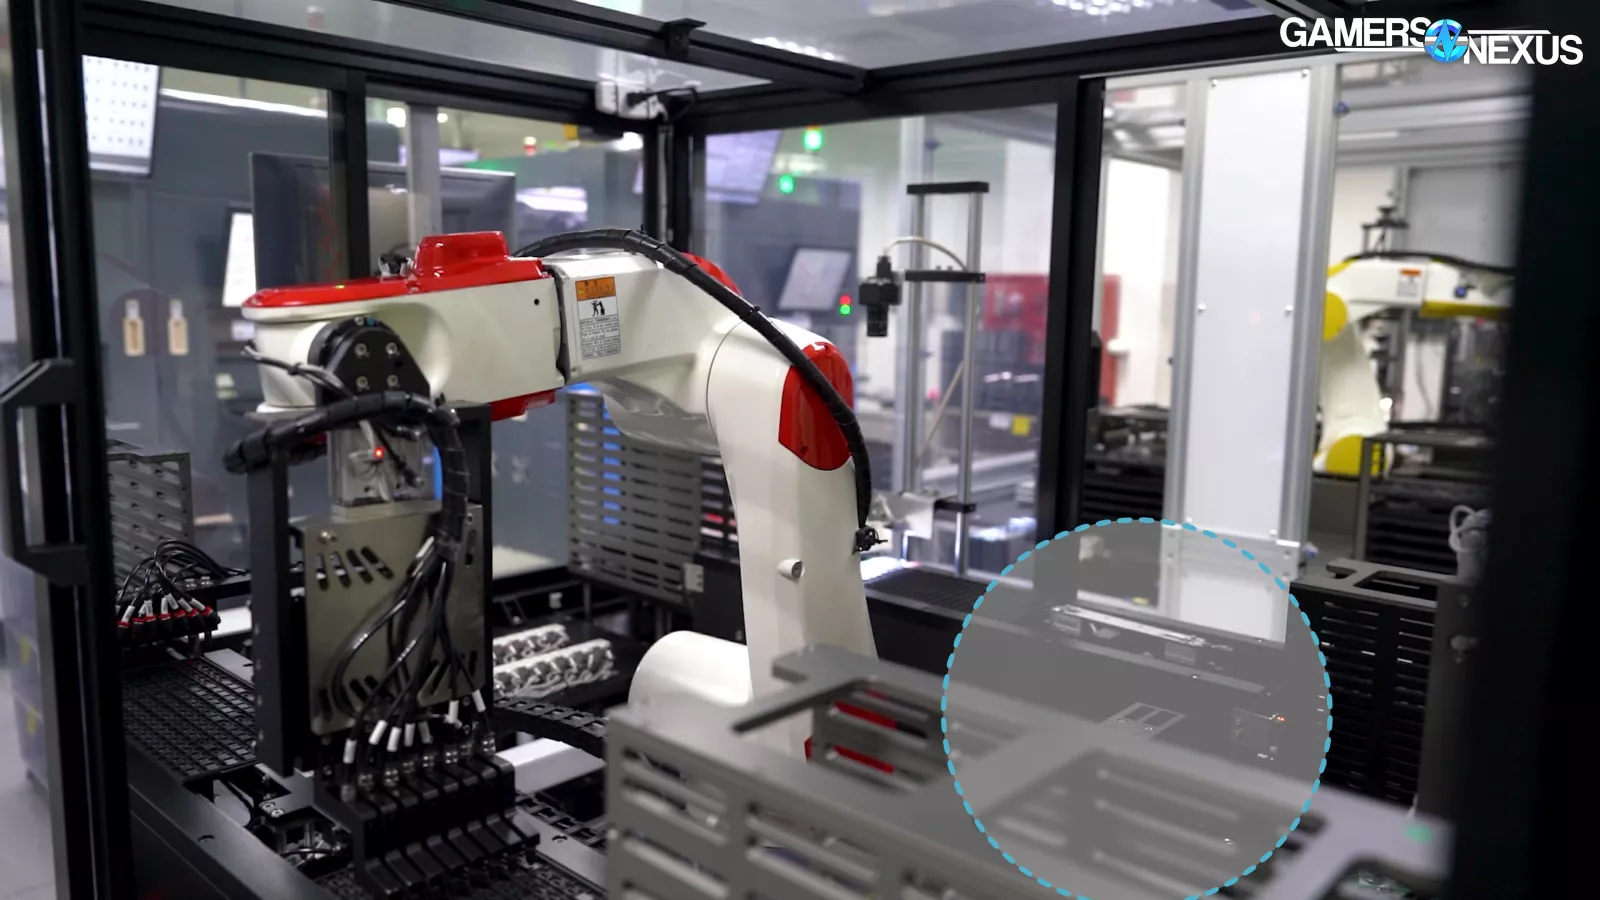
If you look closely when it’s placing the units down in the pretest tray, you’ll see two locations for those chips to rest. It also has two locations for active testing. This particular test was completing about 16 modules per minute, so at that pace, it could do about 23,000 per day without interruption.
The yellow machines were the prototypes and can run for 1 hour at a time completely unmanned, at which point an operator has to load and check them. The new red machines can operate for 24 hours after loading, so this factory may be able to go even slimmer on staff for the night shift.
We asked a few questions while watching these machines execute their work with ruthless efficiency: First, we learned that they can test up to 4 timings, alongside voltage and frequency tests, to expedite the process. We asked what the error rate is of the machine itself, and we were told “0%.” It never makes an error. That’s impressive.

Other machines in this lab include a few things we couldn’t show and then an oven. This is also useful for NAND testing, as V-color can manufacture RAM and SSDs. The oven tests products at 98 degrees Celsius for endurance and stability.

After all of this automated testing, the memory takes a quick trip down the hall to the SMT machines -- or surface-mount technology line.
Assembling RAM Sticks: SMT Lines
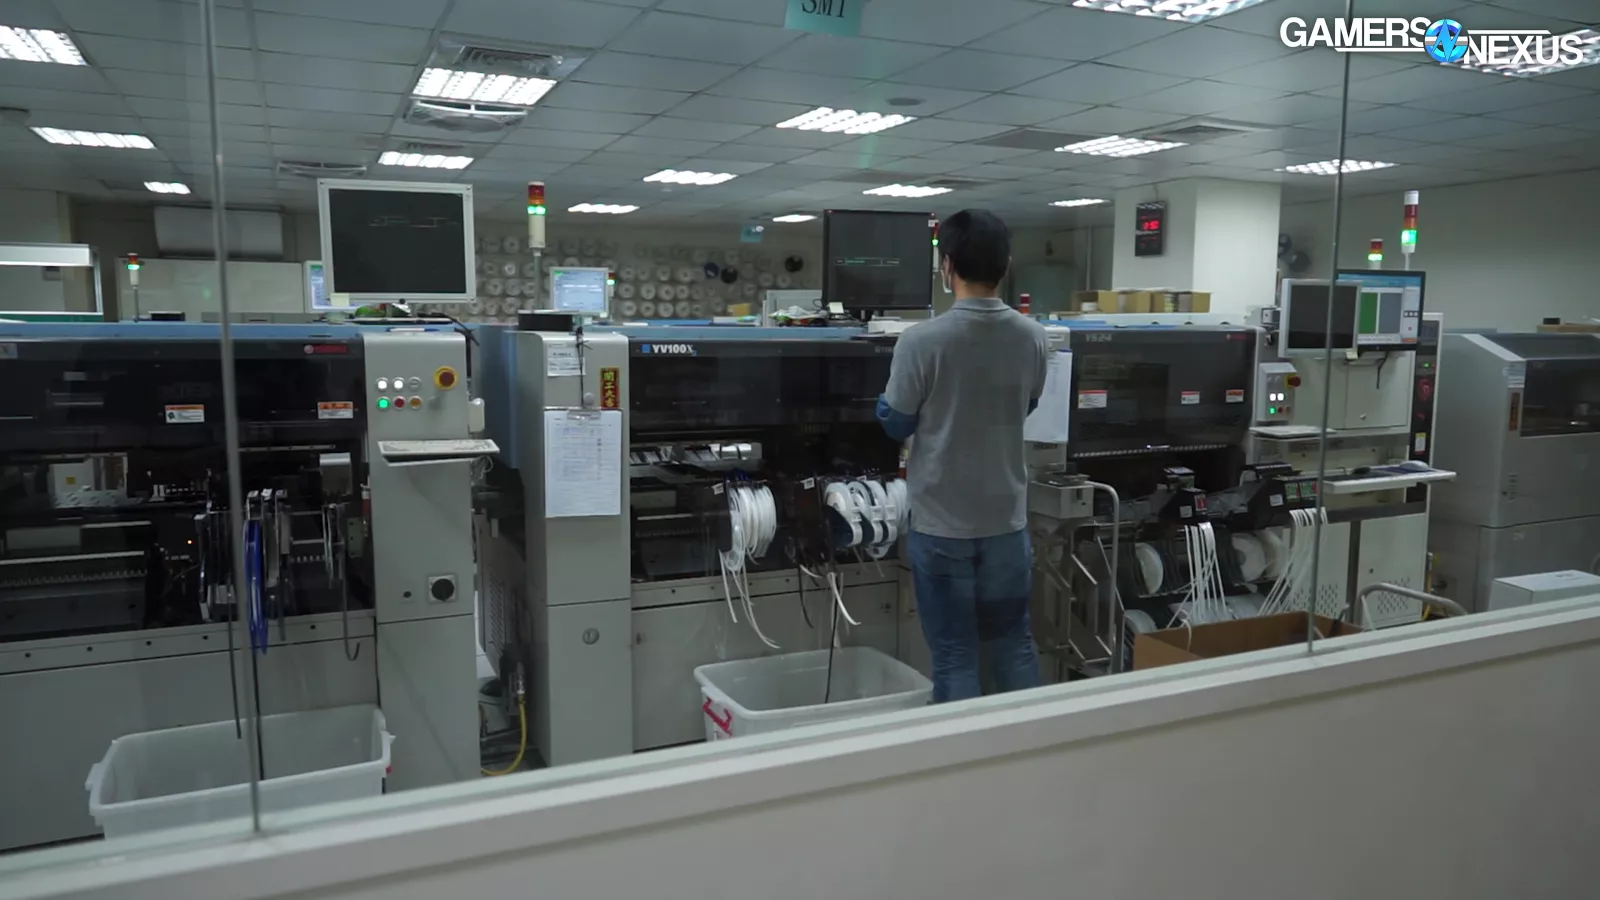

This is the V-Color SMT room, where it operates 2 full-length lines for manufacturing memory. These lines consist of solder paste machines, pick-and-place machines, and machines that cut the memory PCBs. They can fully manufacture their RAM in these lines, and we even get a digital view of the parts progressing through the line.
Because they’re making RAM, it’s small and efficient and can largely be run with a single operator in the room.
Surface Mount Technology lines are used for almost every component at some point in the production process. And they never stop being cool.
SMT lines in some factories, like the MSI one shown above and below, also integrate wave soldering lines that help to attach through-hole components to the board. RAM at V-Color's facility doesn't require this step, but it's one of the ways SMT lines are expansible.
They also have fast-paced robotic arms that place components with deadly precision.
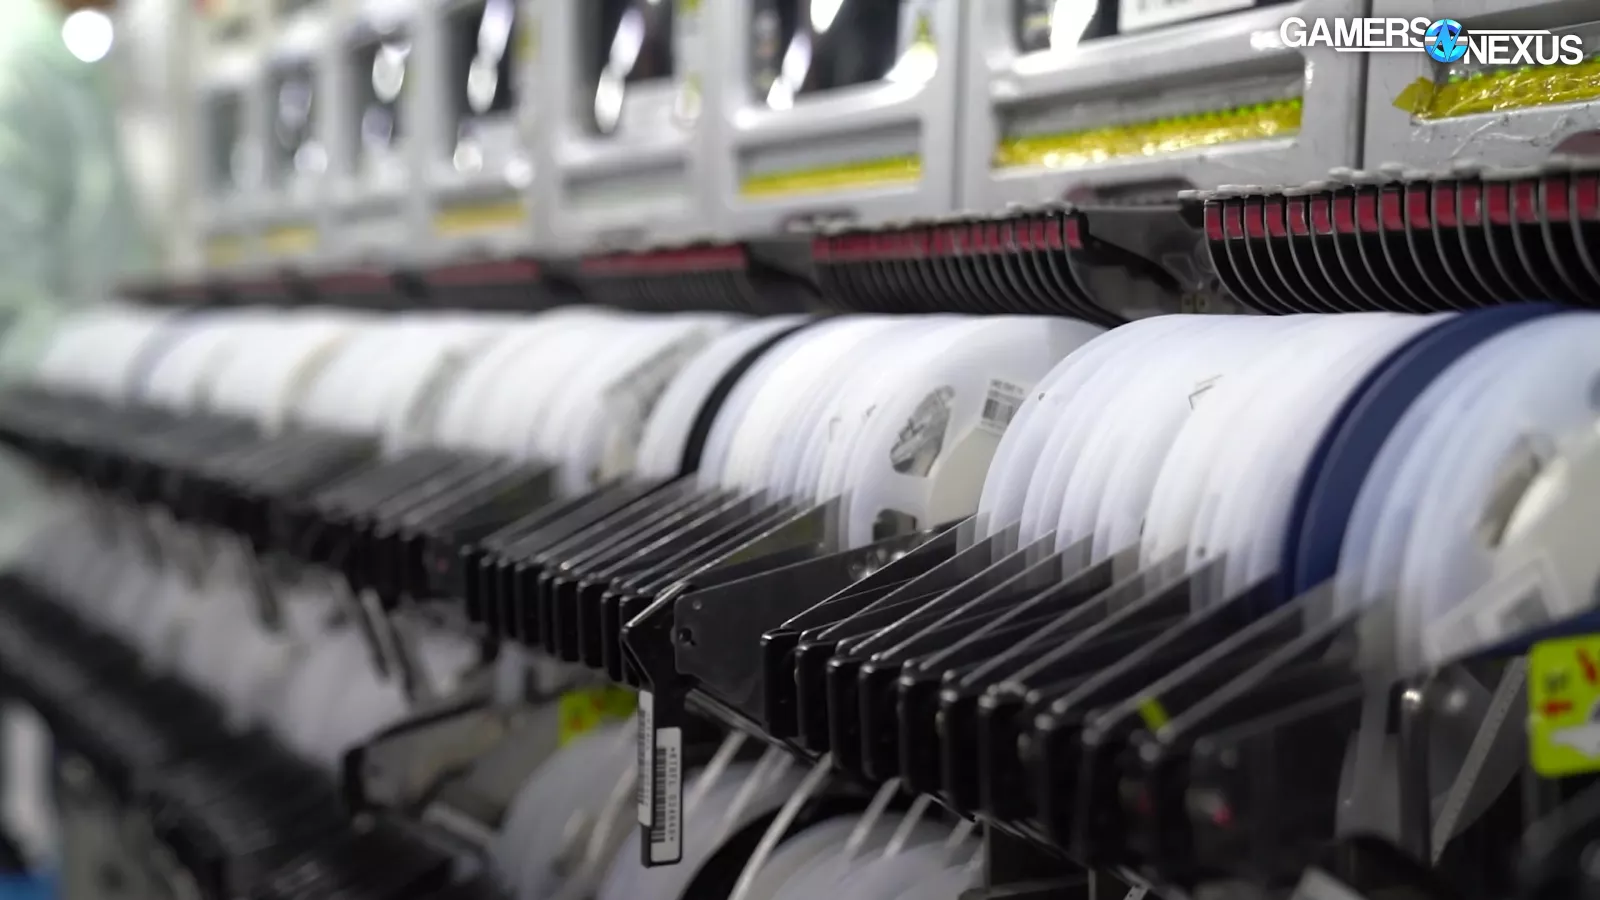
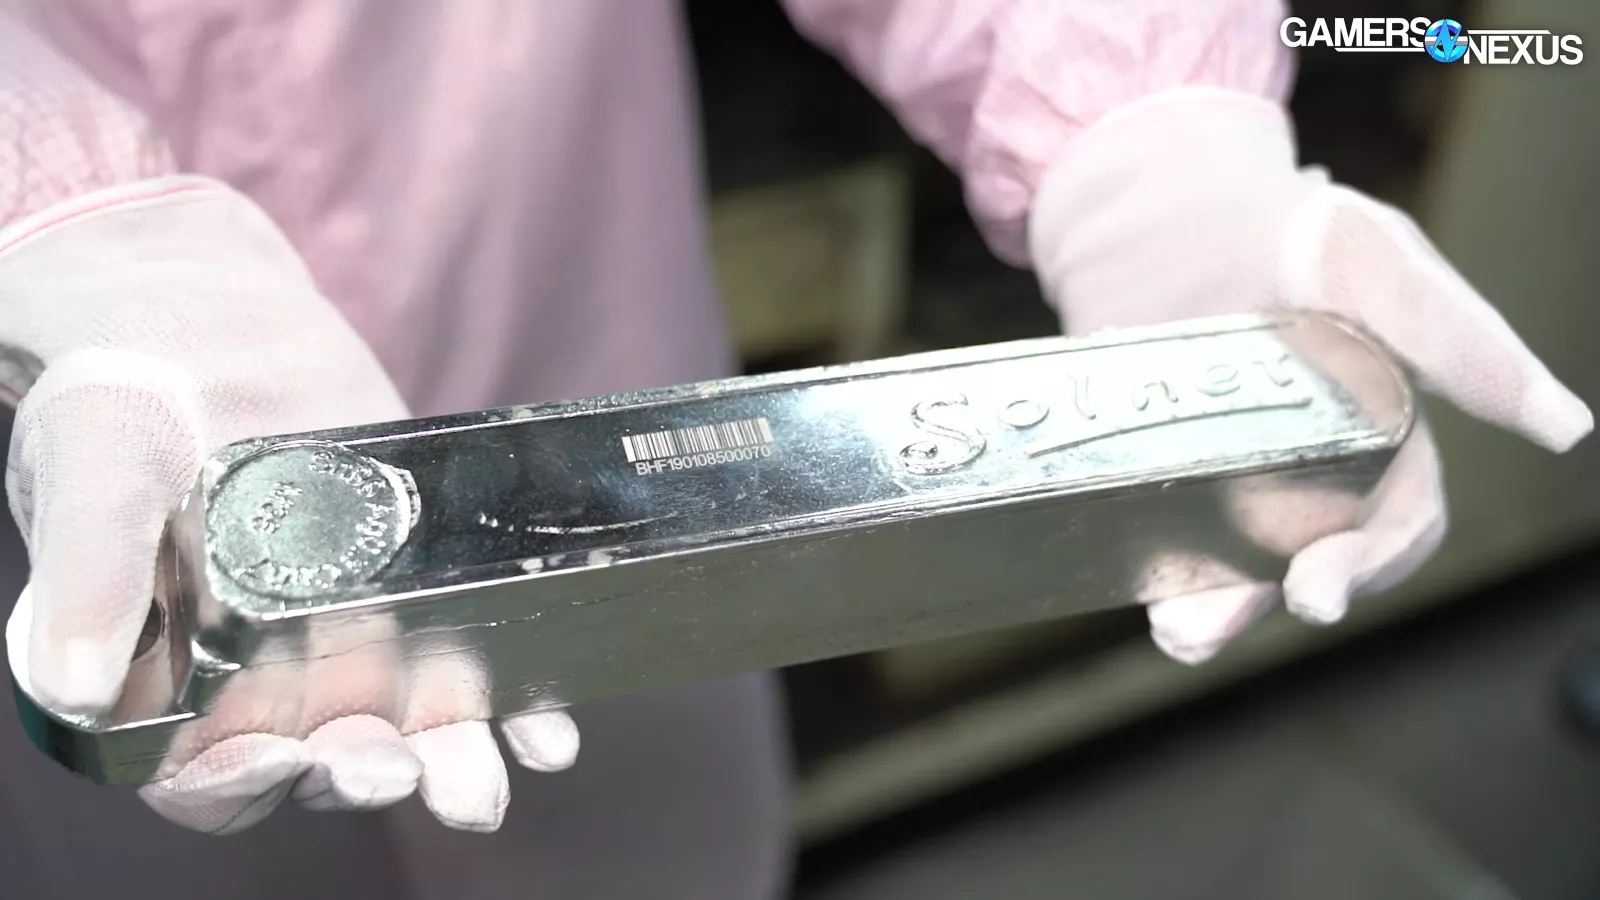
And the only human intervention is to keep a constant feed of reels upon reels of components, trays of GPUs or memory modules or silicon, and bars of solder.
Some lines, like MSI’s above, have extra steps for photography of motherboards or GPUs to check against customer RMAs in the future. We’ve also shown these at Gigabyte’s factory in Taiwan previously.
The longest SMT line we’ve ever seen is about 100 meters long and it was fully automated. Generally speaking, SMT lines will mount the smallest parts first and the largest ones later, which allows the machines to keep the speed high as they don’t need to dance around taller components (like inductors). Heatsinks are often placed by hand on motherboards.
V-Color’s line is smaller than the VGA lines by comparison, but it doesn’t need to be the same size. RAM is a relatively simple product: You have a PCB and a bunch of small caps and resistors, then the memory chips themselves. There’s not much to it.
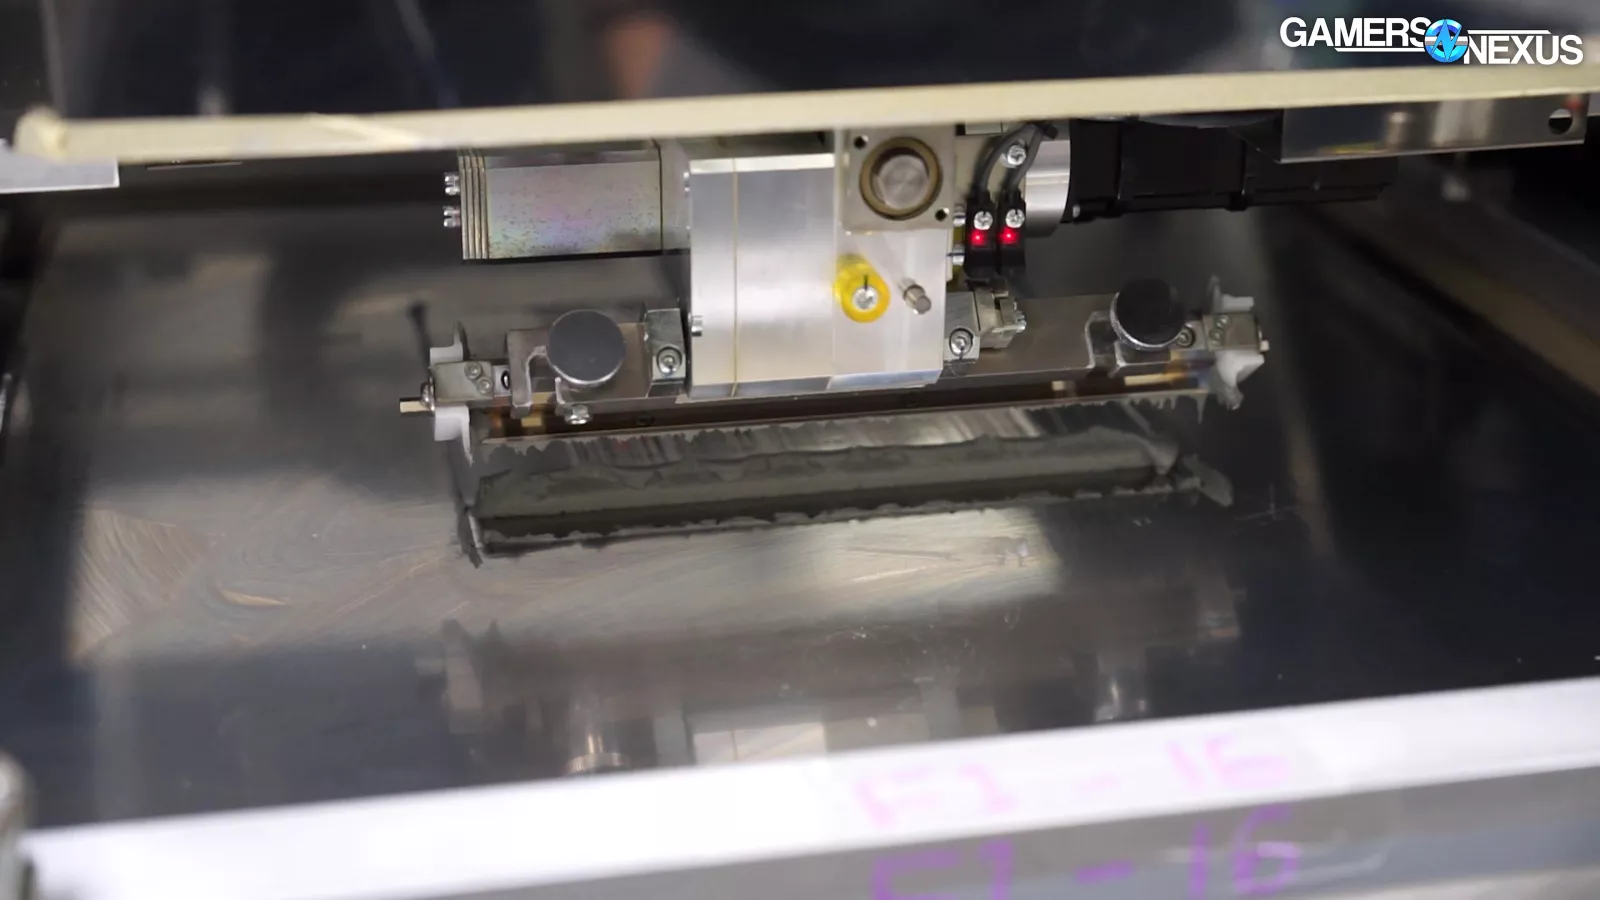
The first step of the SMT process is to load the solder mask and the blank memory PCBs. The RAM goes through a machine that applies a thick paste to the board. This prepares the stick to get baked later, which solidifies the components to the PCB.
Next, a conveyor belt takes the stick away.
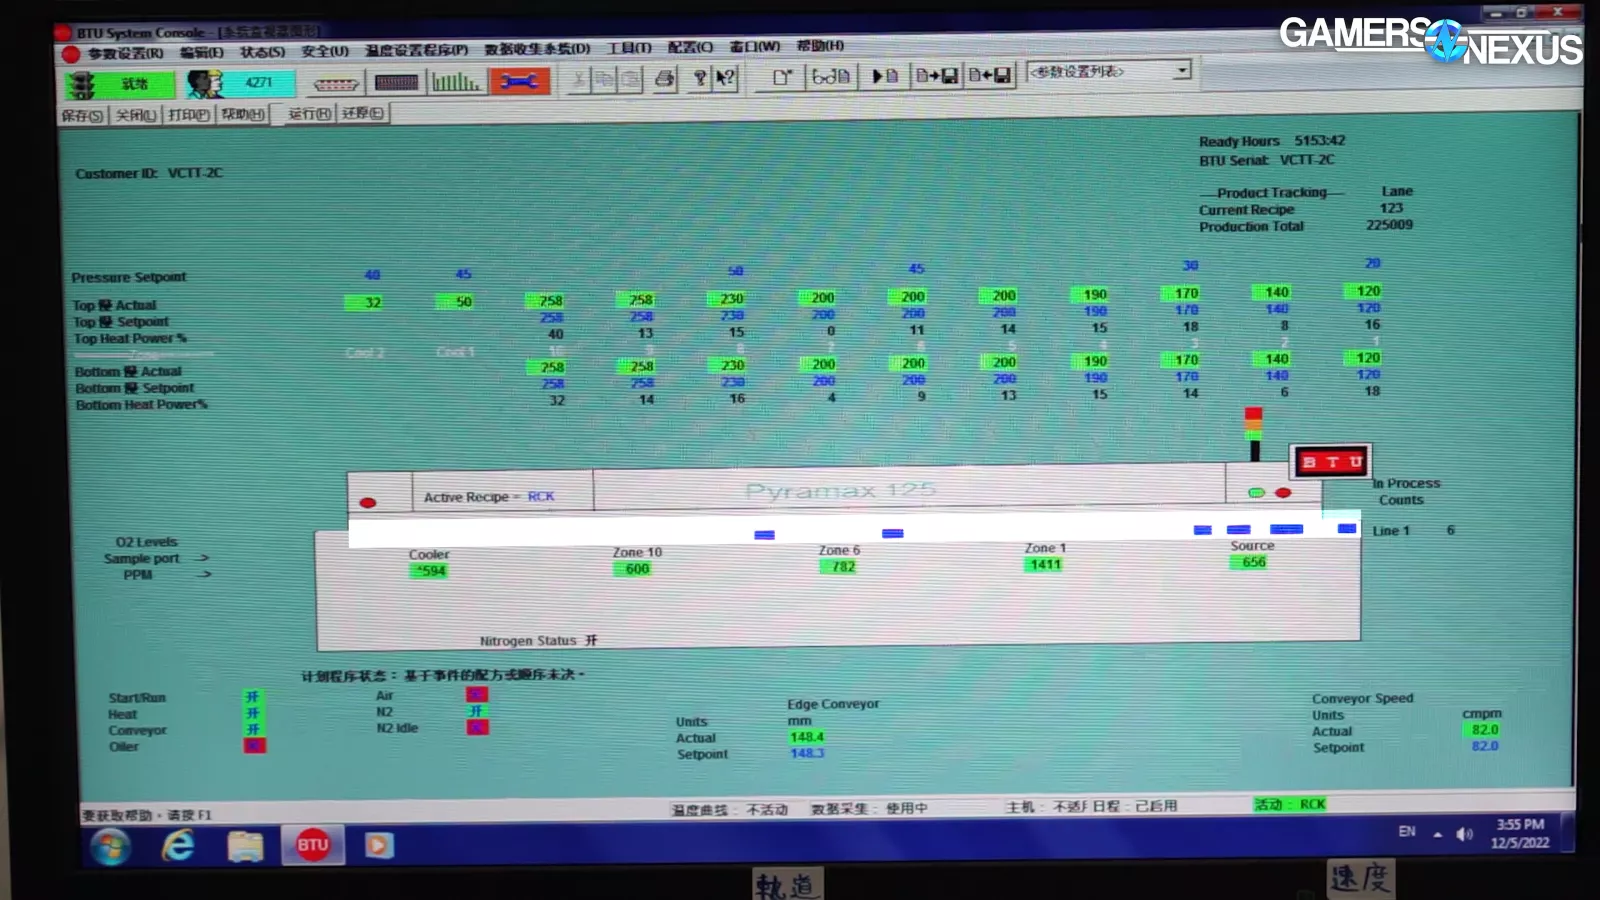
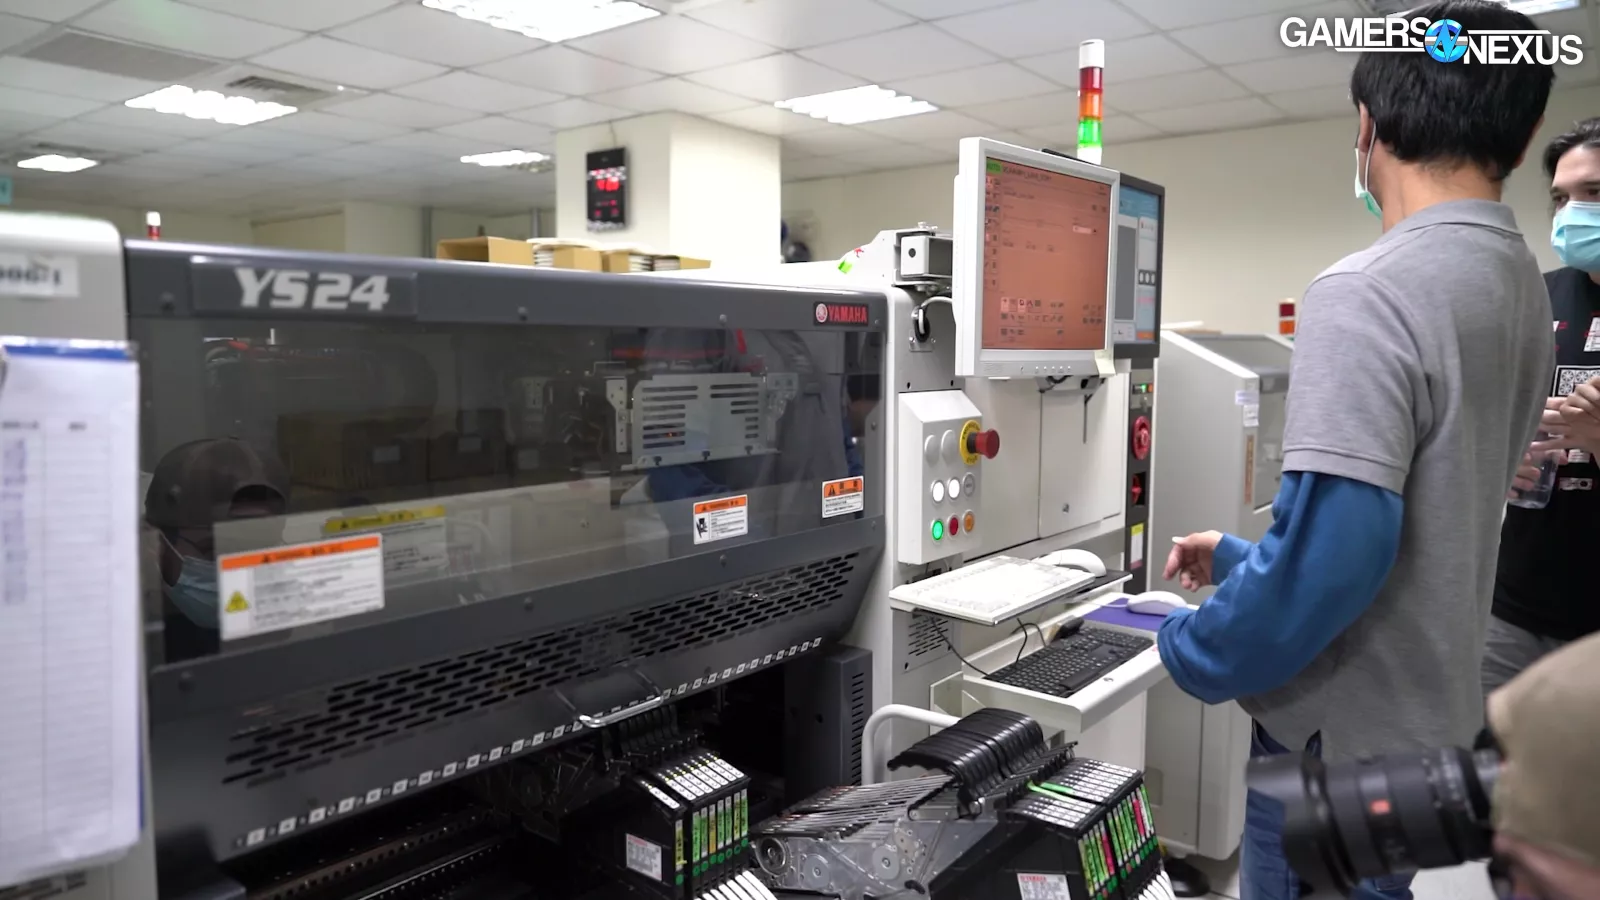
Checking the monitor, we can see where each batch of memory is in the process. The blue blocks represent where the batches are. They move from right to left. The bottom right gives away the speed: This belt is moving at 82 centimeters per minute. We normally aren’t allowed to shoot these screens, so this is one of the shots we were the most excited about because it shows a commander’s view of the line.
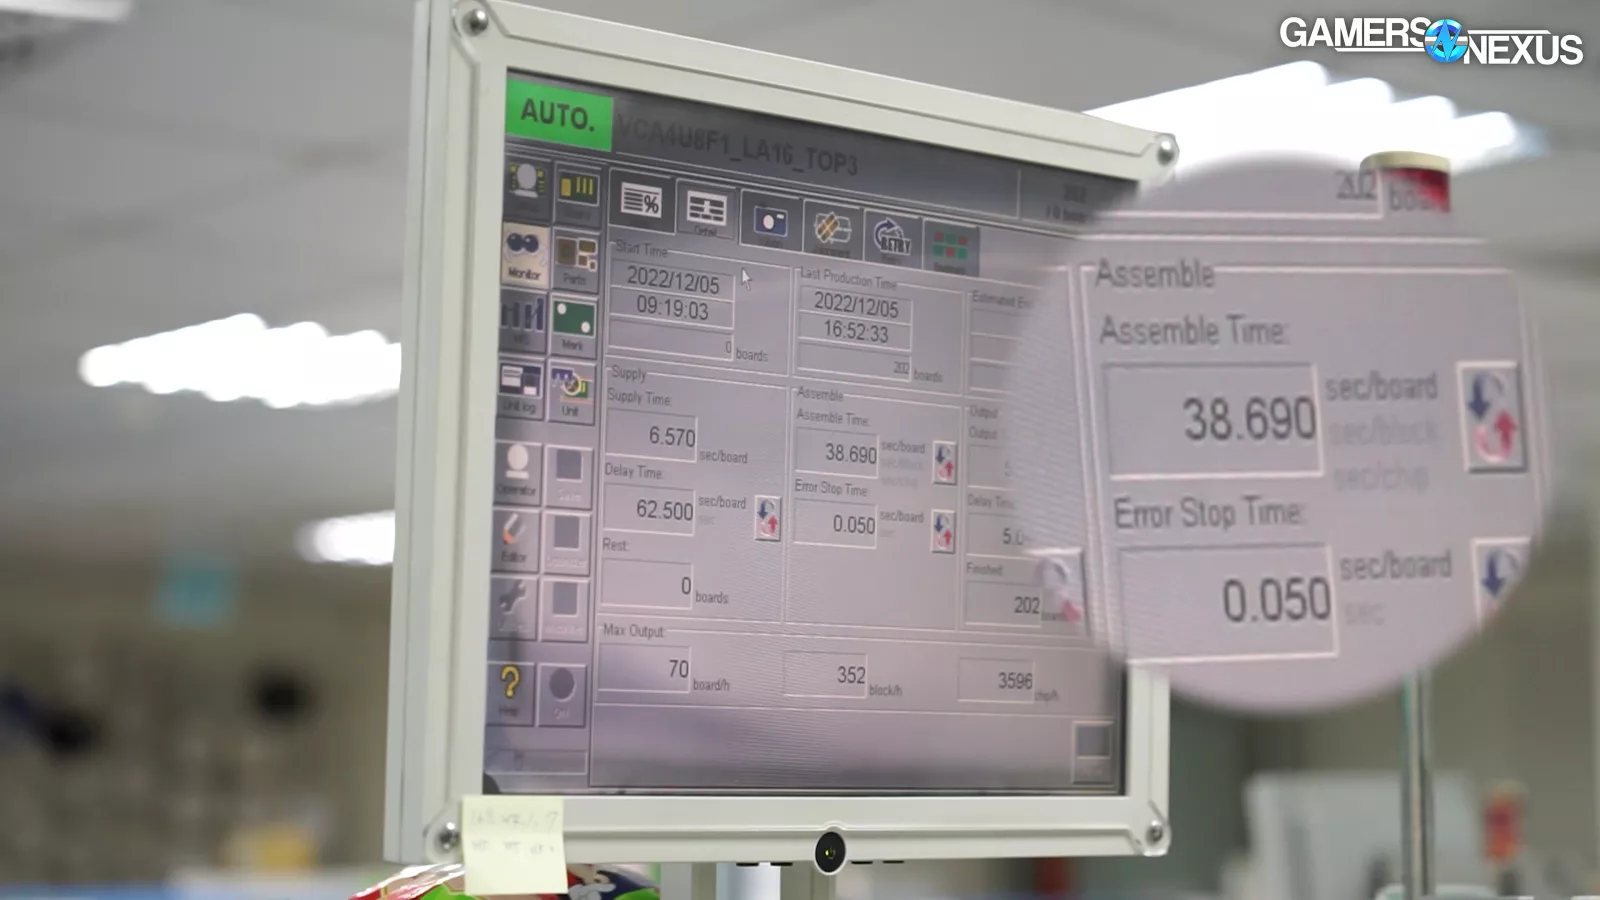
But there’s another secret we get to show in this tour: A second screen. This one tells us the time break-down, and also outs how long we’ve held onto this footage. You can see that the assembly time is 38.68 seconds per boards, which is impressively fast. Currently, the line is processing 3,529 chips per hour and 70 boards per hour, averaging about 50 components per board.
Remember, that’s everything: Each part on these reels and each part getting placed by these robots is counted here, not just the memory. Complex motherboards can be thousands of parts.
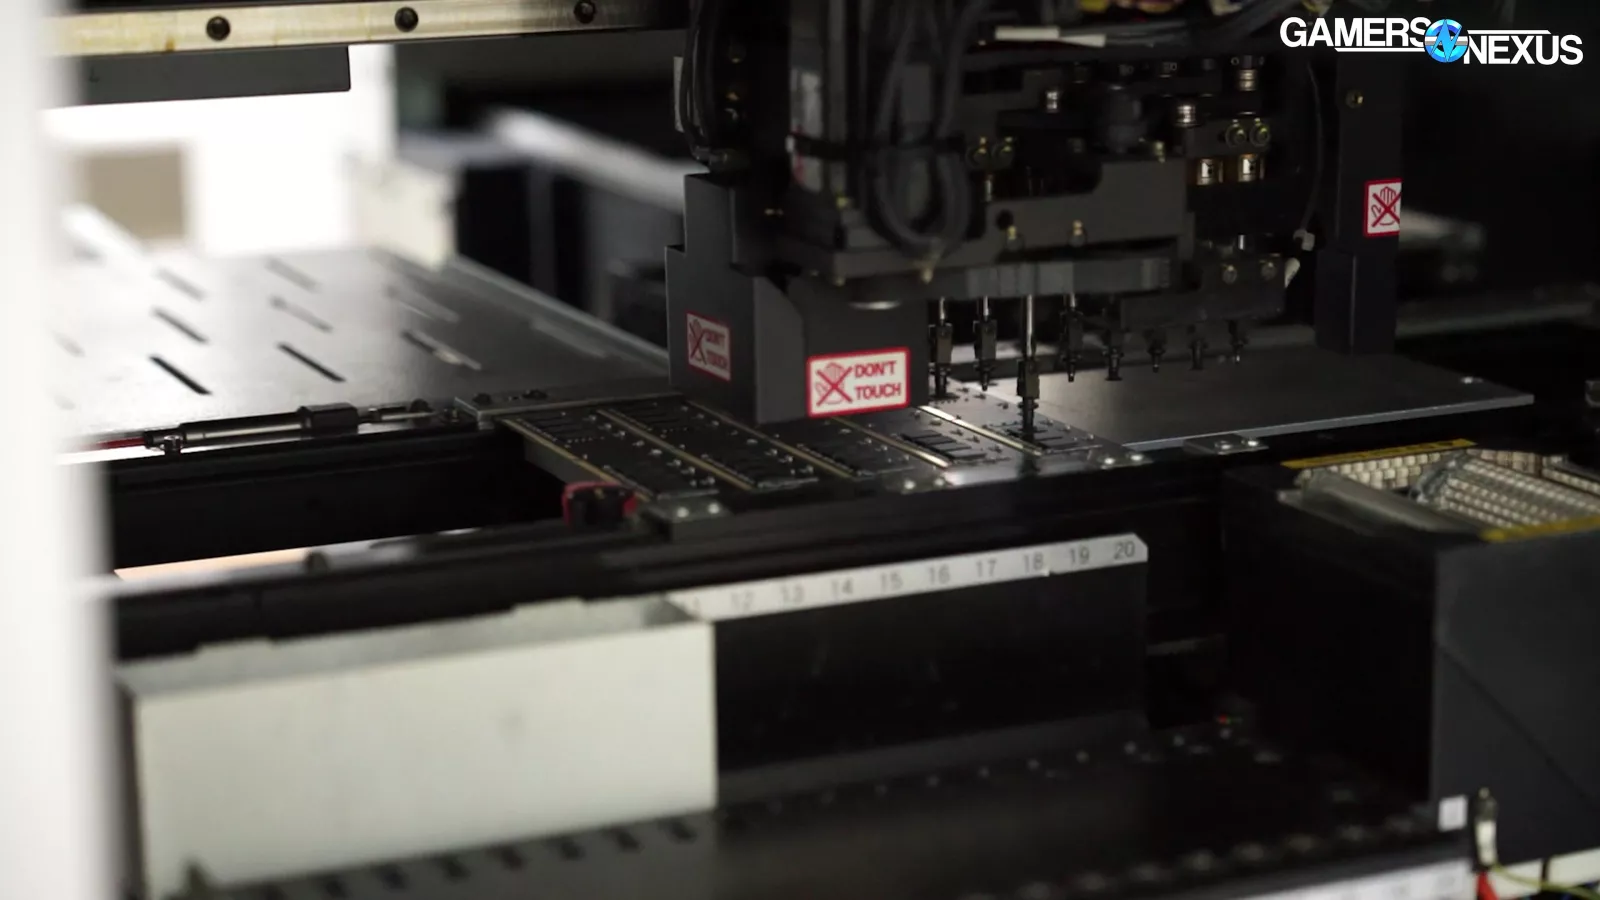
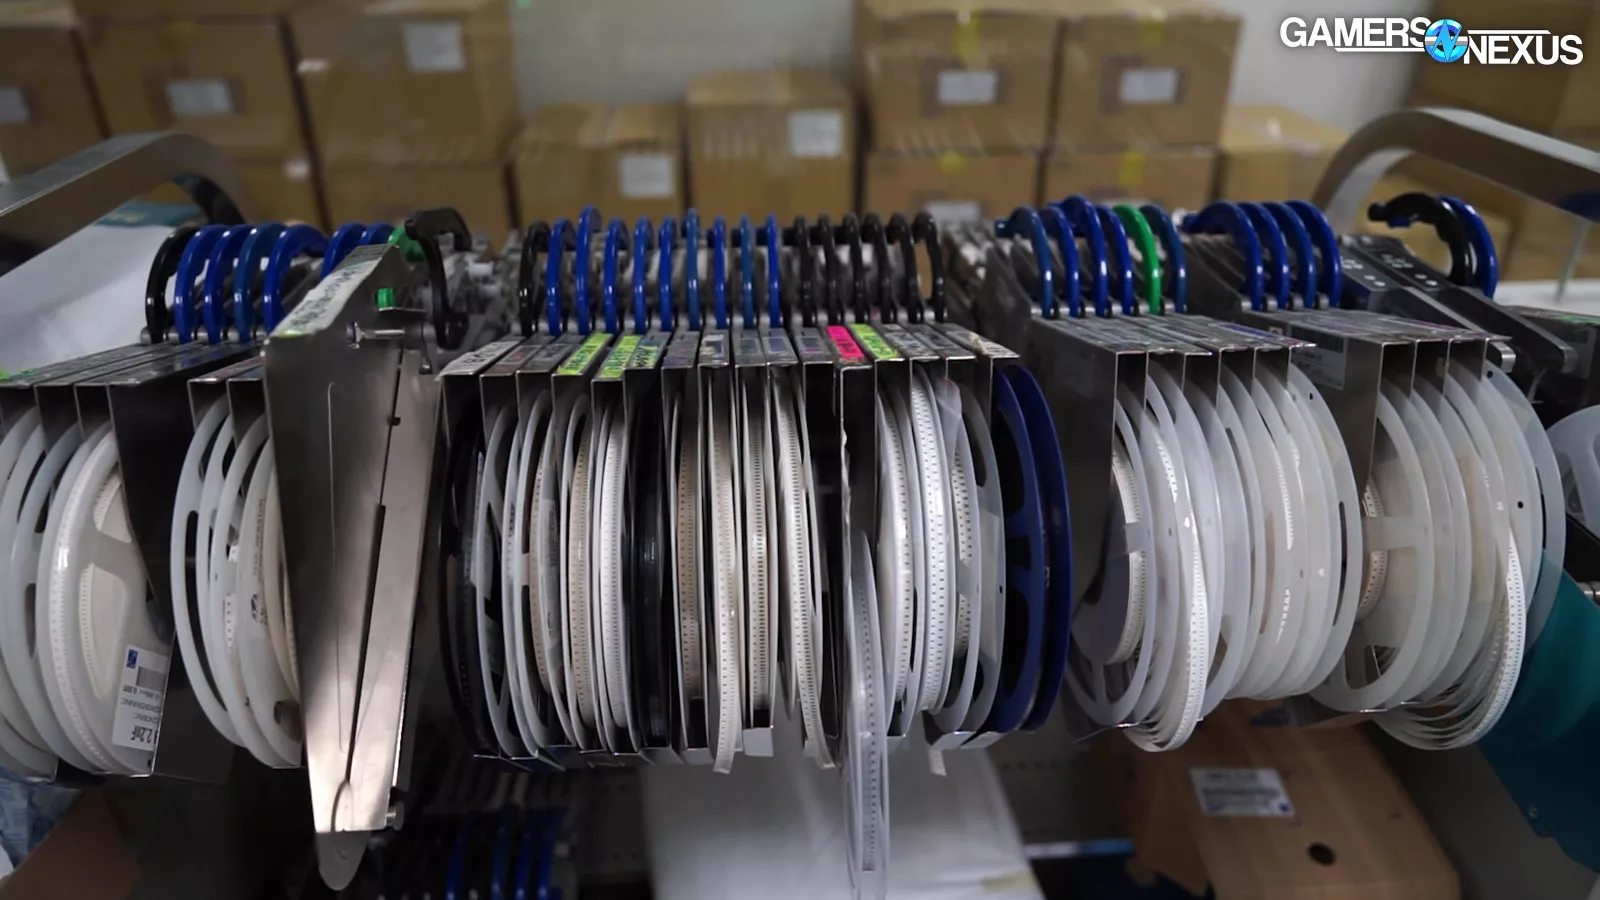
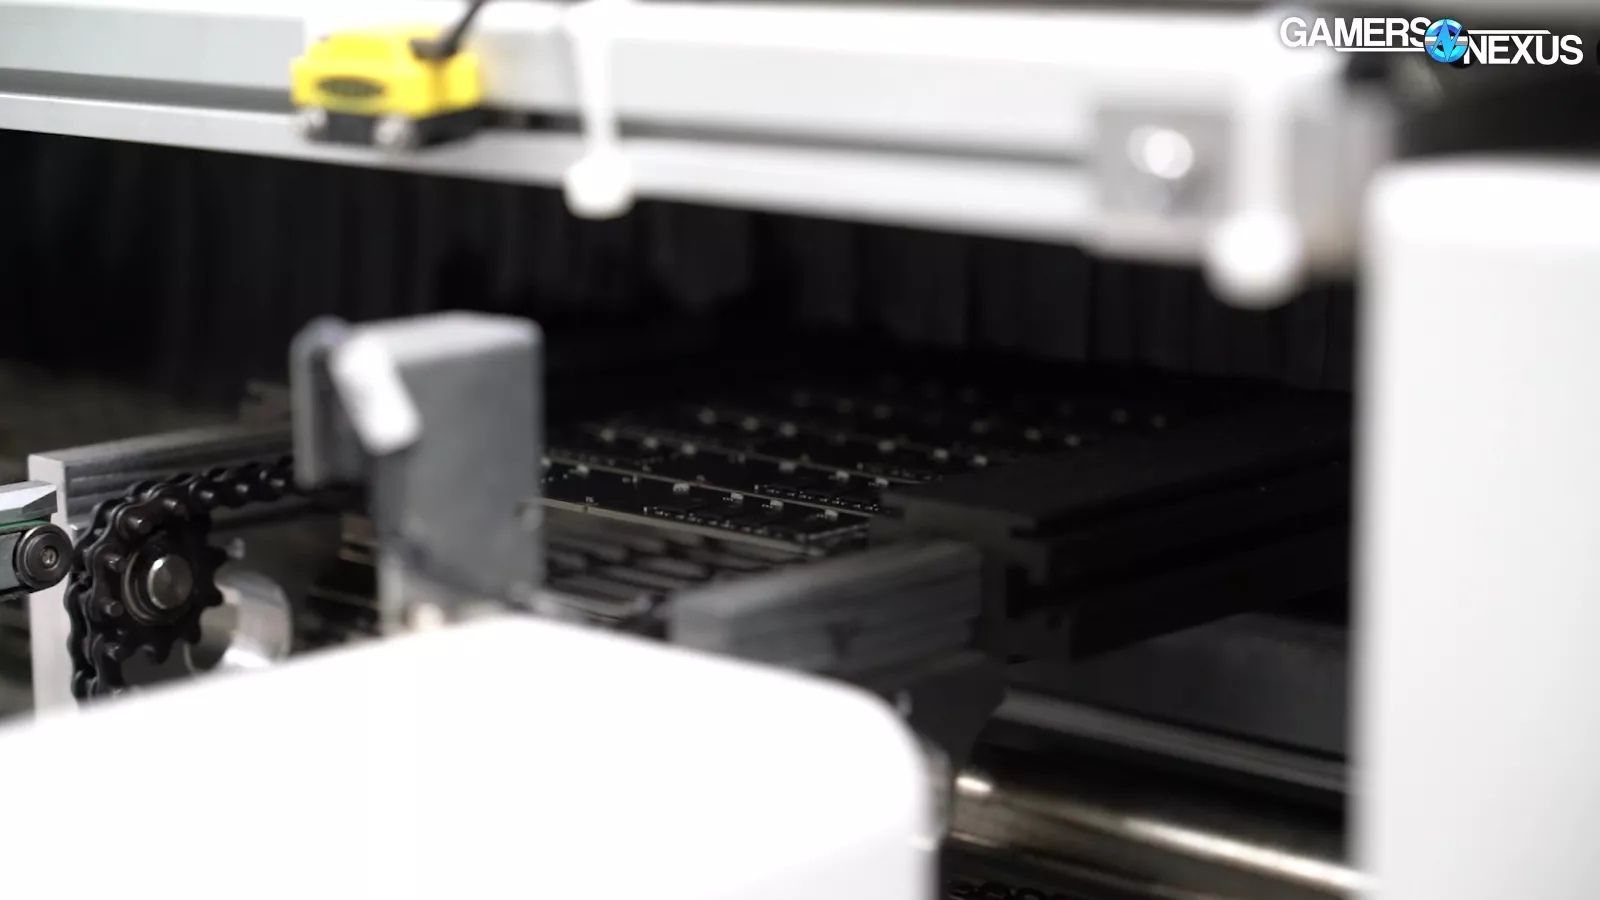
After going through the solder paste application, the RAM progresses to a machine that performs automatic optical inspection and begins the pick-and-place process. There are multiple stages of pick-and-place in this pipeline: Each pick-and-place machine pulls from reels of thousands of small components.

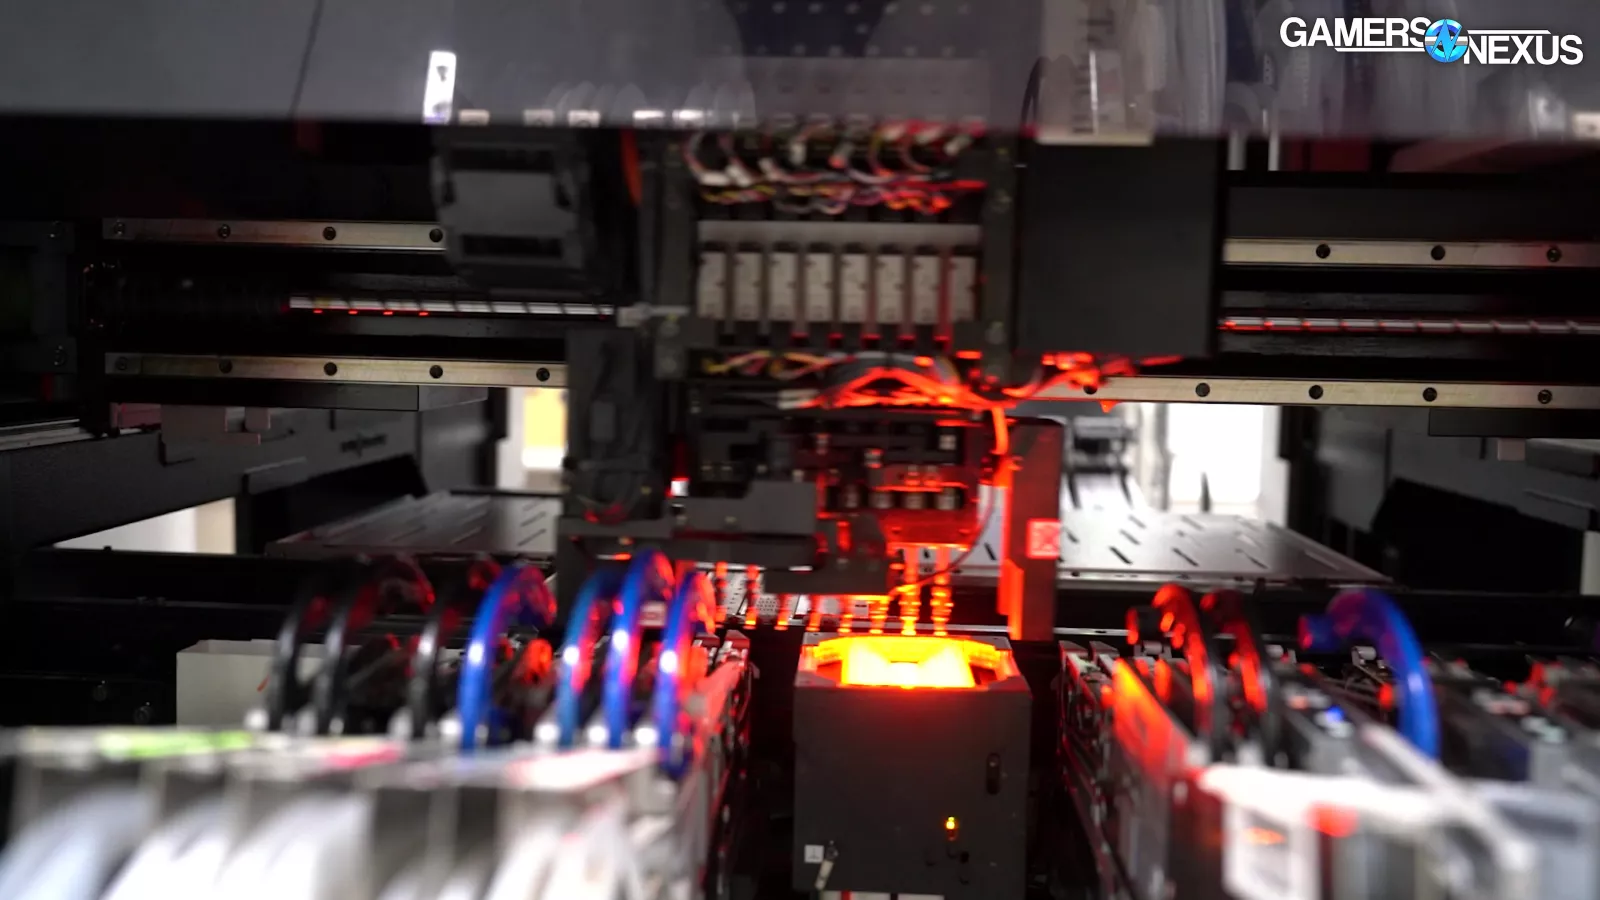
In this shot, we can see the memory chips themselves getting placed on the PCB by the robotic arm, before and after each movement it’s optically scanning to ensure accurate placement prior to baking.
We also have a few shots where they paused the line for us to see the interior of the machines, but they had to be turned off for these shots. You can see each of the reels feeds into this like ammo belts, with the moving head actuated by gas lines and compressed air.
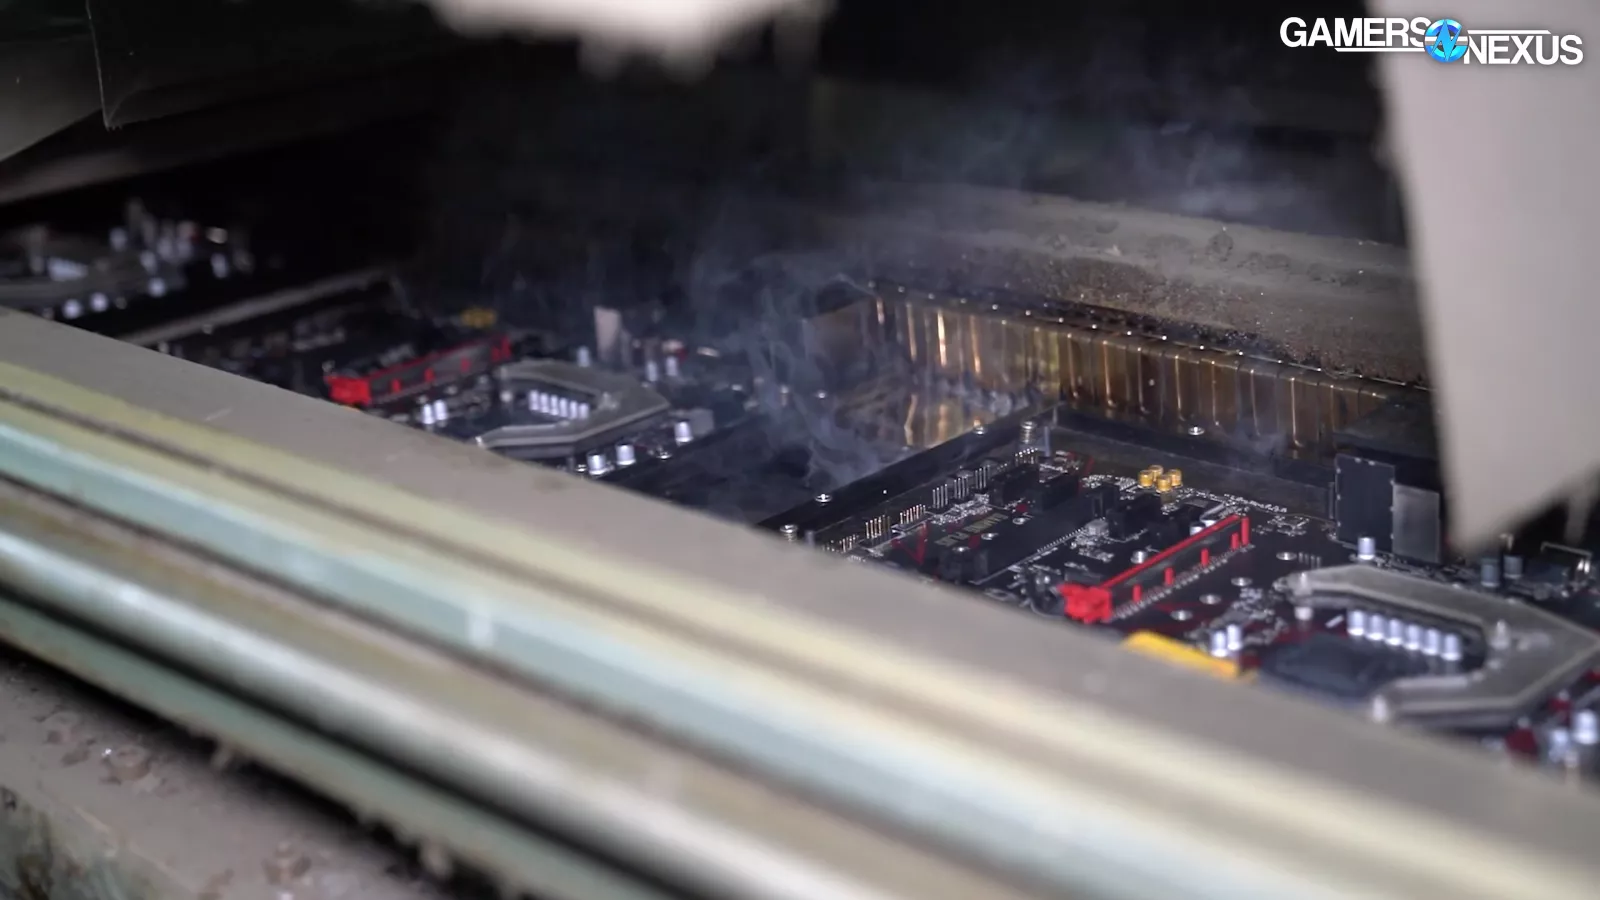
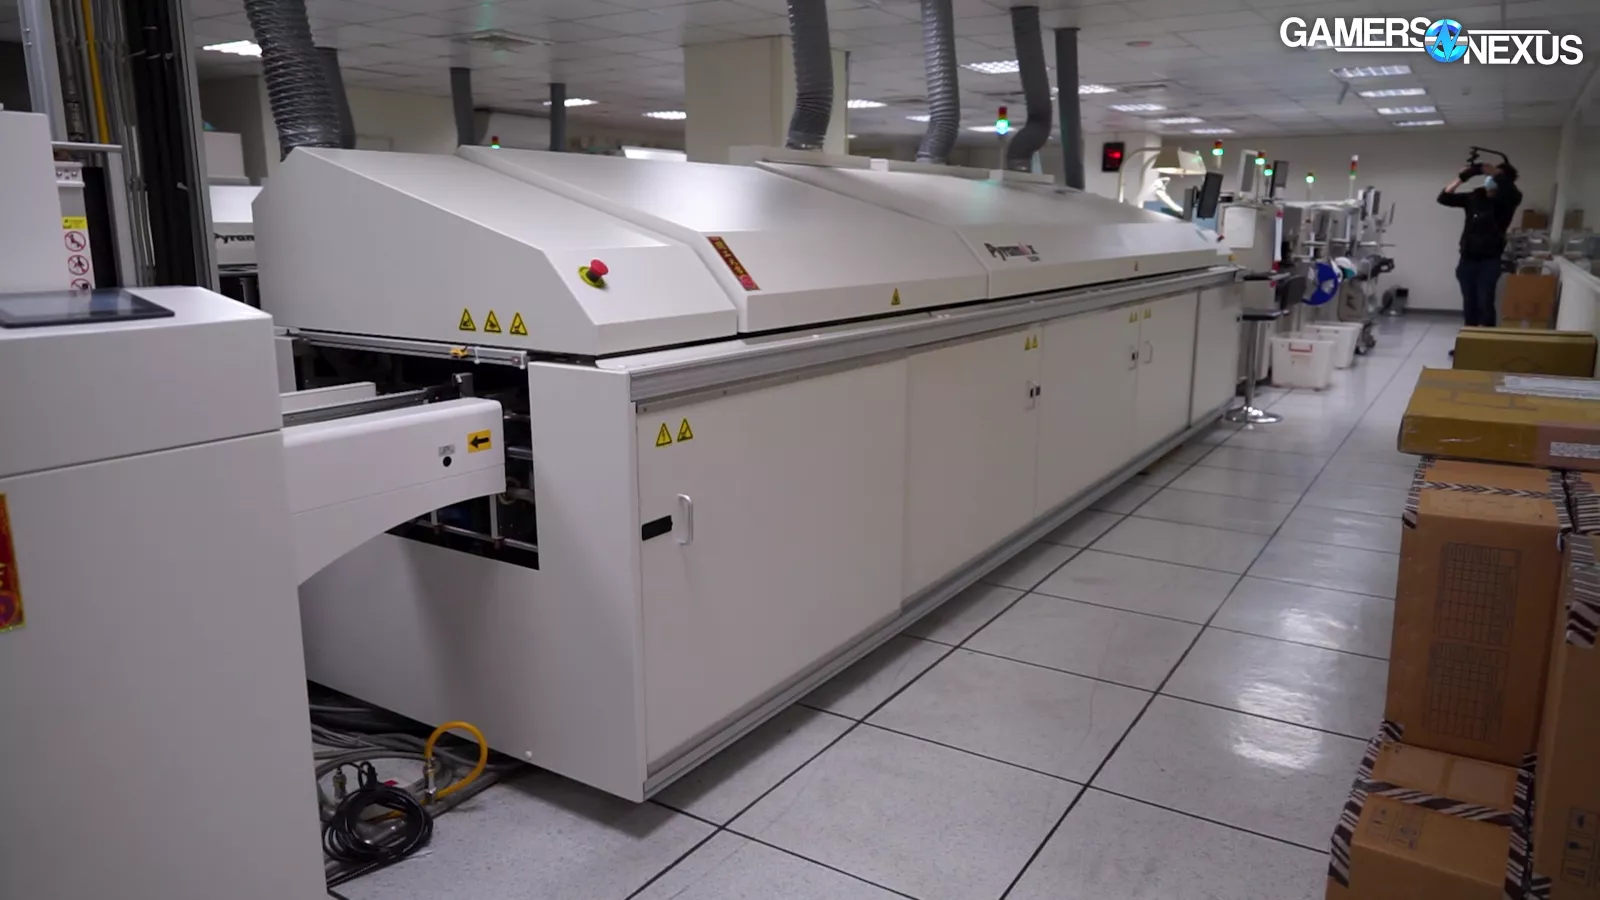
Ovens operate at multiple temperatures in this line, each baking the components securely onto the PCB. The hottest oven is the first one, meant to ply the solder paste for use, running at 260 degrees Celsius.
The last oven is the coolest of them as the more sensitive components have been placed by this point.
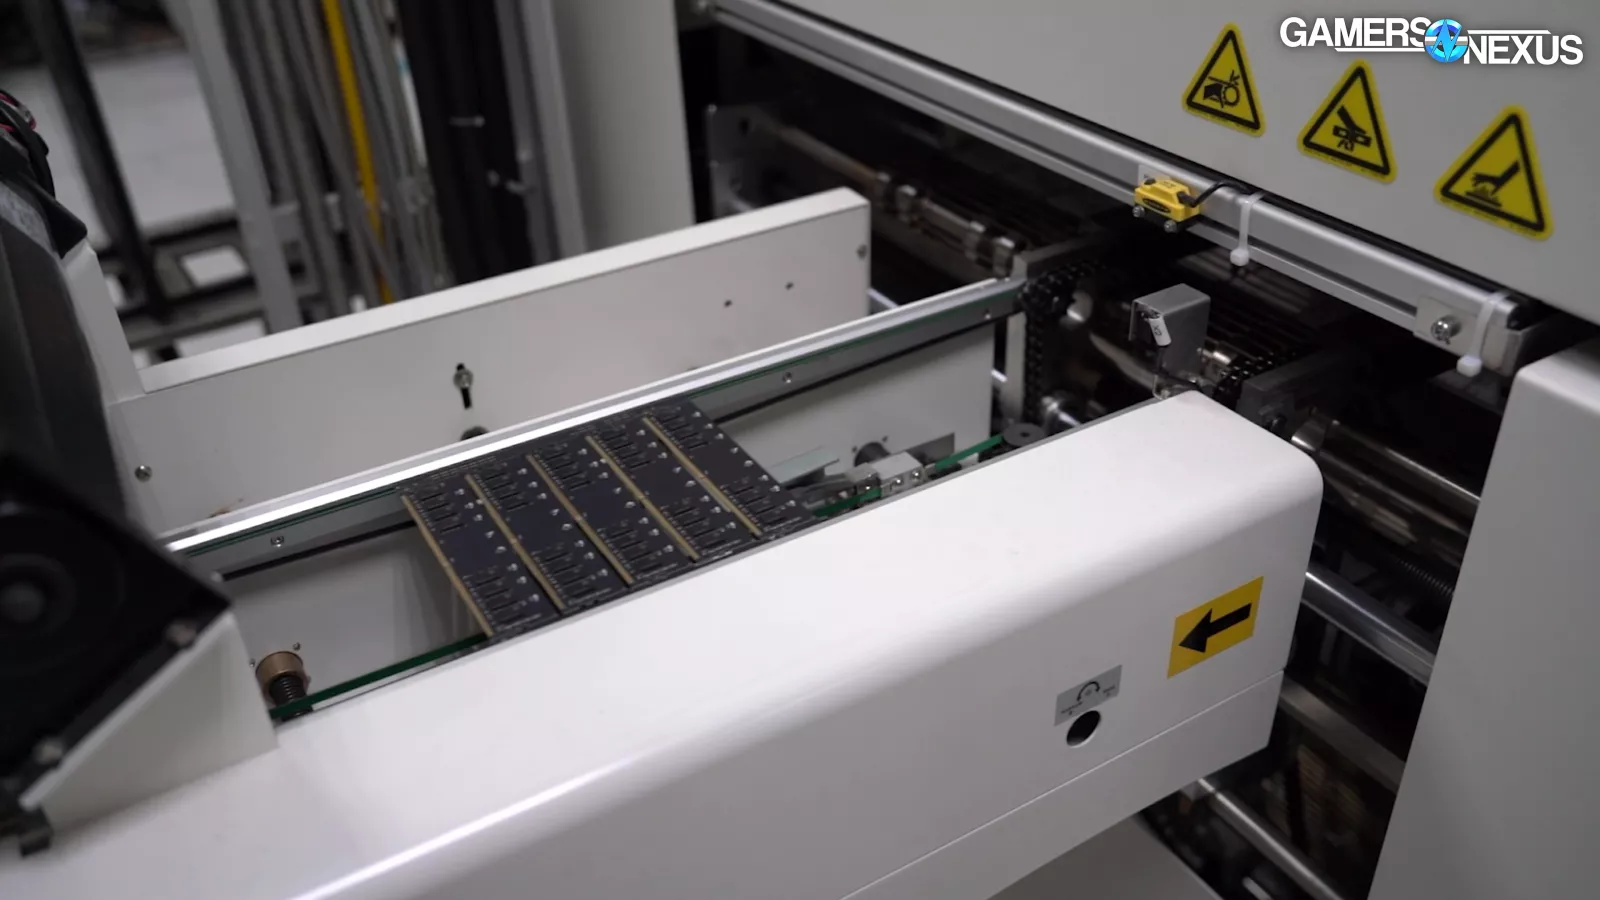
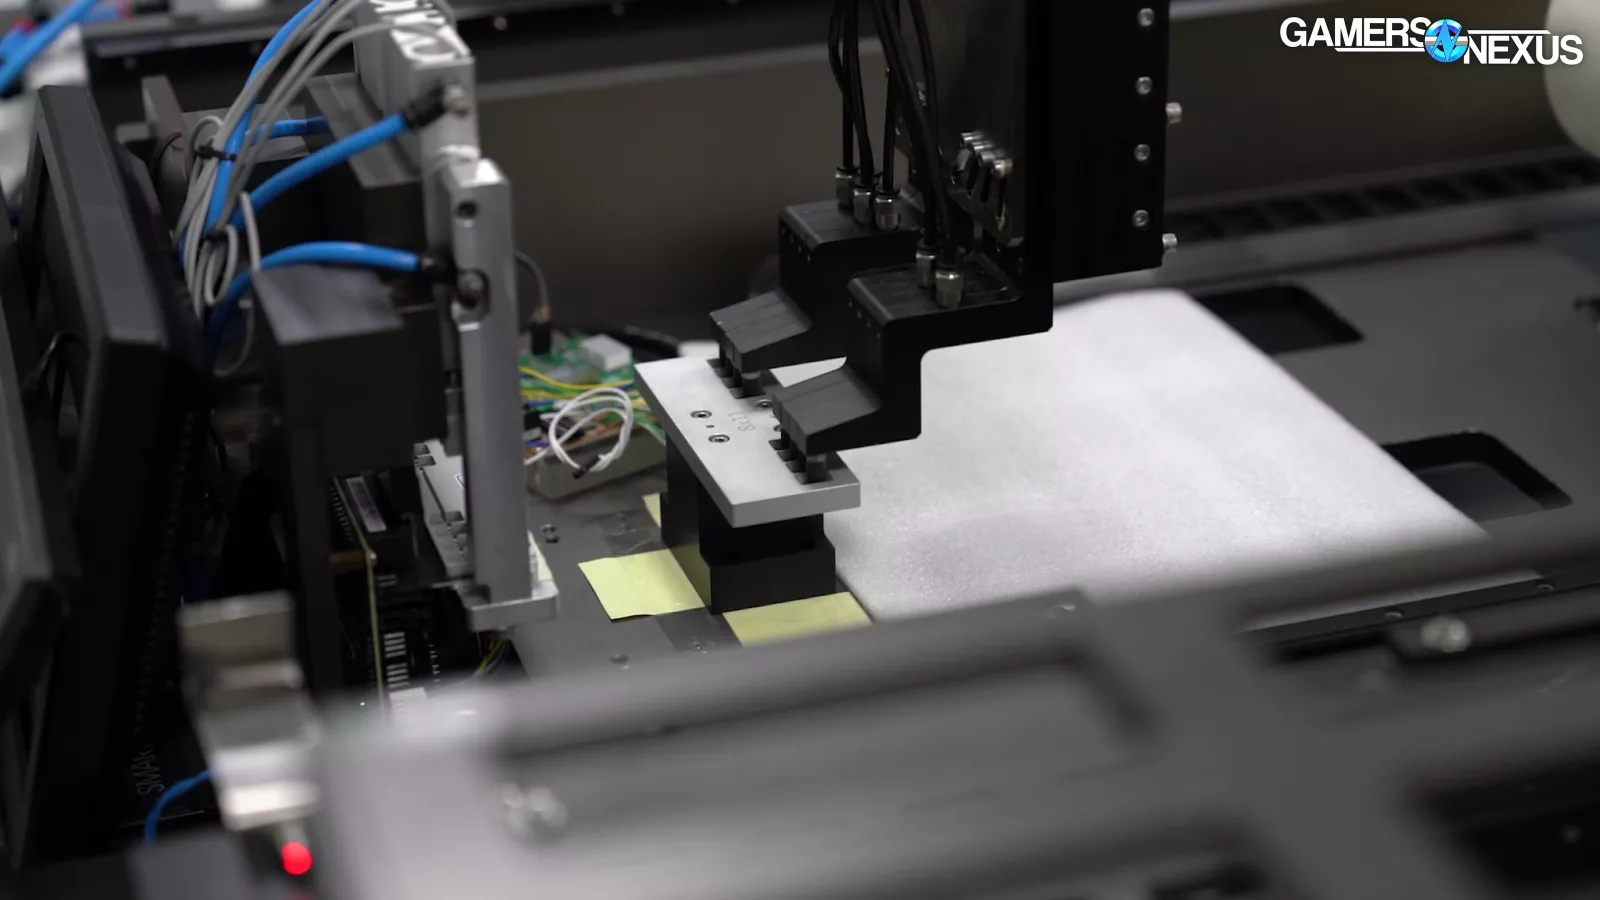
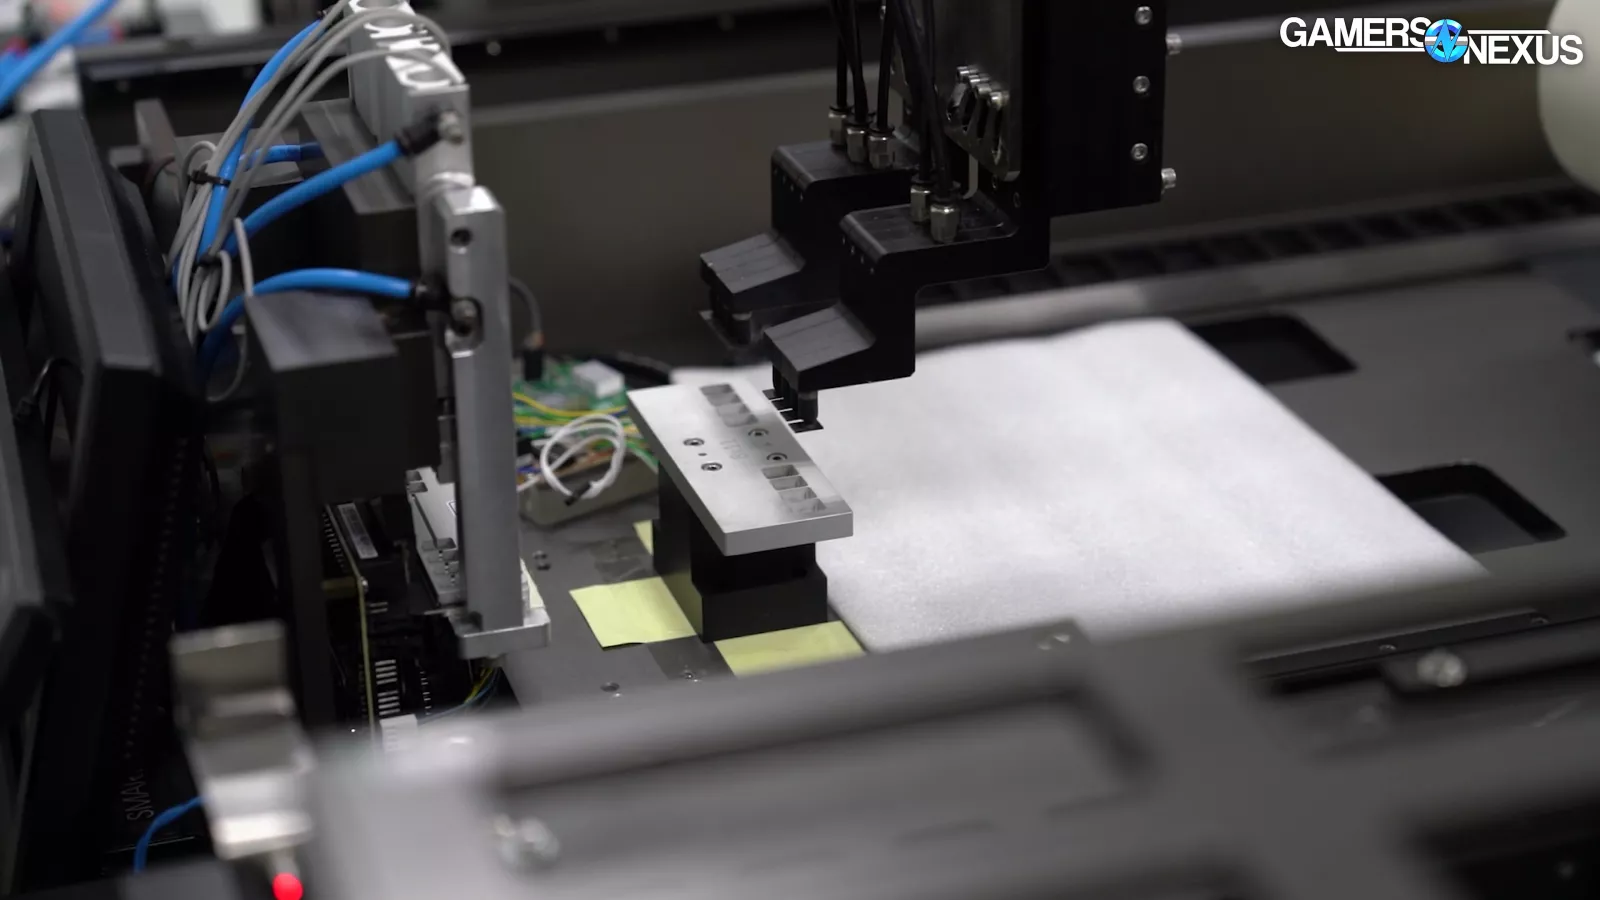
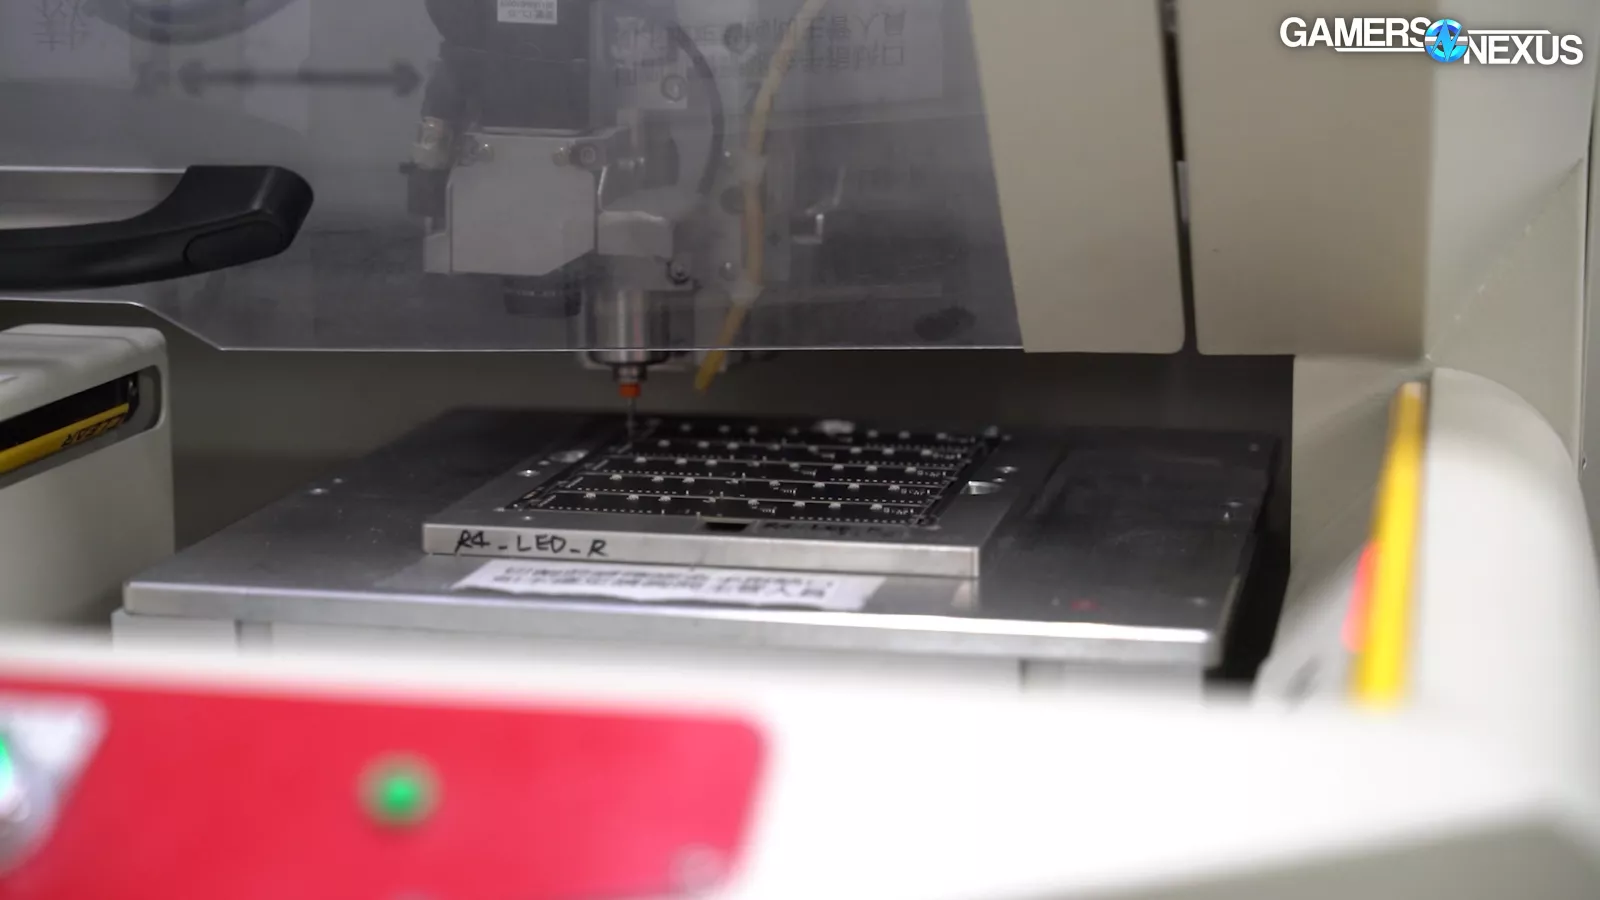
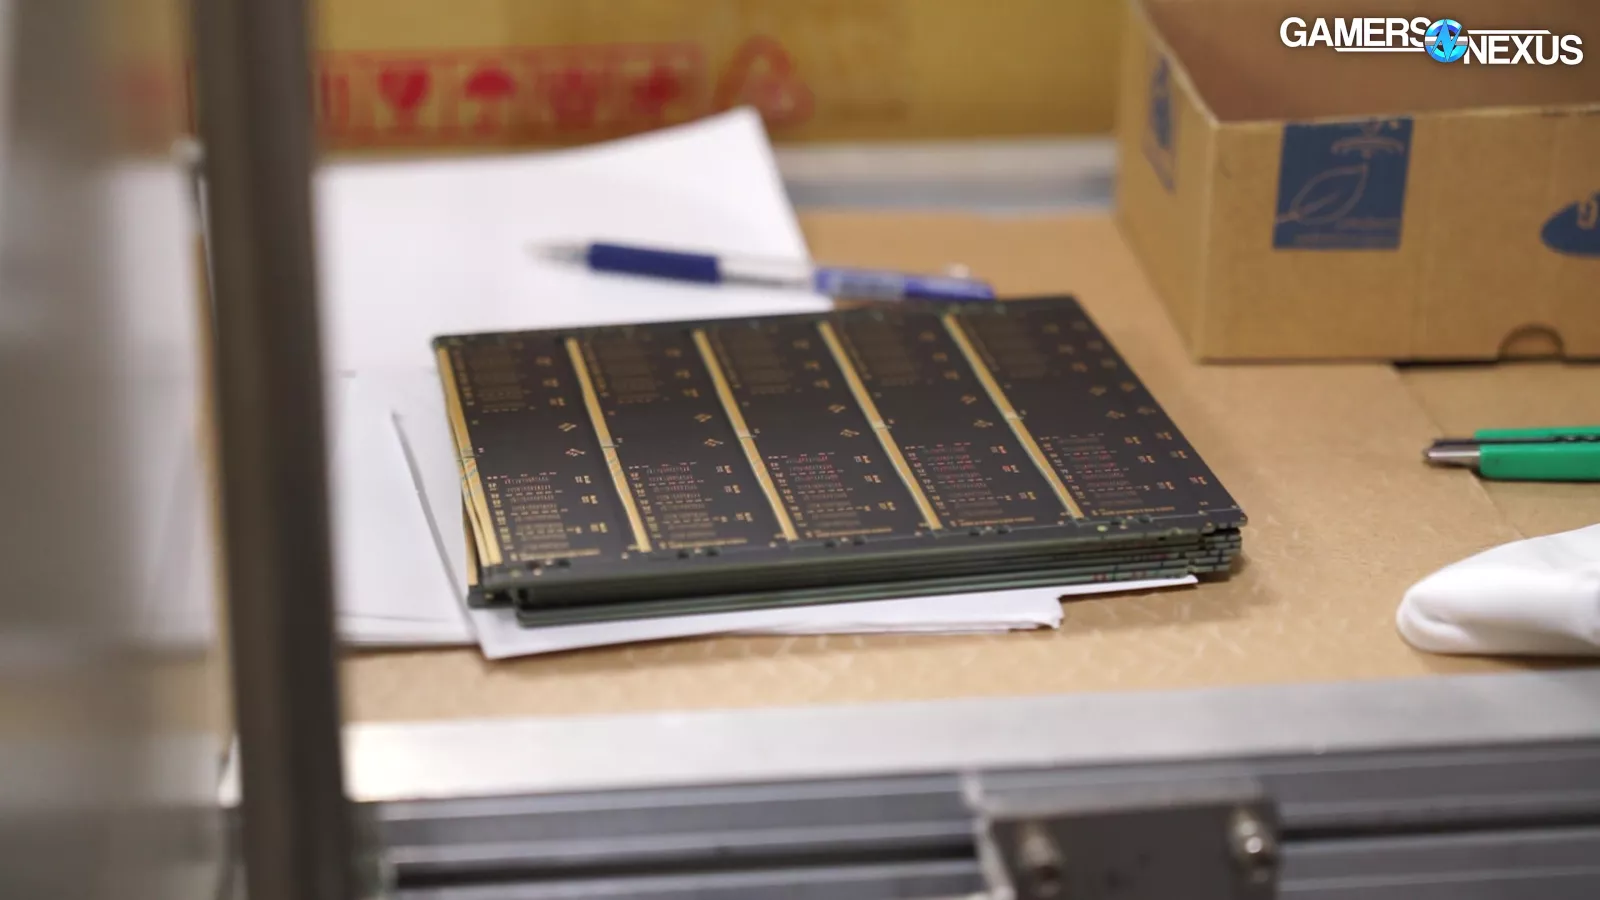
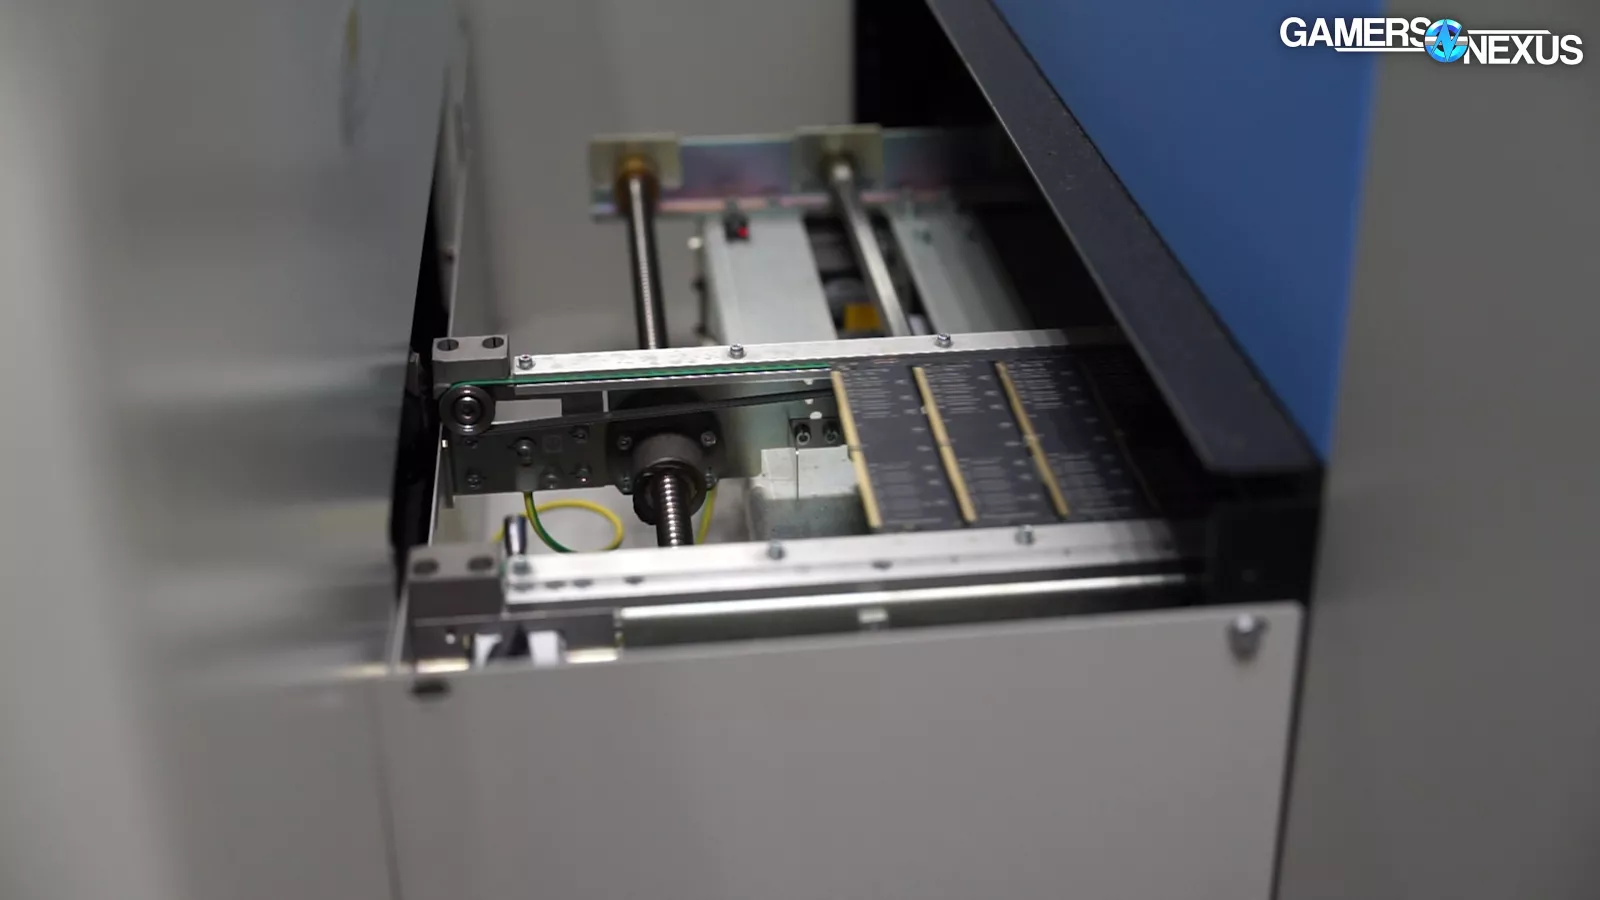
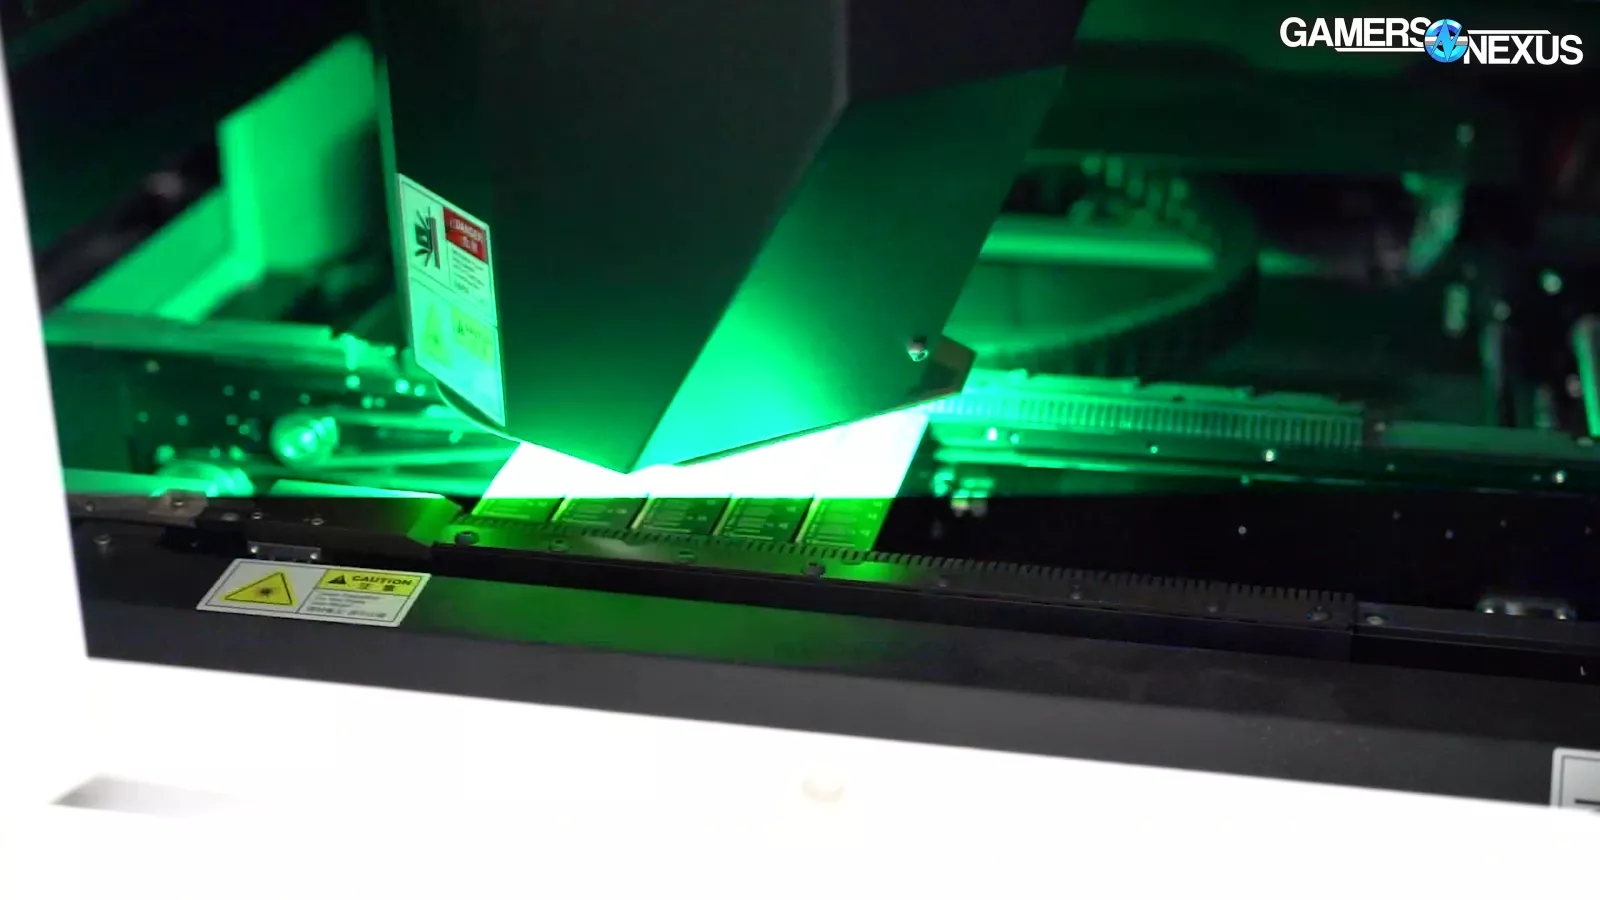
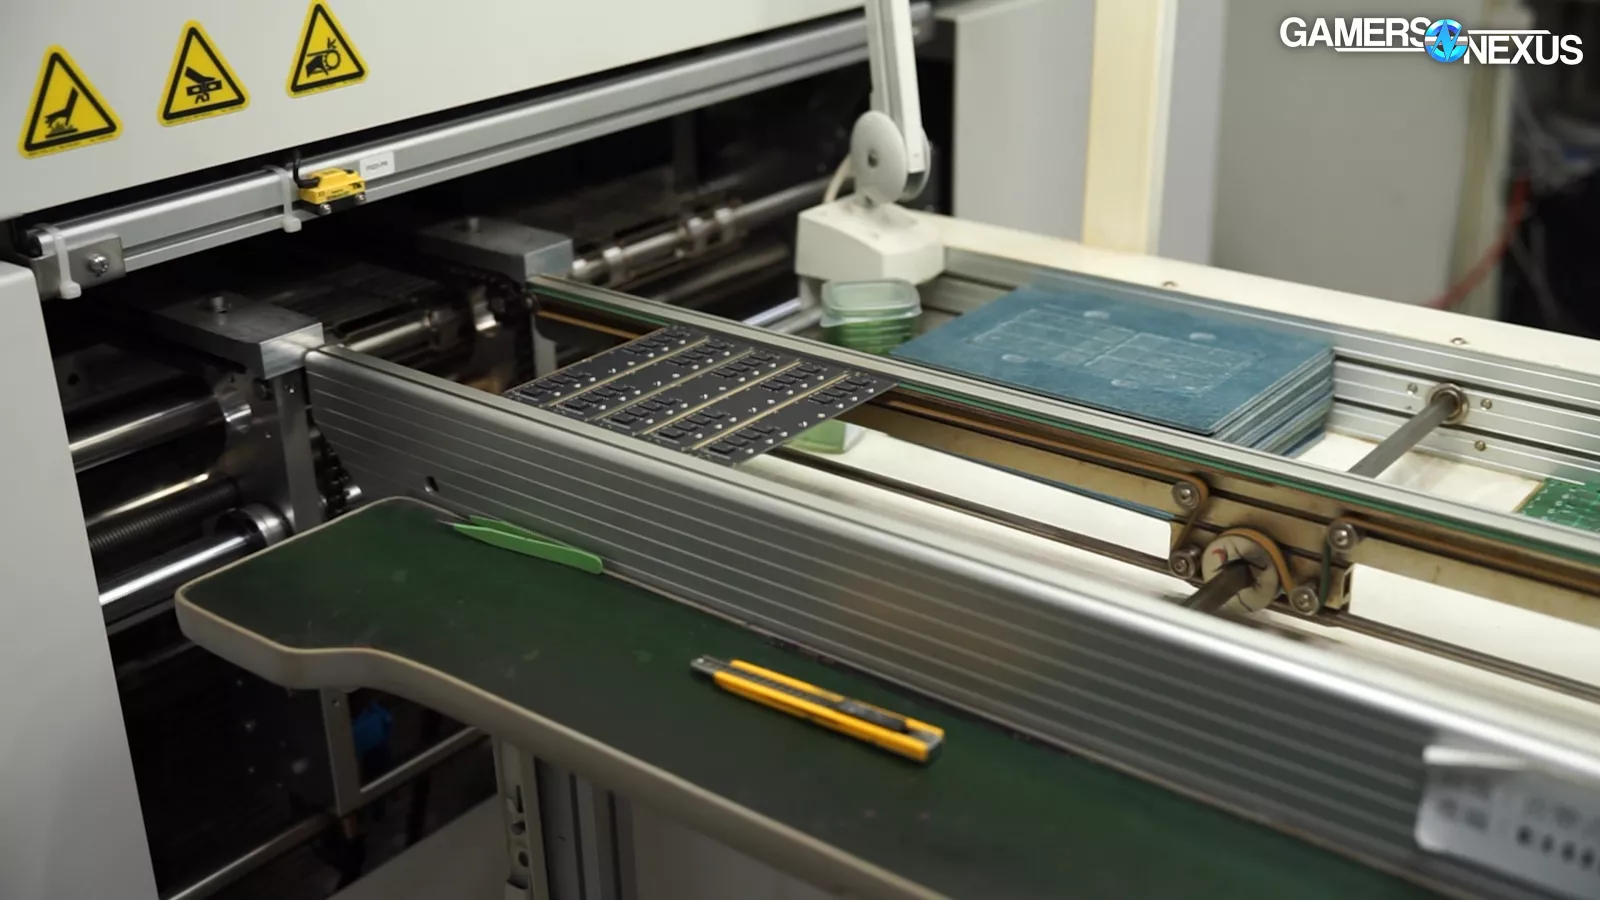
At the end, the memory is spat-out 5 complete sticks at a time, consisting of all components and ready for separation. Compared to all these precision robots, PCB separation is a relatively simple process mostly involving a CNC router of some kind.
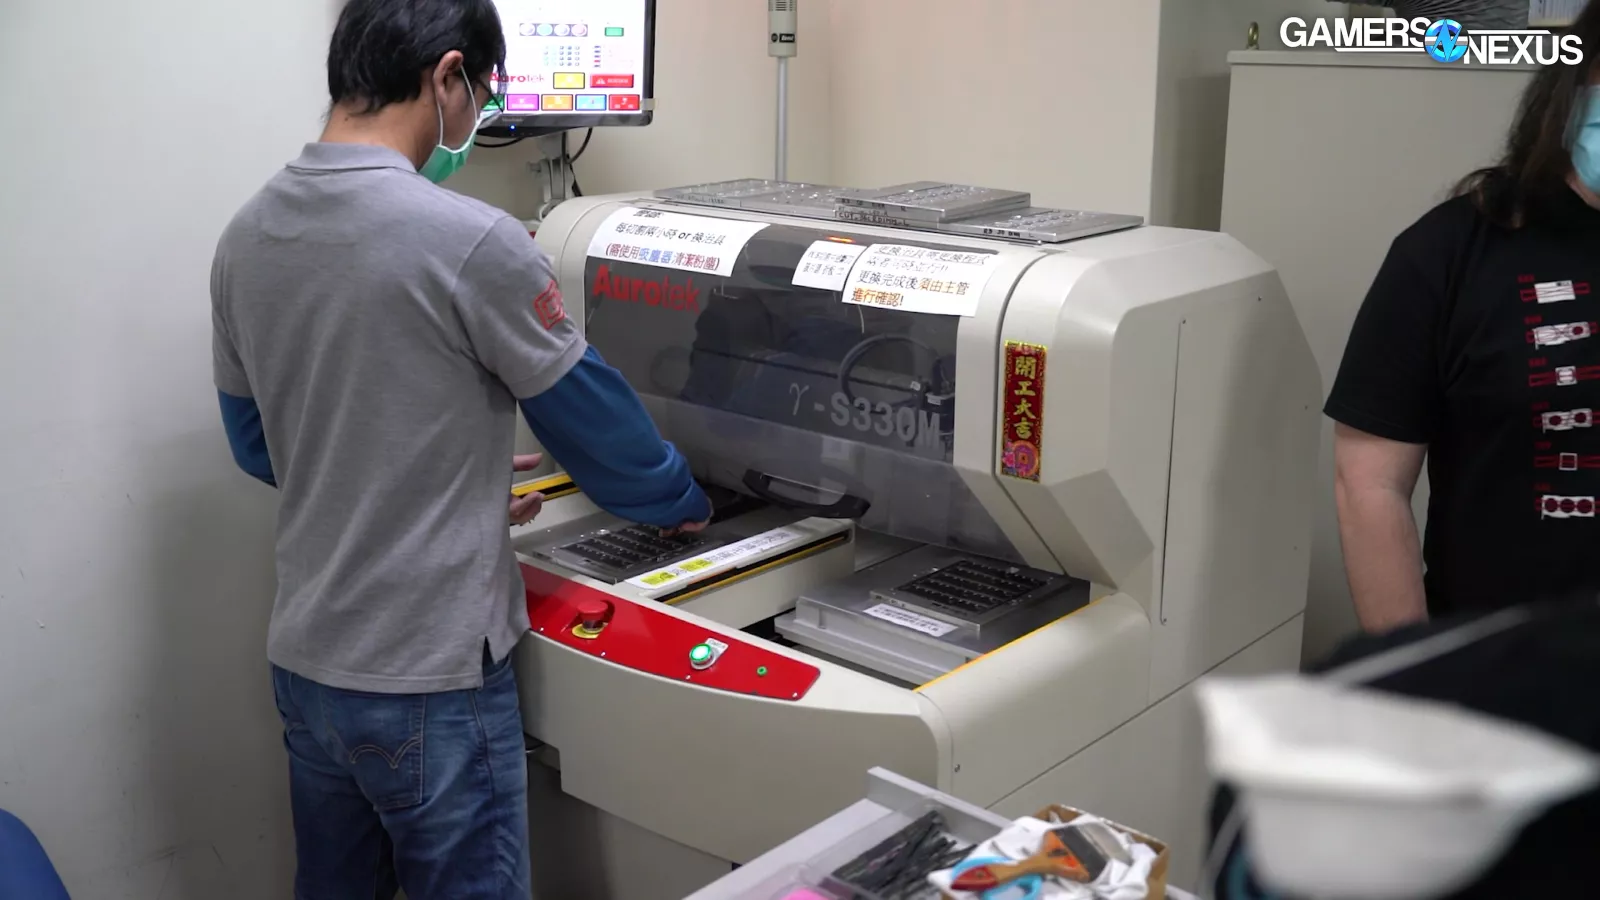

You can see as this technician loads the custom-made holsters for the 5-packs of memory, he gets the honors of pressing the giant green button.
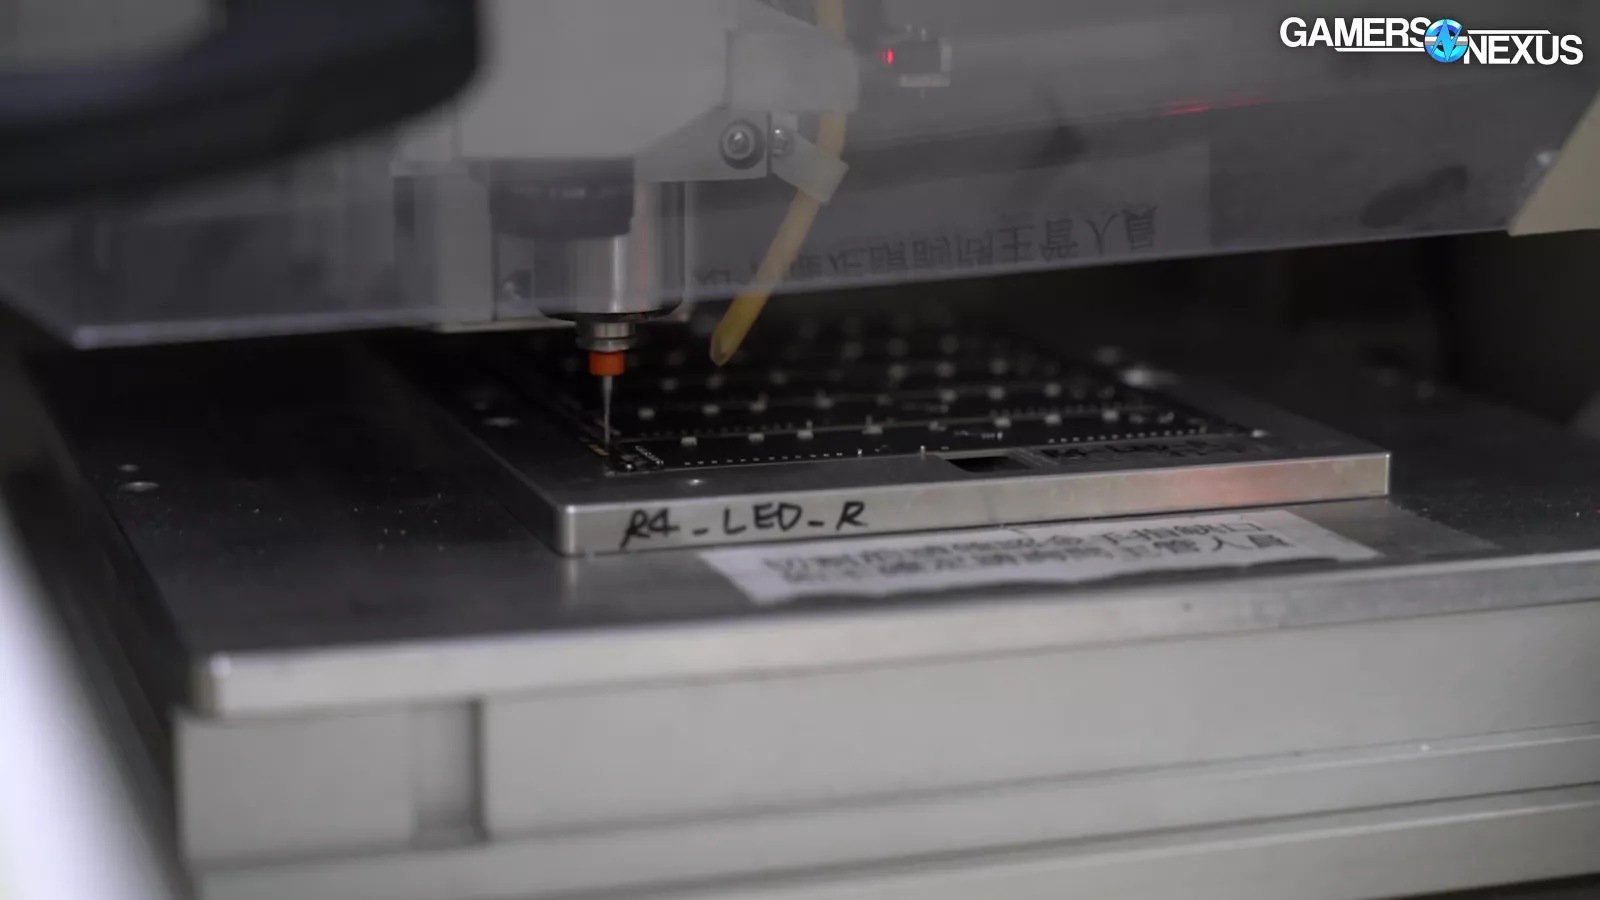
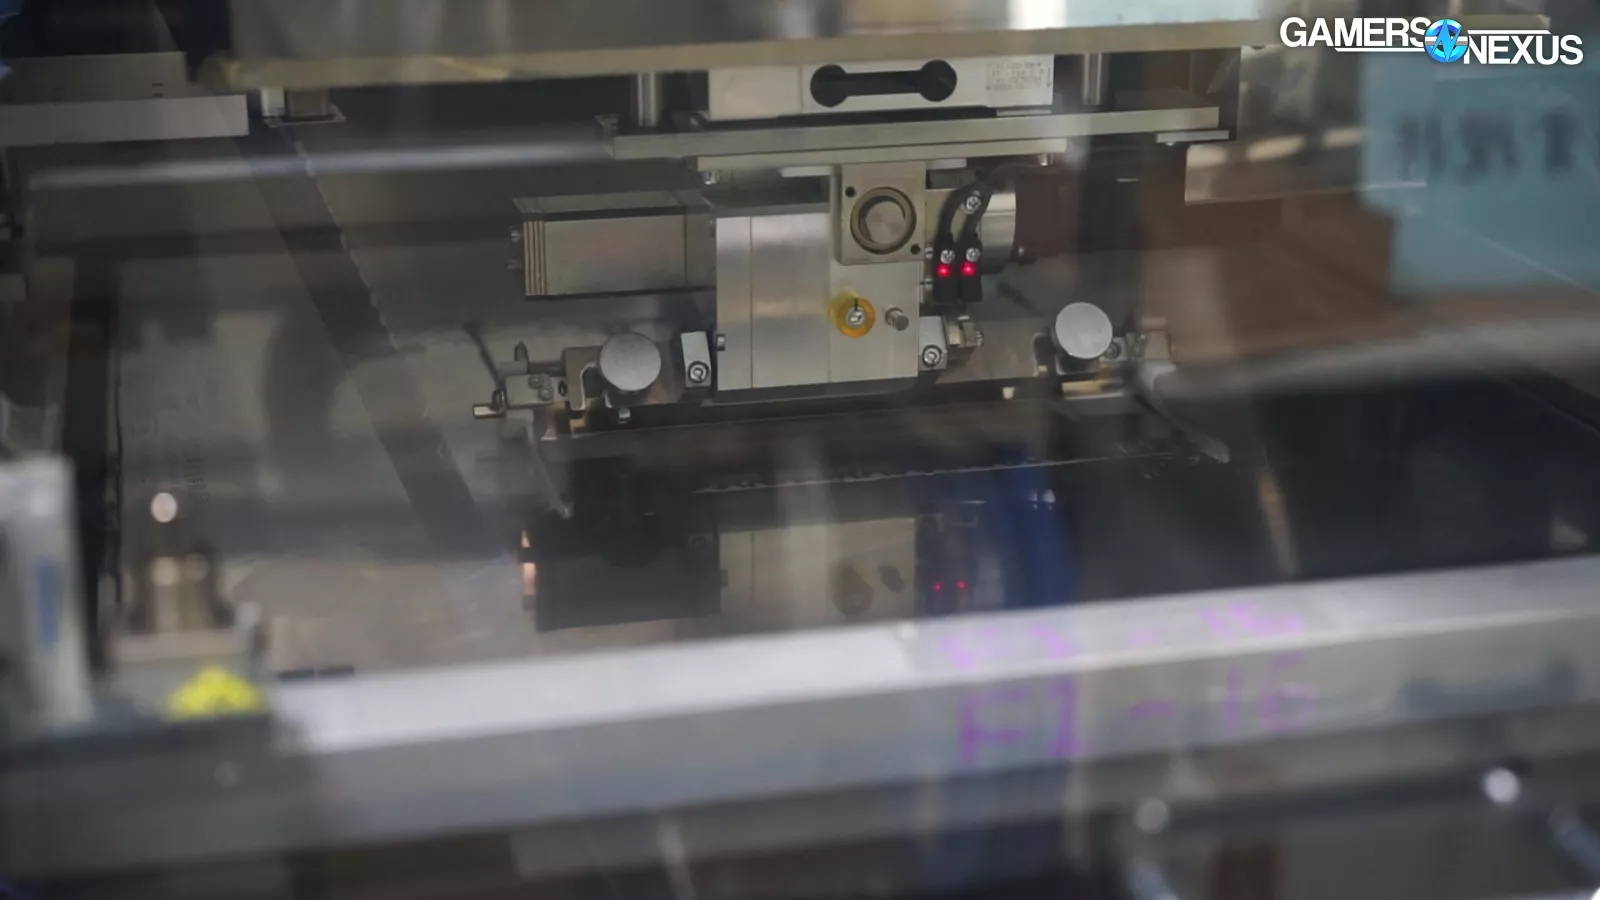
Instantly, just as fast as the button was pressed, the memory is sucked into the machine and you can hear the saw precisely separating the components and cutting the excess PCB off.
You can see the tiny blade vibrating as it cuts through the material, after which it spits the tray back out and the technician removes the excess circuit-board material.
All of the PCB powder is vacuumed out during the process and contained in a sealed container to be disposed of. Just these two lines alone can produce 10,000 sticks of memory if operating with the simplest modules and at maximum capacity.
Thus far, each stage of the operation has been impressively efficient, with only a few people needed in environments that, compared to some of the steel factories and chemical factories we’ve been in, are on the nicer side. But there’s one more stage to the process of memory manufacturing, and that’s burn-in.
RAM Burn-in Testing
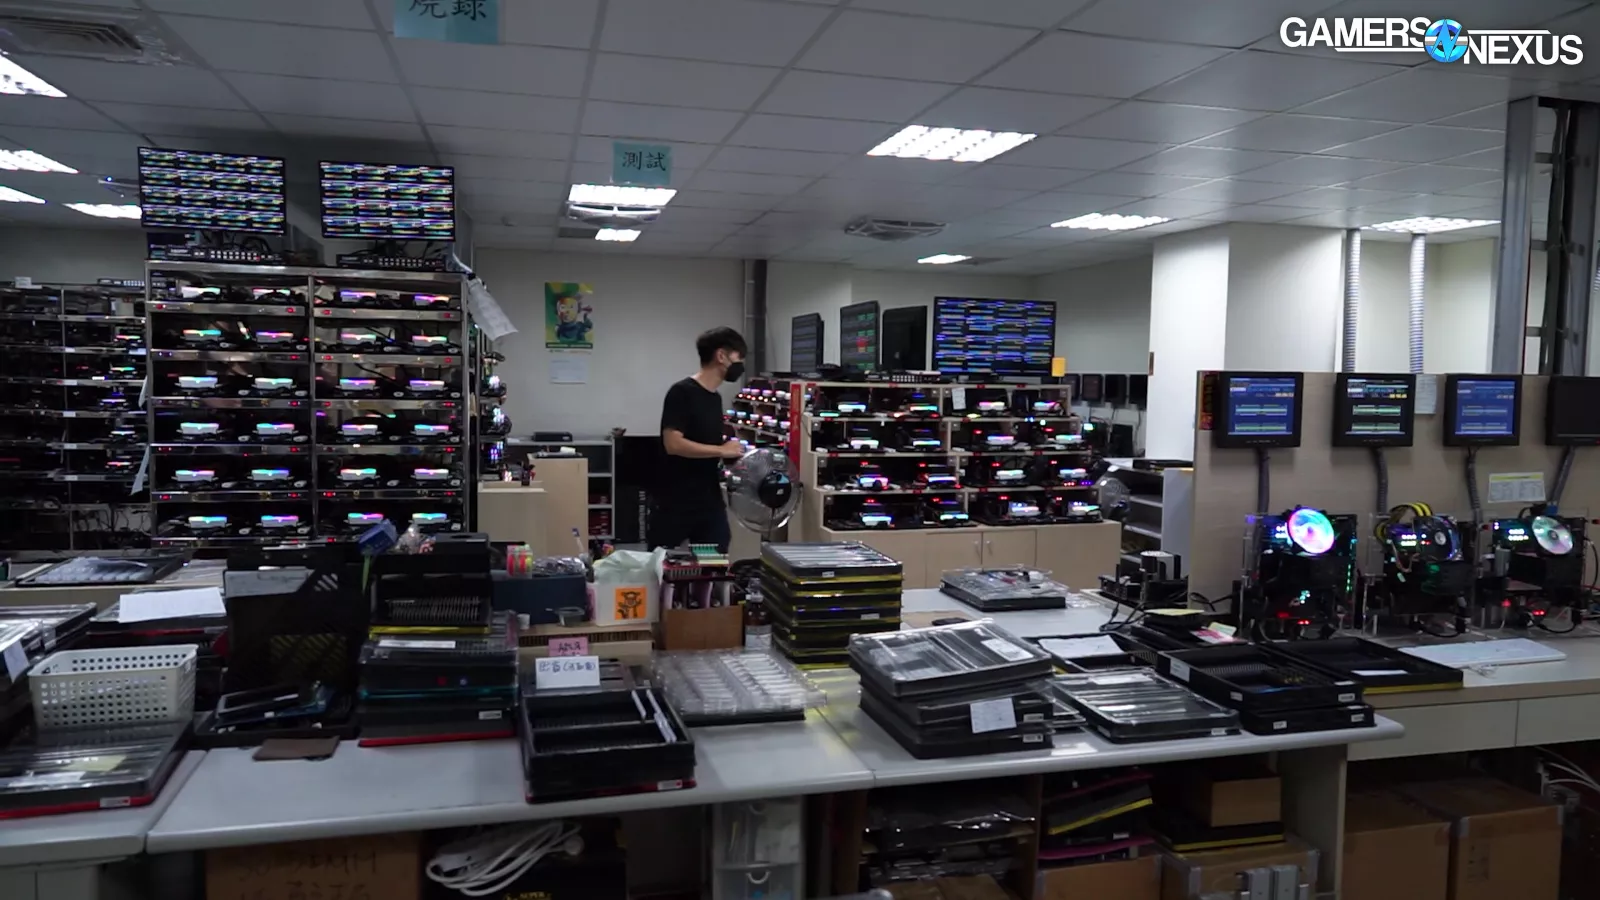
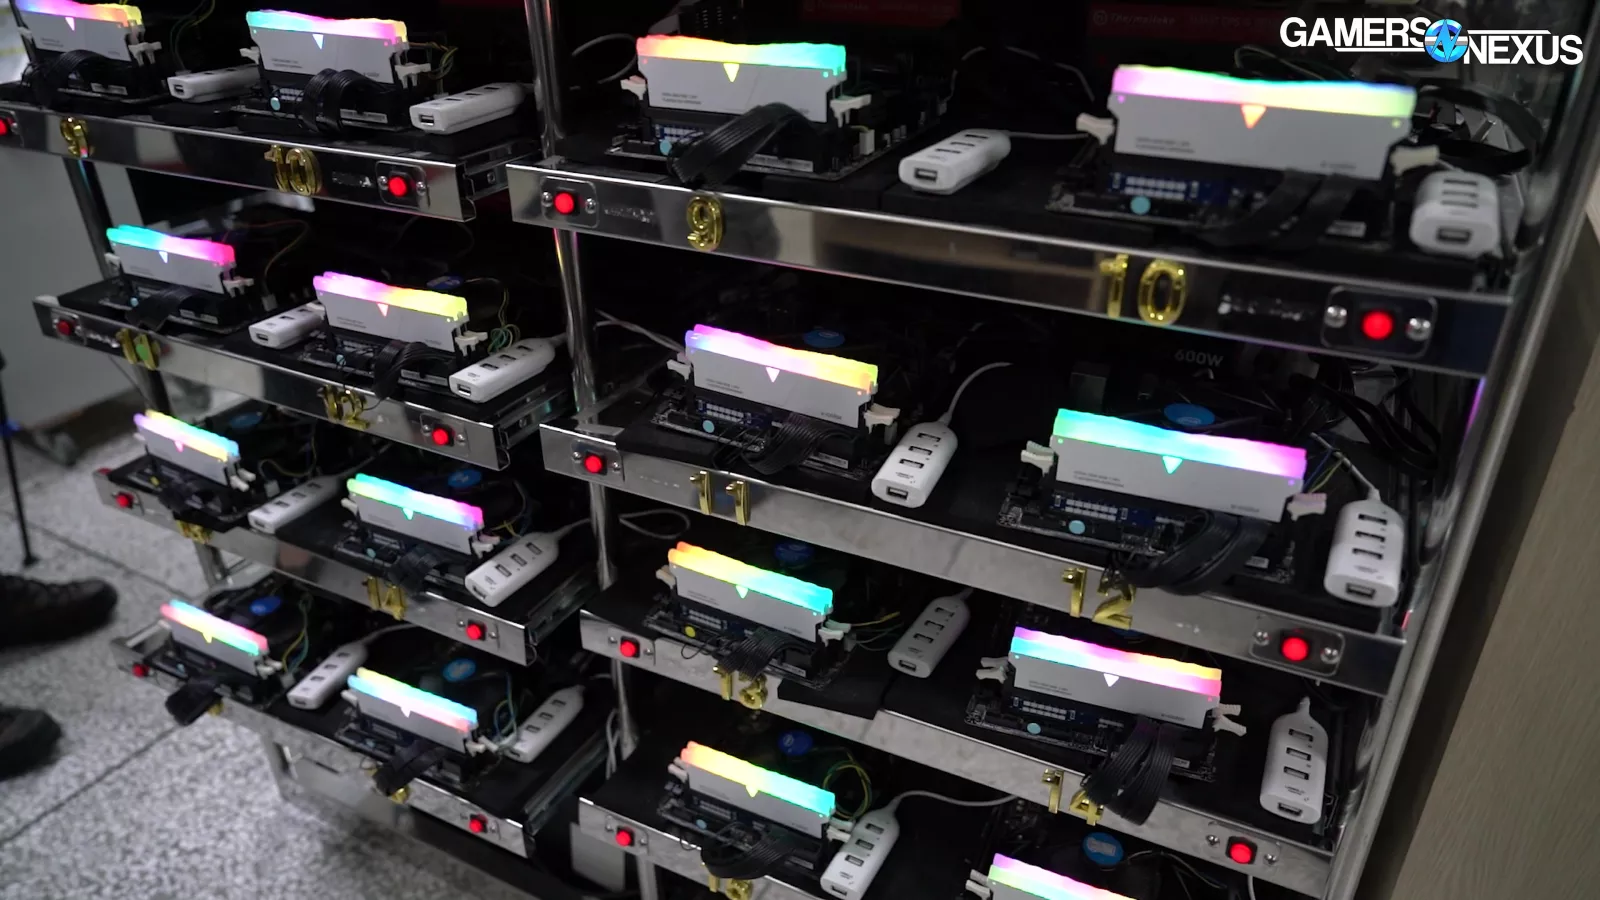
This is the burn-in lab. And here, V-color tests every single stick of memory that it makes. This one room contains over 200 available test beds for memory.
At a surface level, these are just test benches: They consist of a normal motherboard, CPU, and cooler. But on closer inspection, the memory is socketed into special risers, functioning as interposers that are used for validation and burn-in.
Every stick that’s 8GB and under goes through a 1-hour burn-in test, with each stick exceeding 8GB requiring 1.5 hours for burn-in. The screens light up green for all the good modules and will flash errors for anything that fails the test. For the most part, bad chips should have been weeded-out in the first stage of the binning process, but it’s possible that entire DIMM sticks fail due to manufacturing issues in the SMT process. This station will help identify those.
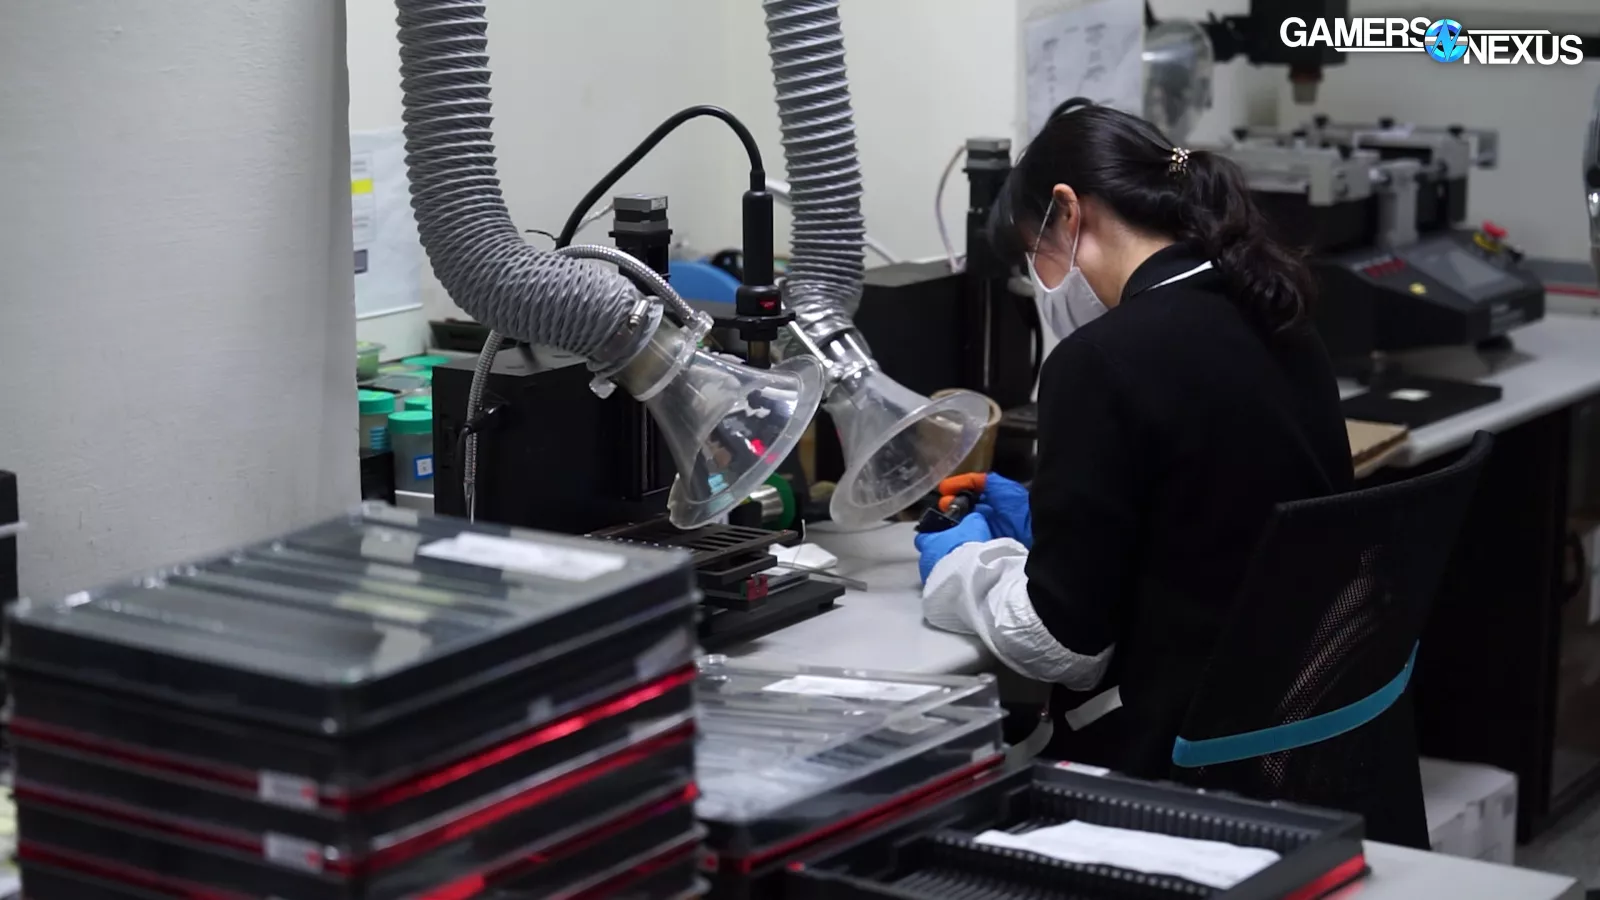
In the event of a failure, the bad stick is taken for diagnostics by a technician. There are various ways to try and recover a bad stick: One is for desoldering and resoldering of any components that might be misaligned, although that would normally be caught by AOI in the SMT line.
Another is with reflow ovens, where they can send the stick back through a local oven line just to reseat and reflow the solder. A final option might be determining that the stick is unsalvageable, such as with a bad PCB, and so V-Color will have technicians remove the valuable DRAM for re-use on a new stick.
RAM Overclocking Testing

The last station has the coolest job in the building: overclocking.
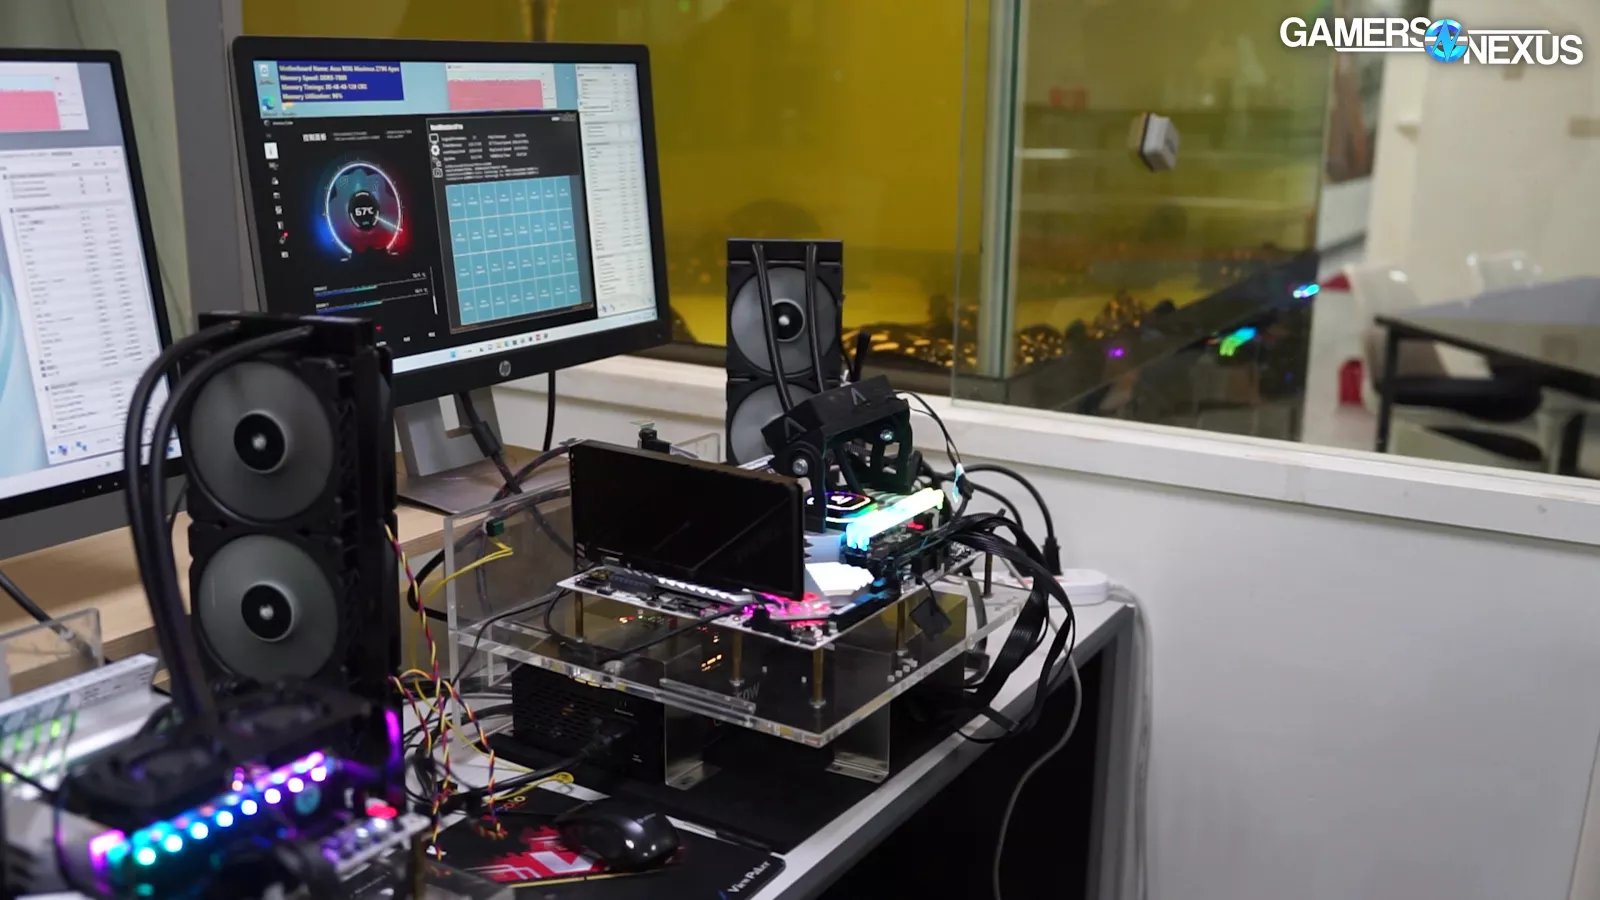
The company showed us its specialized one-off testing room for extreme OC memory binning -- and something caught our eye...
This station mixes manual and automated processes, where technicians also possess memory overclocking and tuning abilities. Ultra high-bin SKUs go through this line, contributing to some of the cost, and might be distributed to extreme overclockers or sold as a special line.
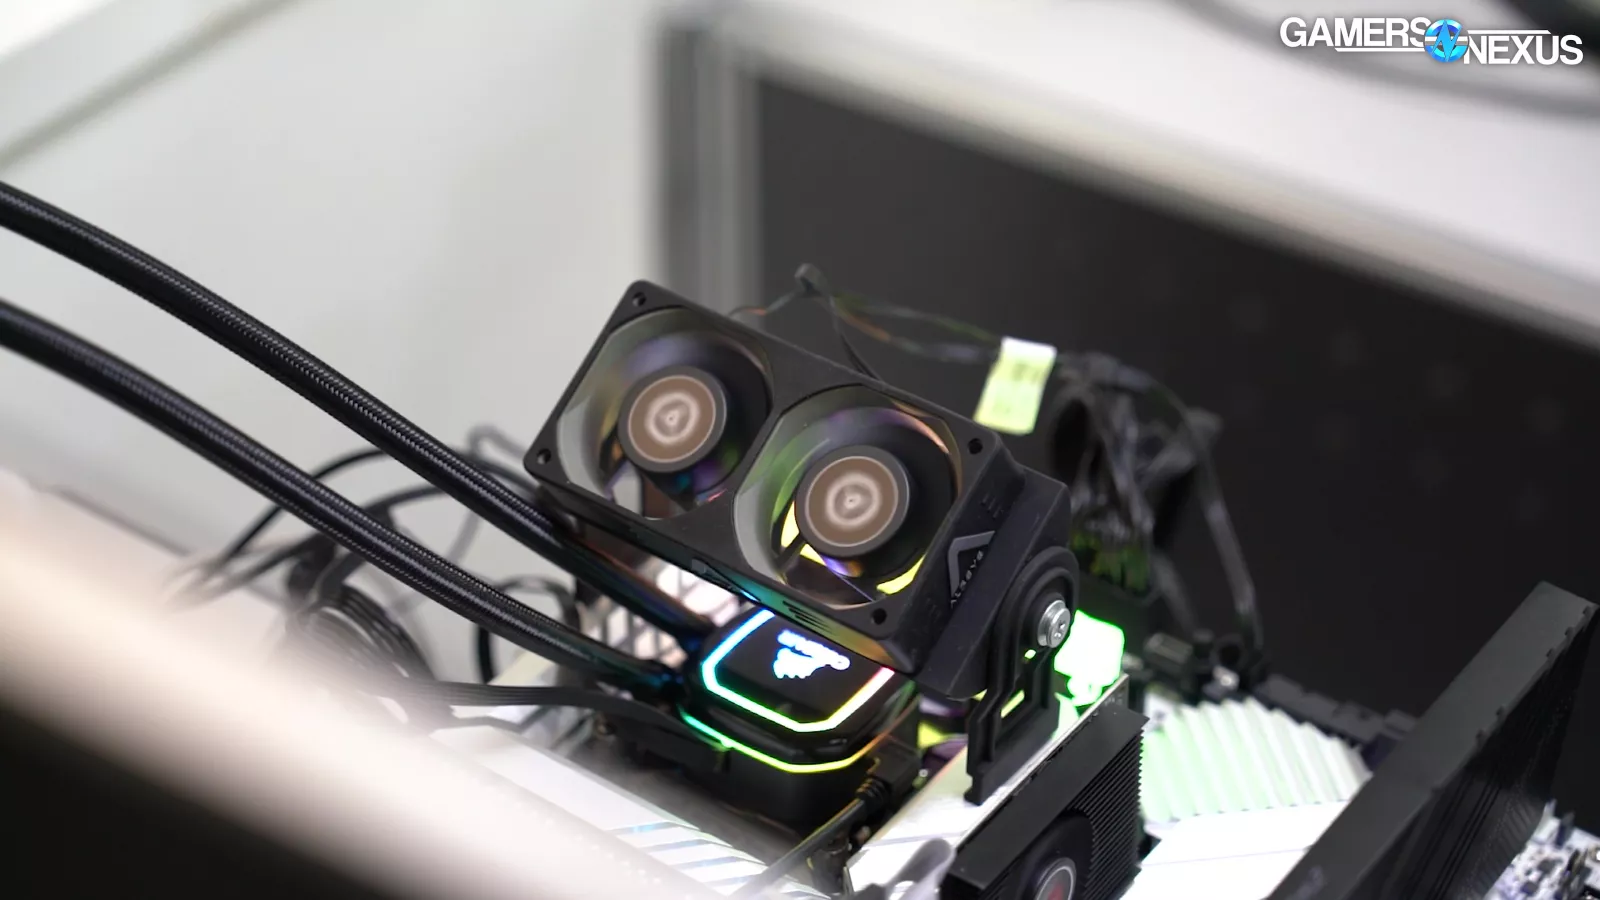
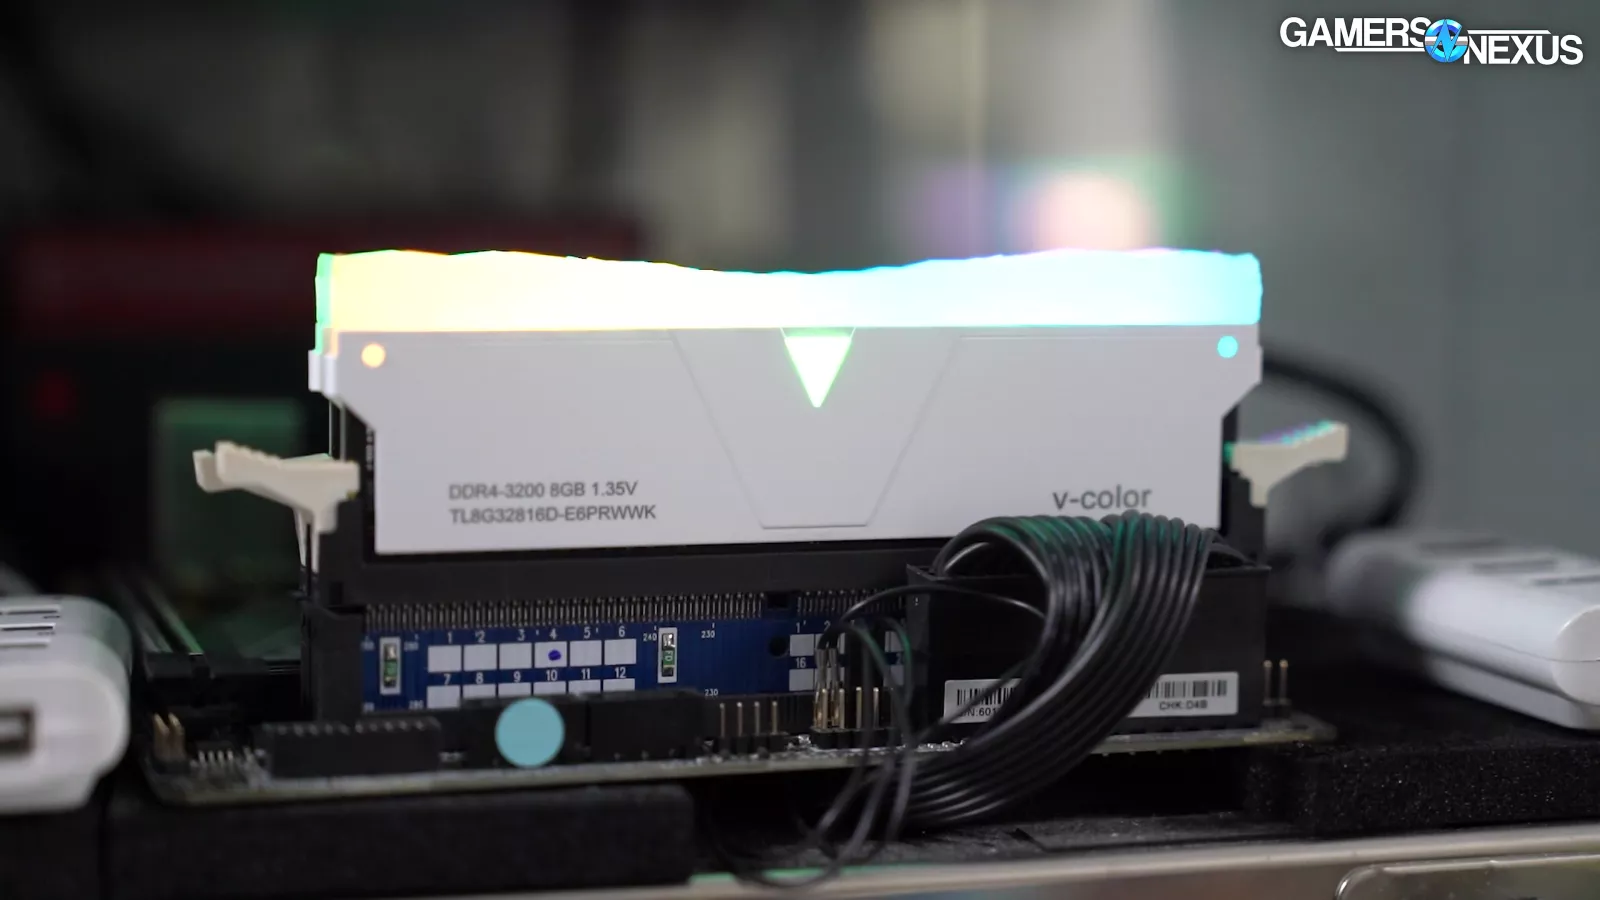
You’ll notice that they keep memory cooling mounted to these stations: V-Color says that its A-die units perform best at 60C and below, with M die at its best at 80C and below.
As the memory modules exit these test rigs, they’re sent to automatic packaging and shipped to retailers and OEM customers. Memory is one of the most space-efficient manufacturing processes in the entire industry.

All of this is happening secluded upstairs in the mixed-use building, with the SMT lines literal steps away from the automated binning and the burn-in testing. That means any failures or reworks can be taken care of on the same day that they’re found, keeping process efficiency and throughput high.
And that’s the start-to-finish of how memory is made. The biggest unshown step is the actual silicon fabrication supply-side, but maybe that’ll be a future tour.
Be sure to check out the rest of our educational factory tour series as a video playlist below, and please consider supporting our tours (which are fully self-funded -- the factories are not permitted to provide travel assistance or pay for coverage) by buying something on our GN store.