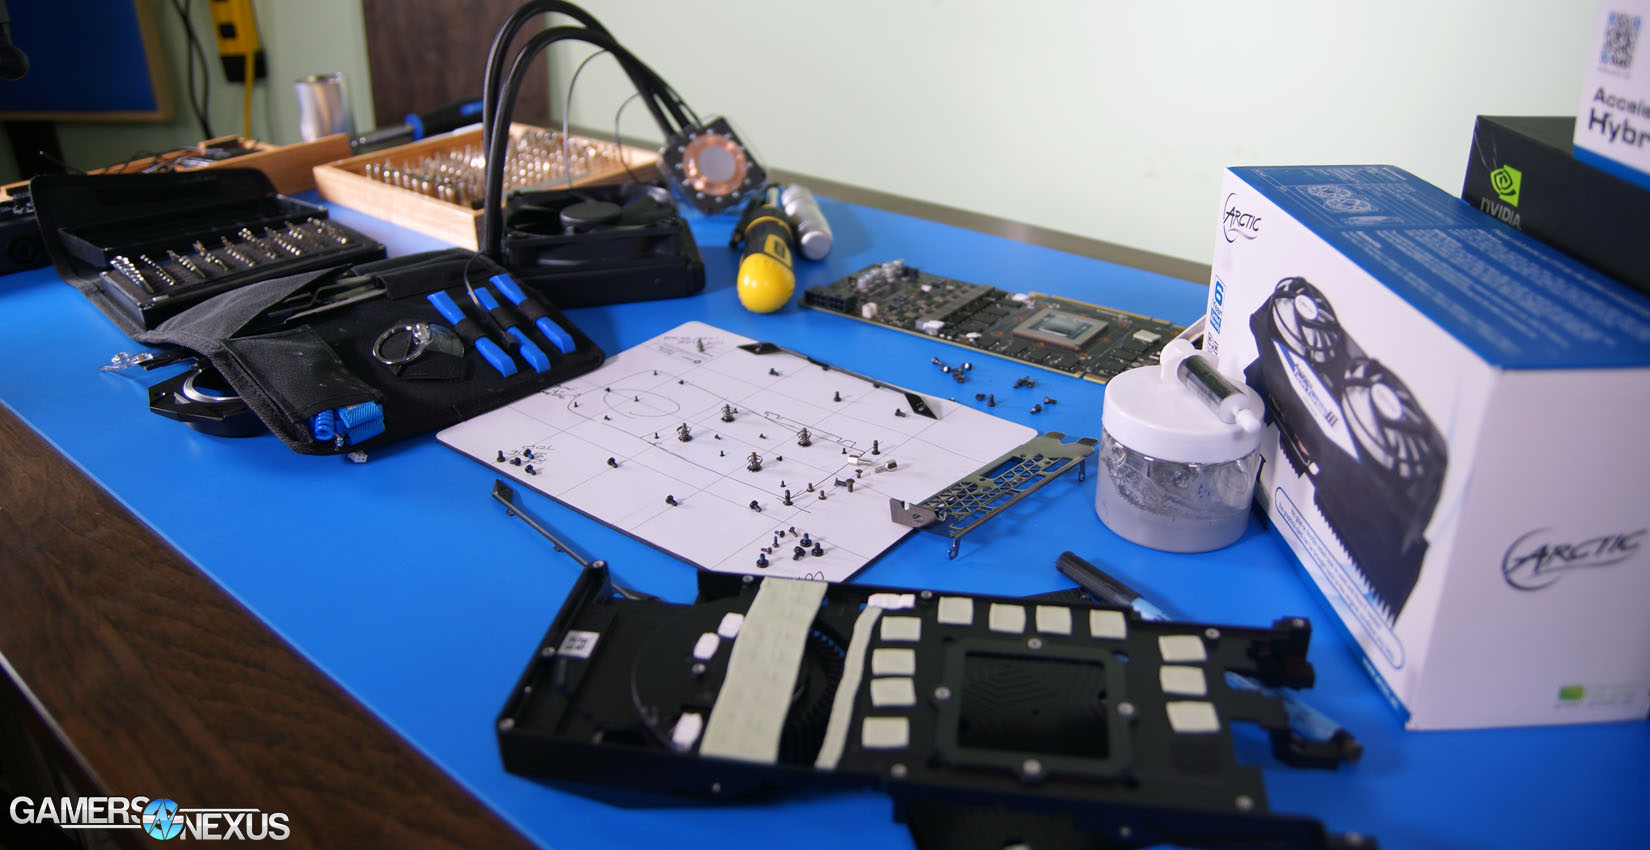
With thanks to GamersNexus viewer Sam, we were able to procure a loaner Titan X (Pascal) graphics card whilst visiting London. We were there for nVidia's GTX 10 Series laptop unveil anyway, and without being sampled the Titan X, this proved the best chance at getting hands-on.
The Titan X (Pascal) GP102-400 GPU runs warmer than the GTX 1080's GP104-400 chip, as we'll show in benchmarks in Part 3 of this series, but still shows promise as a fairly capable overclocker. We've already managed +175MHz offsets from core with the stock cooler, but want to improve clock-rate stability over time and versus thermals. The easiest way to do that – as we've found with the 1080 Hybrid, 1060 Hybrid, and 480 Hybrid – is to put the card under water cooling (or propylene glycol, anyway).
In this first part of our DIY Titan XP “Hybrid” build log, we'll tear-down the card to its bones and look at the PCB, cooling solution, and potential problem points for the liquid cooling build.
Here's the video, though separate notes and photos are below:
Titan X (Pascal) Disassembly & Photos
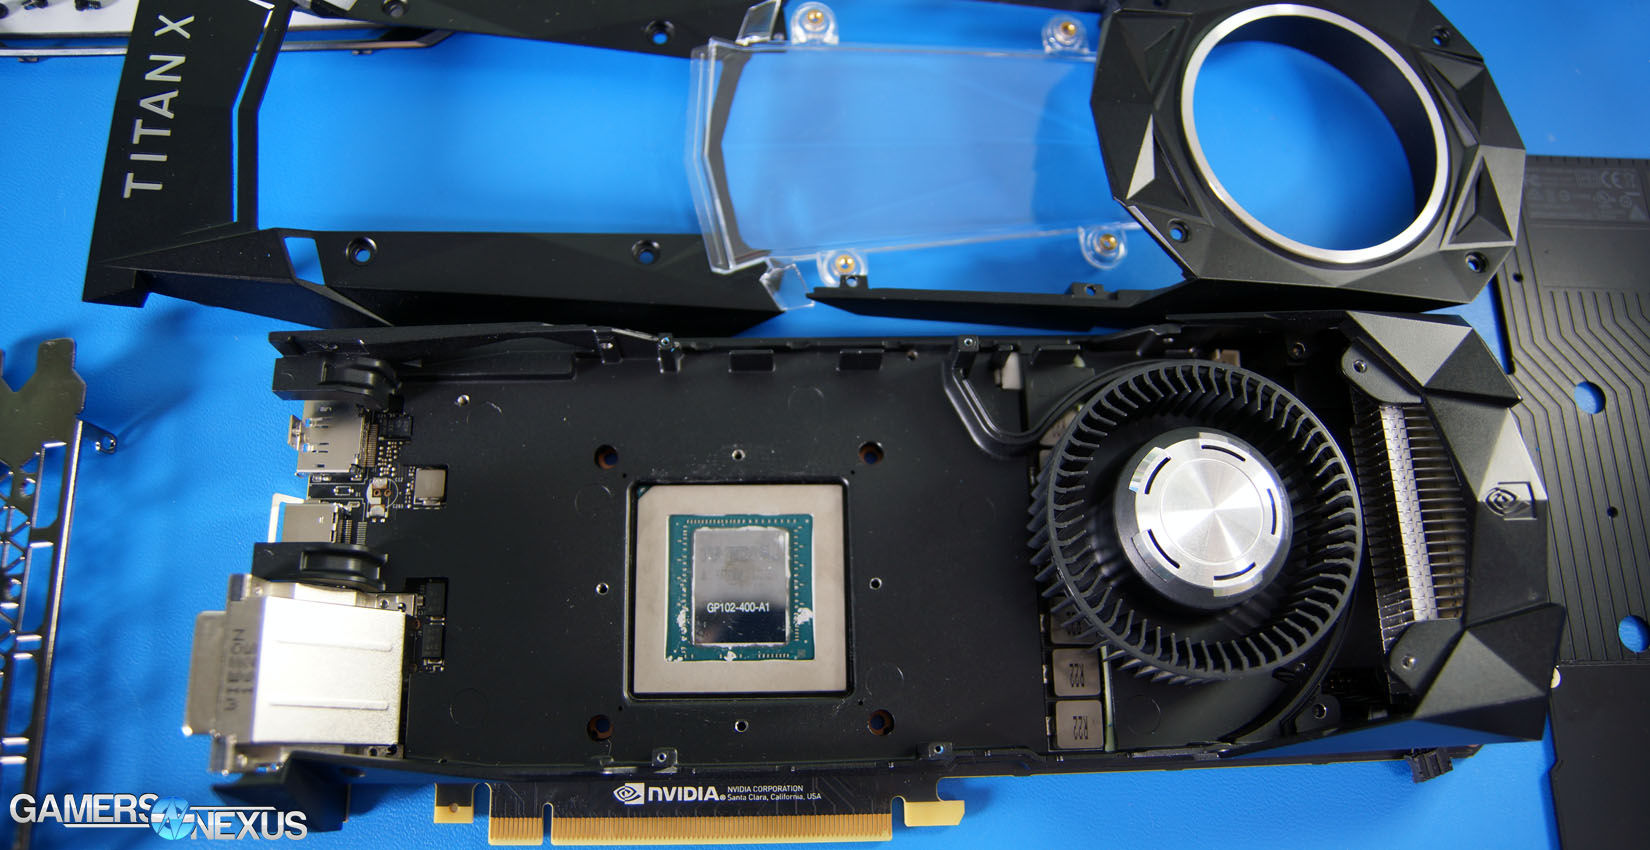
Taking apart the Titan XP card is almost an exact mirror to the GTX 1080, including the woefully sized ~6.5mm standoff screws under the backplate, the dozen-or-so tiny, weak screws that hold the backplate in place (and are easily snapped at the shaft), and all the Allen key screws. It's easy to destroy some of the components if not careful, like the bracket embellishments on the top and bottom of the card, but we did enough of that with the 1080 FE to learn how to work with the Titan X.
The card's got somewhere around 60 screws total, but we'll add over half of those back in when re-building for the Hybrid. Only a few parts of the shroud will remain off, the window, and the original vapor chamber cooler.
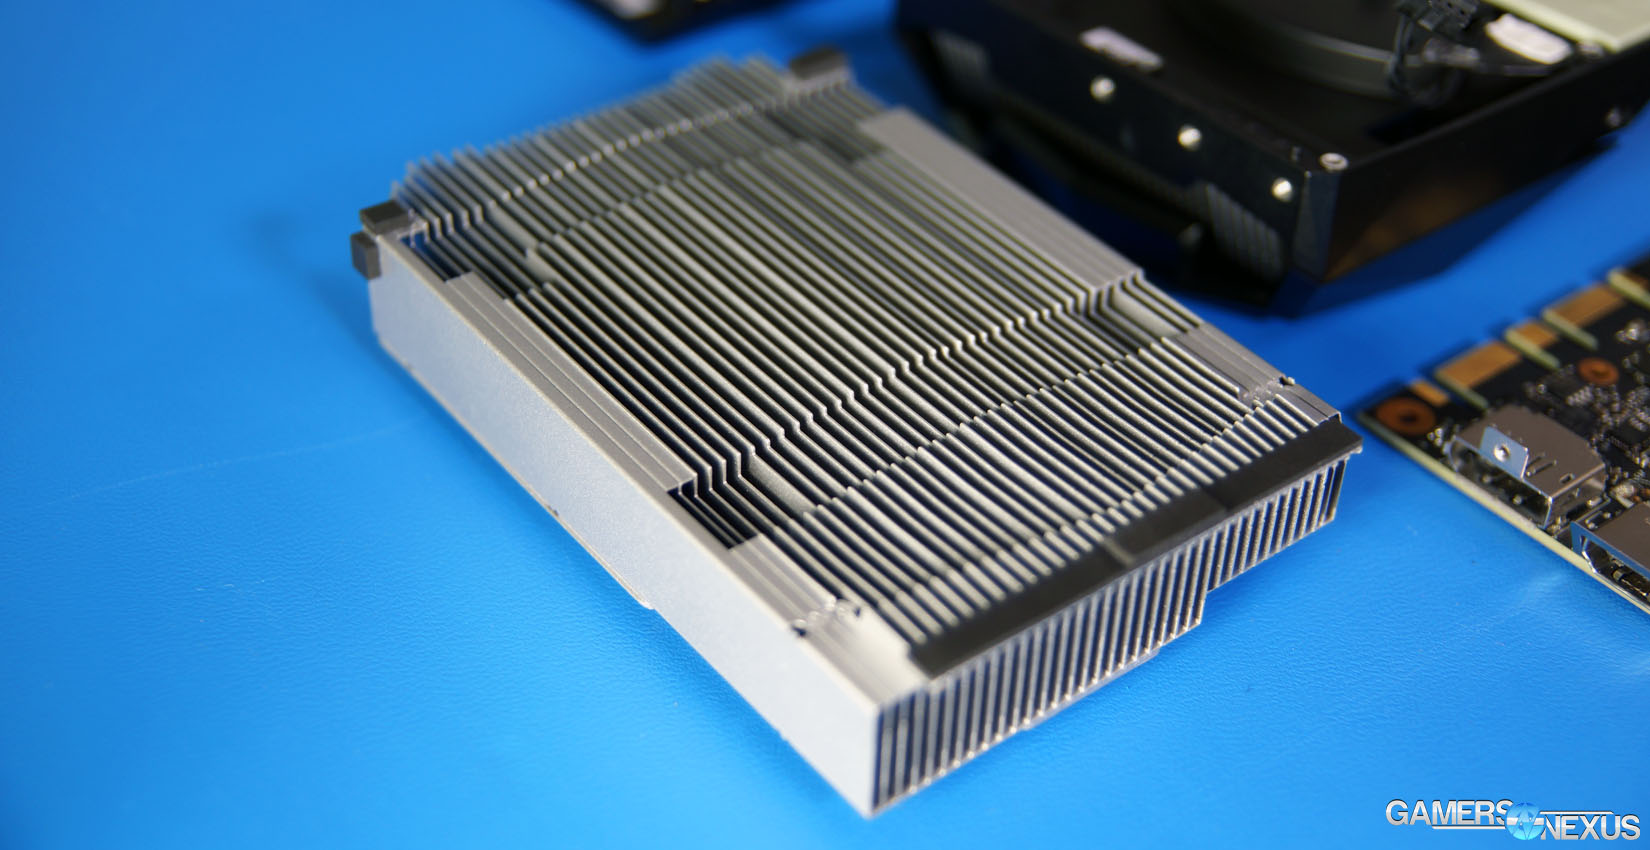
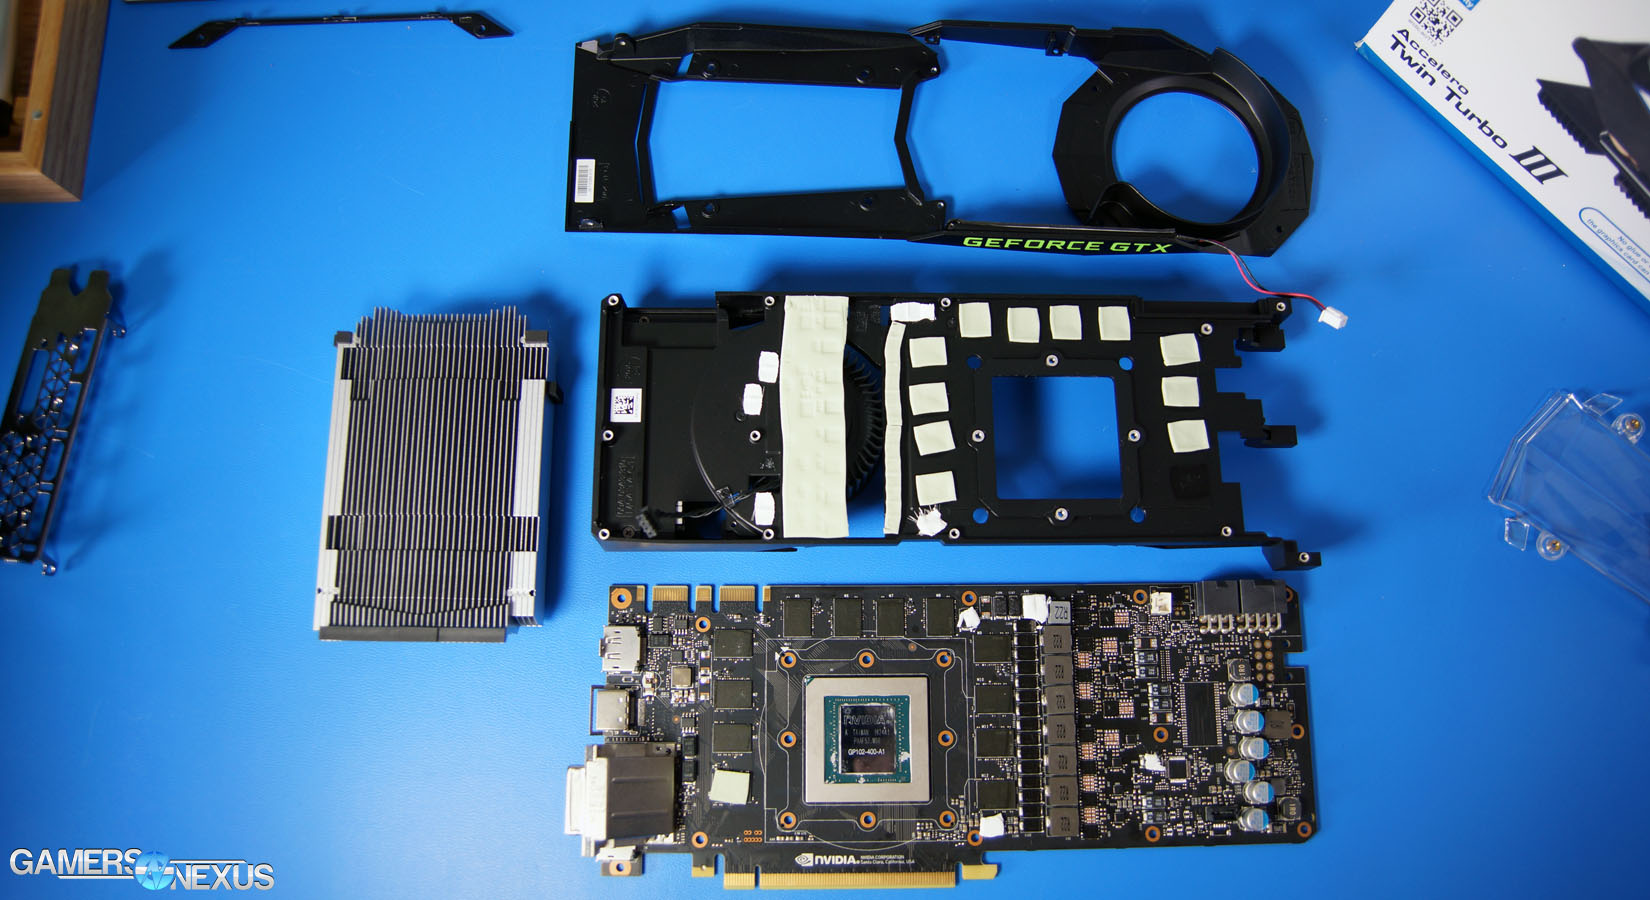
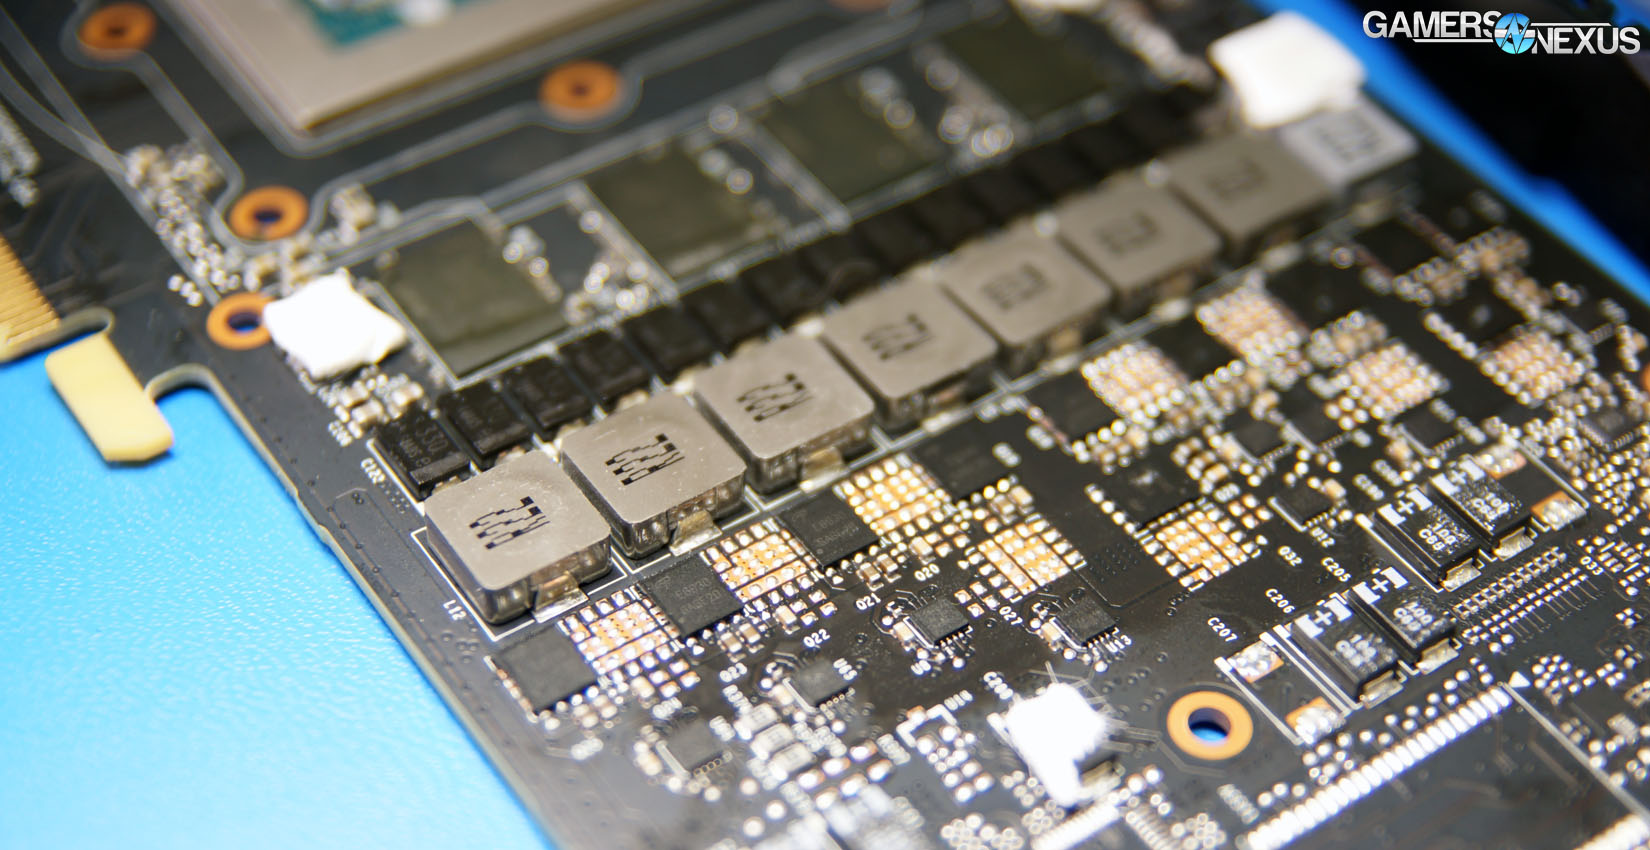
Tear-down reveals a pretty standard setup: The aluminum baseplate conducts heat away, via thermal pads, from the VRM power stages and FETs and the capacitor bank. The inductors protrude through a cut-out in the baseplate which, given their high thermal tolerances exceeding 100C, is pretty standard procedure. VRAM modules are provided by Micron and the same as made for the GTX 1080, using the GDDR5X 10Gbps memory speed. These modules run lower voltage than the 8Gbps GDDR5 memory that's out there, helping reduce thermals to a point where we don't need to worry too much about the memory. The GPU cooler proper – which also assists in pulling heat from other components – is an aluminum finned, wide heatsink that breathes air from the right-side blower fan. That air gets funneled through, dissipating air conducted by the vapor chamber.
The PCB itself is more populated than the GTX 1080 Founders Edition (reference) card, though still has some unfilled ICs that we're curious about – likely just cost-saving measures. Two power connectors are located where obvious – the top right – with a third 8-pin solder point available on the right side of the board, left unused. VRM phasing looks to be 7+2, though there could be some trickery going on that we're not yet fully familiar with. We'll look at this more later.
So far, the build's gone well – we actually just finished filming Part 2 and are working on processing the data and footage. Check back (and subscribe) for the final results. And, as always, check us out on Patreon to support our endeavors directly.
Editorial: Steve “Lelldorianx” Burke
Video: Andrew “ColossalCake” Coleman