We can’t get all the way down to the inner workings of the pump on this one, unfortunately, as all of our source images for the Vega: Frontier Edition – Watercooled card are from a reader. The reader was kind enough to remove the shroud from their new WC version of Vega: FE so that we could get an understanding of the basics, leading us to the conclusion that AMD has built one of the most expensive pre-built liquid cooling solutions for a graphics card.
The video tear-down goes into detail on the images we received, but we’ll revisit most of it here. The card uses the same base PCB, same VRM, same GPU/HBM layout and positioning, and same everything as the air-cooled card. The difference is entirely in the cooling solution, where the Delta VRM fan goes away and is replaced with an additional reservoir (more on that in a moment), while the GPU/VRM cooling is handled by liquid plates and a pump. The die-case finstack atop the I/O is also now gone, and the baseplate is simplified to an aluminum plate with no protrusions.
Here’s our diagram of the thing:
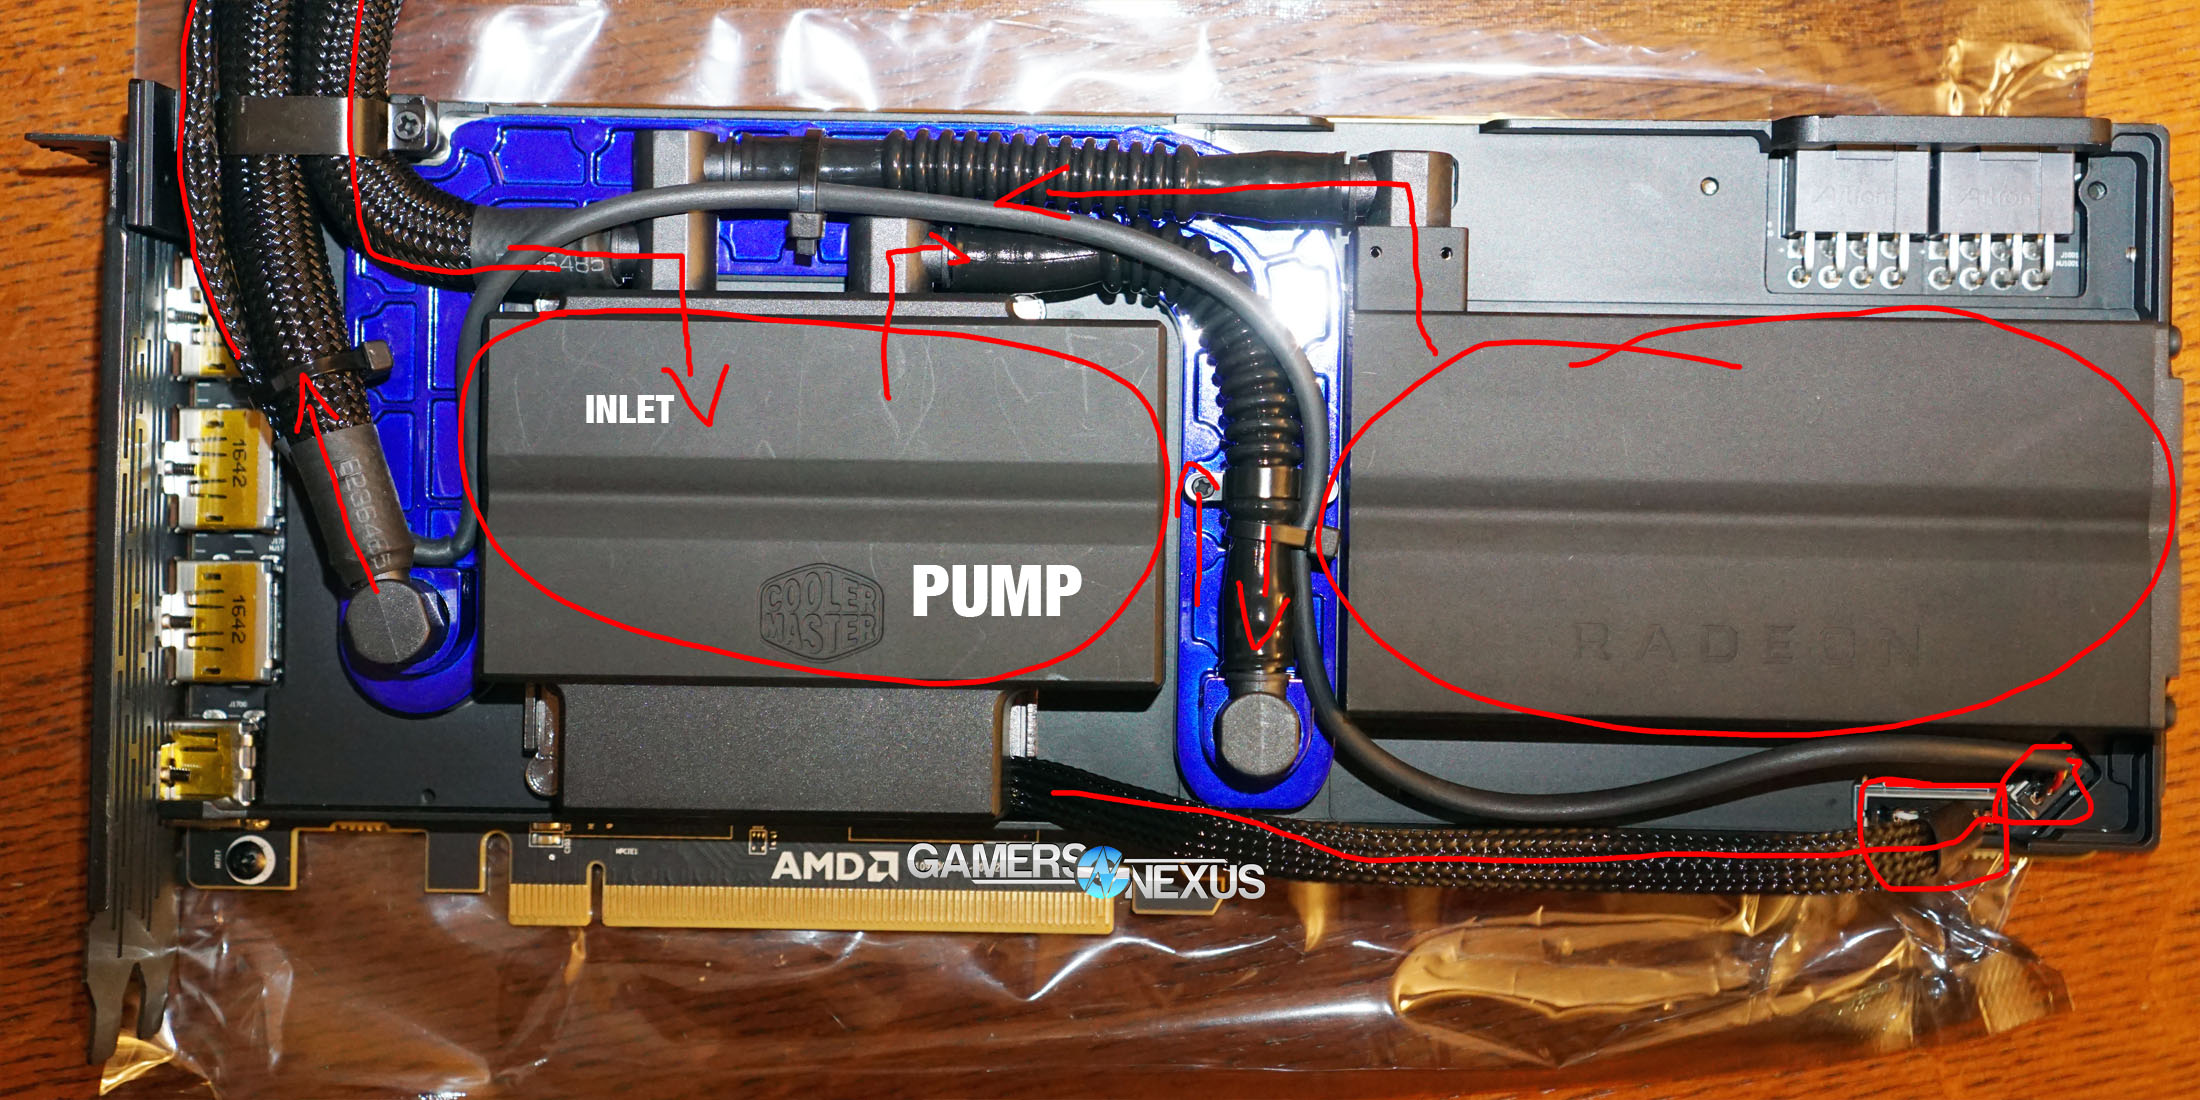
The card’s inlet is on the left side of the pump block, at which point liquid is fed in and cycles through the usual copper microfins and coldplate channels. This is all handled by Cooler Master, just like AMD’s previous Fury X CLC and Radeon Pro Duo CLC cards. Although some aspects look similar to the Radeon Pro Duo, likely no components were reusable.
Anyway, once the liquid feeds in through the inlet, it eventually feeds out of the outlet and hits the VRM components. This includes chokes, FETs, and capacitors – everything, basically. The VRM components are hit with liquid after the core and HBM, meaning that the water will be pre-heated, but the VRM can handle far higher heat than the GPU + HBM2. This is the ideal way to route the coolant.

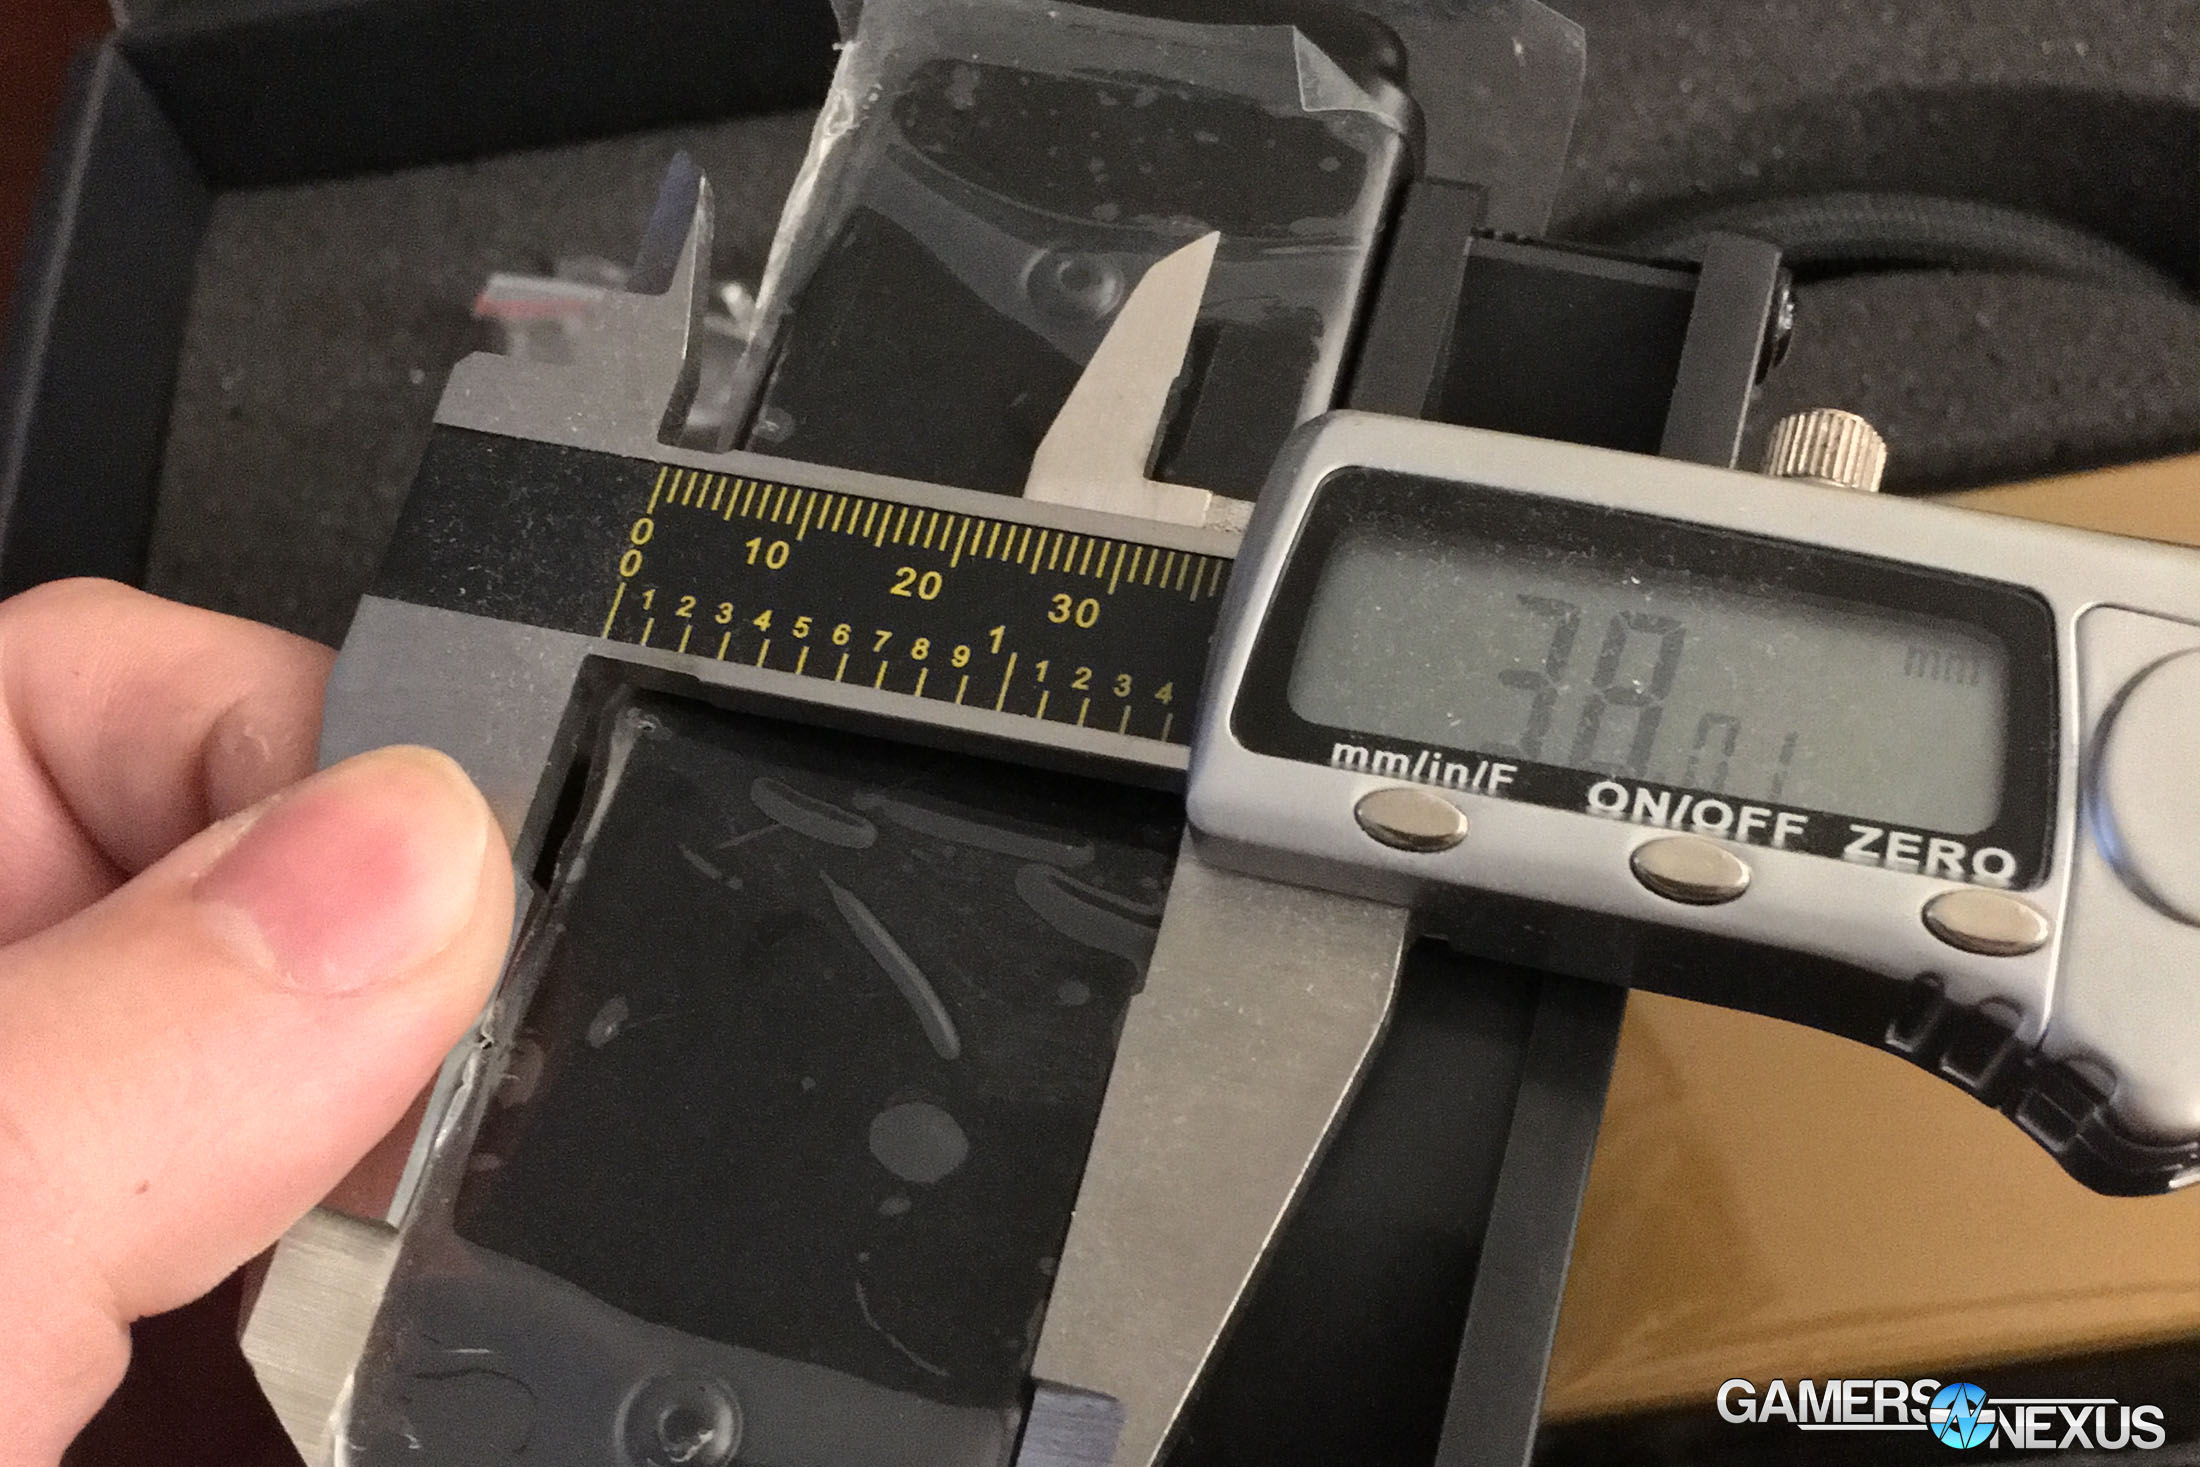
After feeding through the VRM, the liquid next exits and returns to the heat exchanger (HEX), or radiator, which really just looks like any other 120mm radiator. The HEX on this card does not use the same additional liquid tank as the Fury X, which will simplify mounting, but has relocated this tank elsewhere. The HEX is 38mm thick, making it the same size as Intel’s DIY BXTS13X, so a bit thicker than traditional coolers. As for the fan, that’s basically a Gentle Typhoon clone, and appears to be identical to the Fury X radiator fan.

Now, in our diagram above, there’s one key item of note: An extra tube – one, singular – feeds over to the tank on the right-side of the card. We are fairly confident that this is an additional liquid tank, intended to prolong life of the card as liquid inevitably permeates the tubes. Typically, you see around 5 years of life on CLCs for CPUs, and GPUs should be somewhat similar to this. The reason for CLC death is pump failure due to liquid permeation of the tubes, resulting in the pump losing lubrication and sucking more air through the pipe than liquid. To avoid this, AMD and Cooler Master have spent a lot more money on the cooling design to add a one-way reservoir with venting for pressure. As atmosphere drops in the main chamber on the left of the image, the liquid in the reservoir will feed through the outlet and into the main chamber (think: ballpoint pen). We can tell this for certain by looking at a photo showing some propylene glycol dried on the outside of the reservoir outlet.
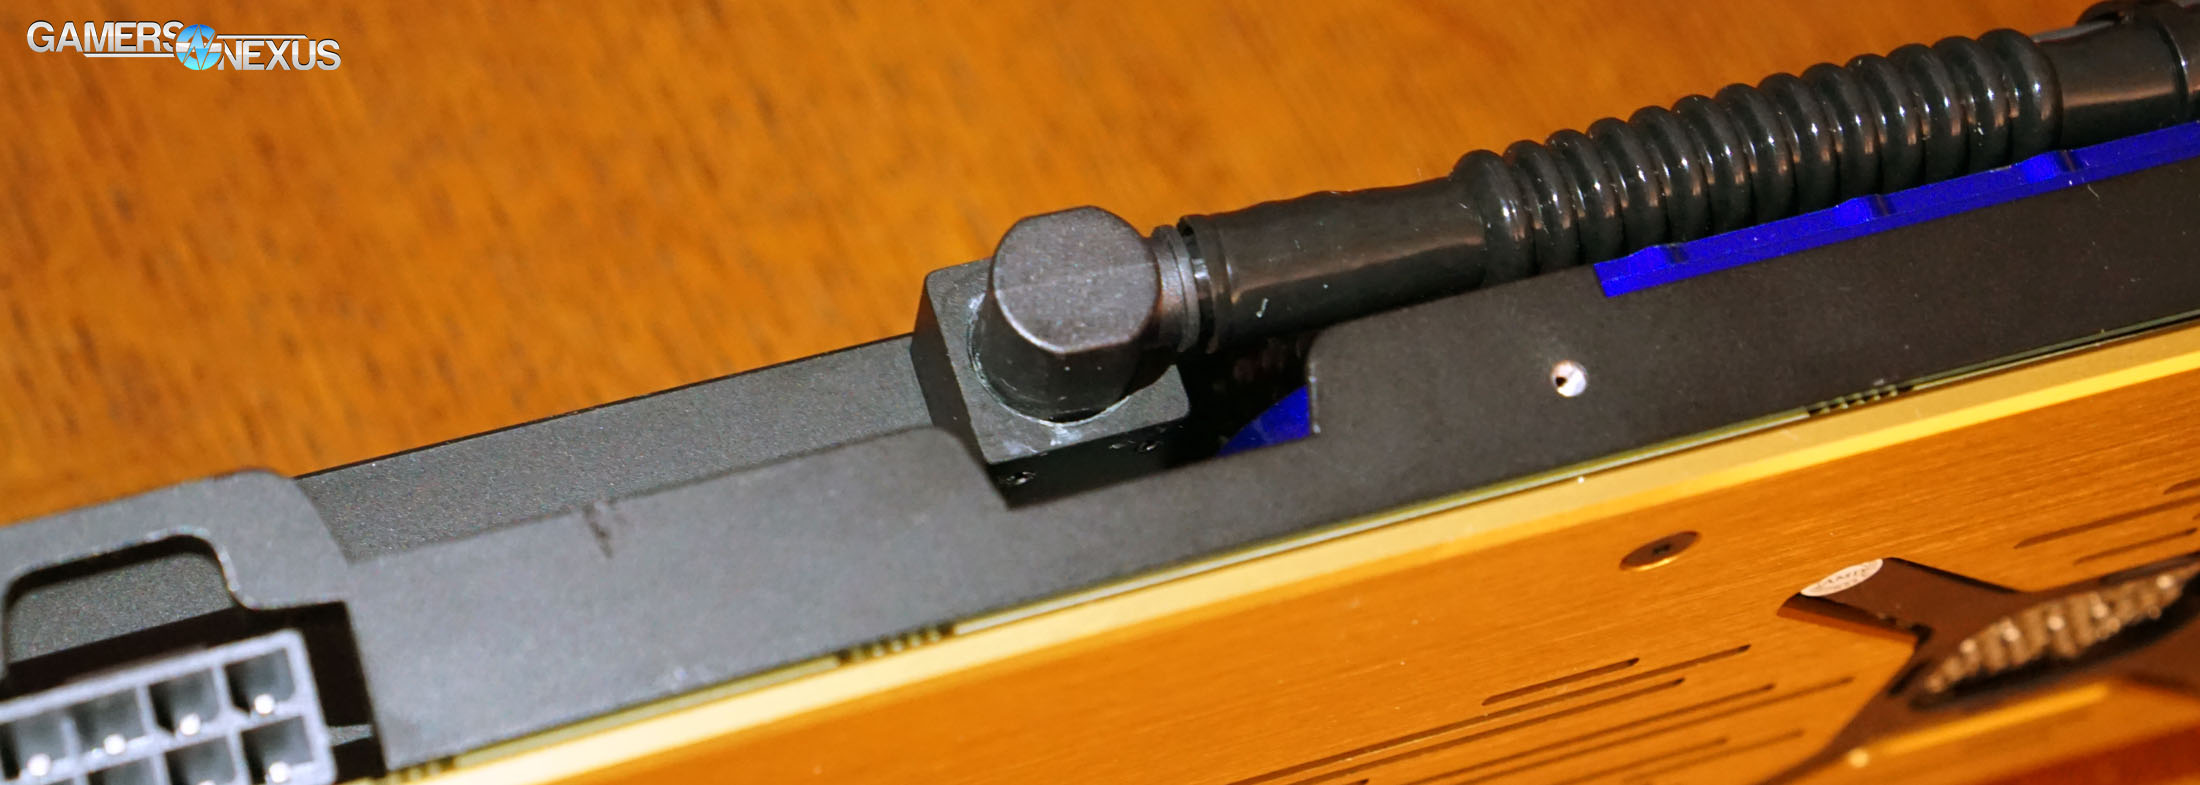
The pump and coldplate are atop the GPU core, which poses interesting questions regarding Asetek patents. Other than that design choice, it’s all standard Cooler Master componentry. The tubes are FEP with Teflon inner-coating, and so will be highly permeation resistant at risk of liquid loss from being kinked – just don’t bend them too far, or the Teflon coating will crack and liquid begins to permeate rapidly.
Fairly standard components with a unique (and expensive) implementation, though spending $600 extra seems hardly worth it; if anything, wait for brackets and do a prettier hybrid mod than we did.
Editorial, Video: Steve Burke