Cooler Master Cosmos C700P Build & Initial Review | Show Floor Challenge
Posted on
Thermals and noise to align with final launch.
There were a lot of challenges going into this build: A lack of magnetism, a lack of lighting on the show floor of a convention center, and some surprises in between. Cooler Master allowed us to build in the brand-new Cosmos C700P case – a modular chassis with an invertible or rotatable motherboard tray – live at PAX West. After being faced with some challenges along the way, we recruited Cooler Master’s Wei Yang to turn it into a collaborative team build. It was one of the most fun builds we’ve done in a while, and the pressure of time meant that we were both taking turns dropping screws and reworking our aspects of the build. This was a real PC build. There were unplanned changes, parts that GN hasn’t used before, and sacrifices made along the way.
All said and done, the enclosure is exceptionally easy to work within: Every single panel can be removed with relative ease, so we were able to strip-down the case to barebones for the build. Our biggest timesink was asking to invert the motherboard tray to face the other side, since that’d add some flare to the build. This process isn’t intrinsically difficult, but it does require removal of a lot of screws – after all, the entire case can be flipped, and there are a lot of structural elements there. The motherboard tray detaches by removing 4-6 screws on the back-side, followed by six screws in the rear of the case, followed by a few more screws for the shrouds. We got some help for this process, as the case is one of the first working samples of the Cosmos C700P and there’s not yet a manual for which screws have to be removed.
(The video for this one is a read-through of this article -- same content, just read to you.)
Once the tray pulls out of the back, adventurous users could pre-install the motherboard on the tray before re-inserting it, though we did it the old-fashioned way and built in the case; after all, it’s large enough that you’re not going to be constrained for space. Here’s the next bit, though: The entire drive shroud, PSU shroud, and drive rails can flip to face the other side. This allows the case to nearly perfectly mirror its stock configuration. The big downside here is that it does take time – even with help, inverting the enclosure took about 45 minutes. It’ll be a bit faster in environments where you have some time to read the process and where you’ve got more light, but ultimately, the bottleneck will be finding and removing all the screws. You’re only building in a PC once, generally, so this downside can be at least partly ignored – but we did want to note that inverting the enclosure isn’t fast. It’s easy, just not fast.
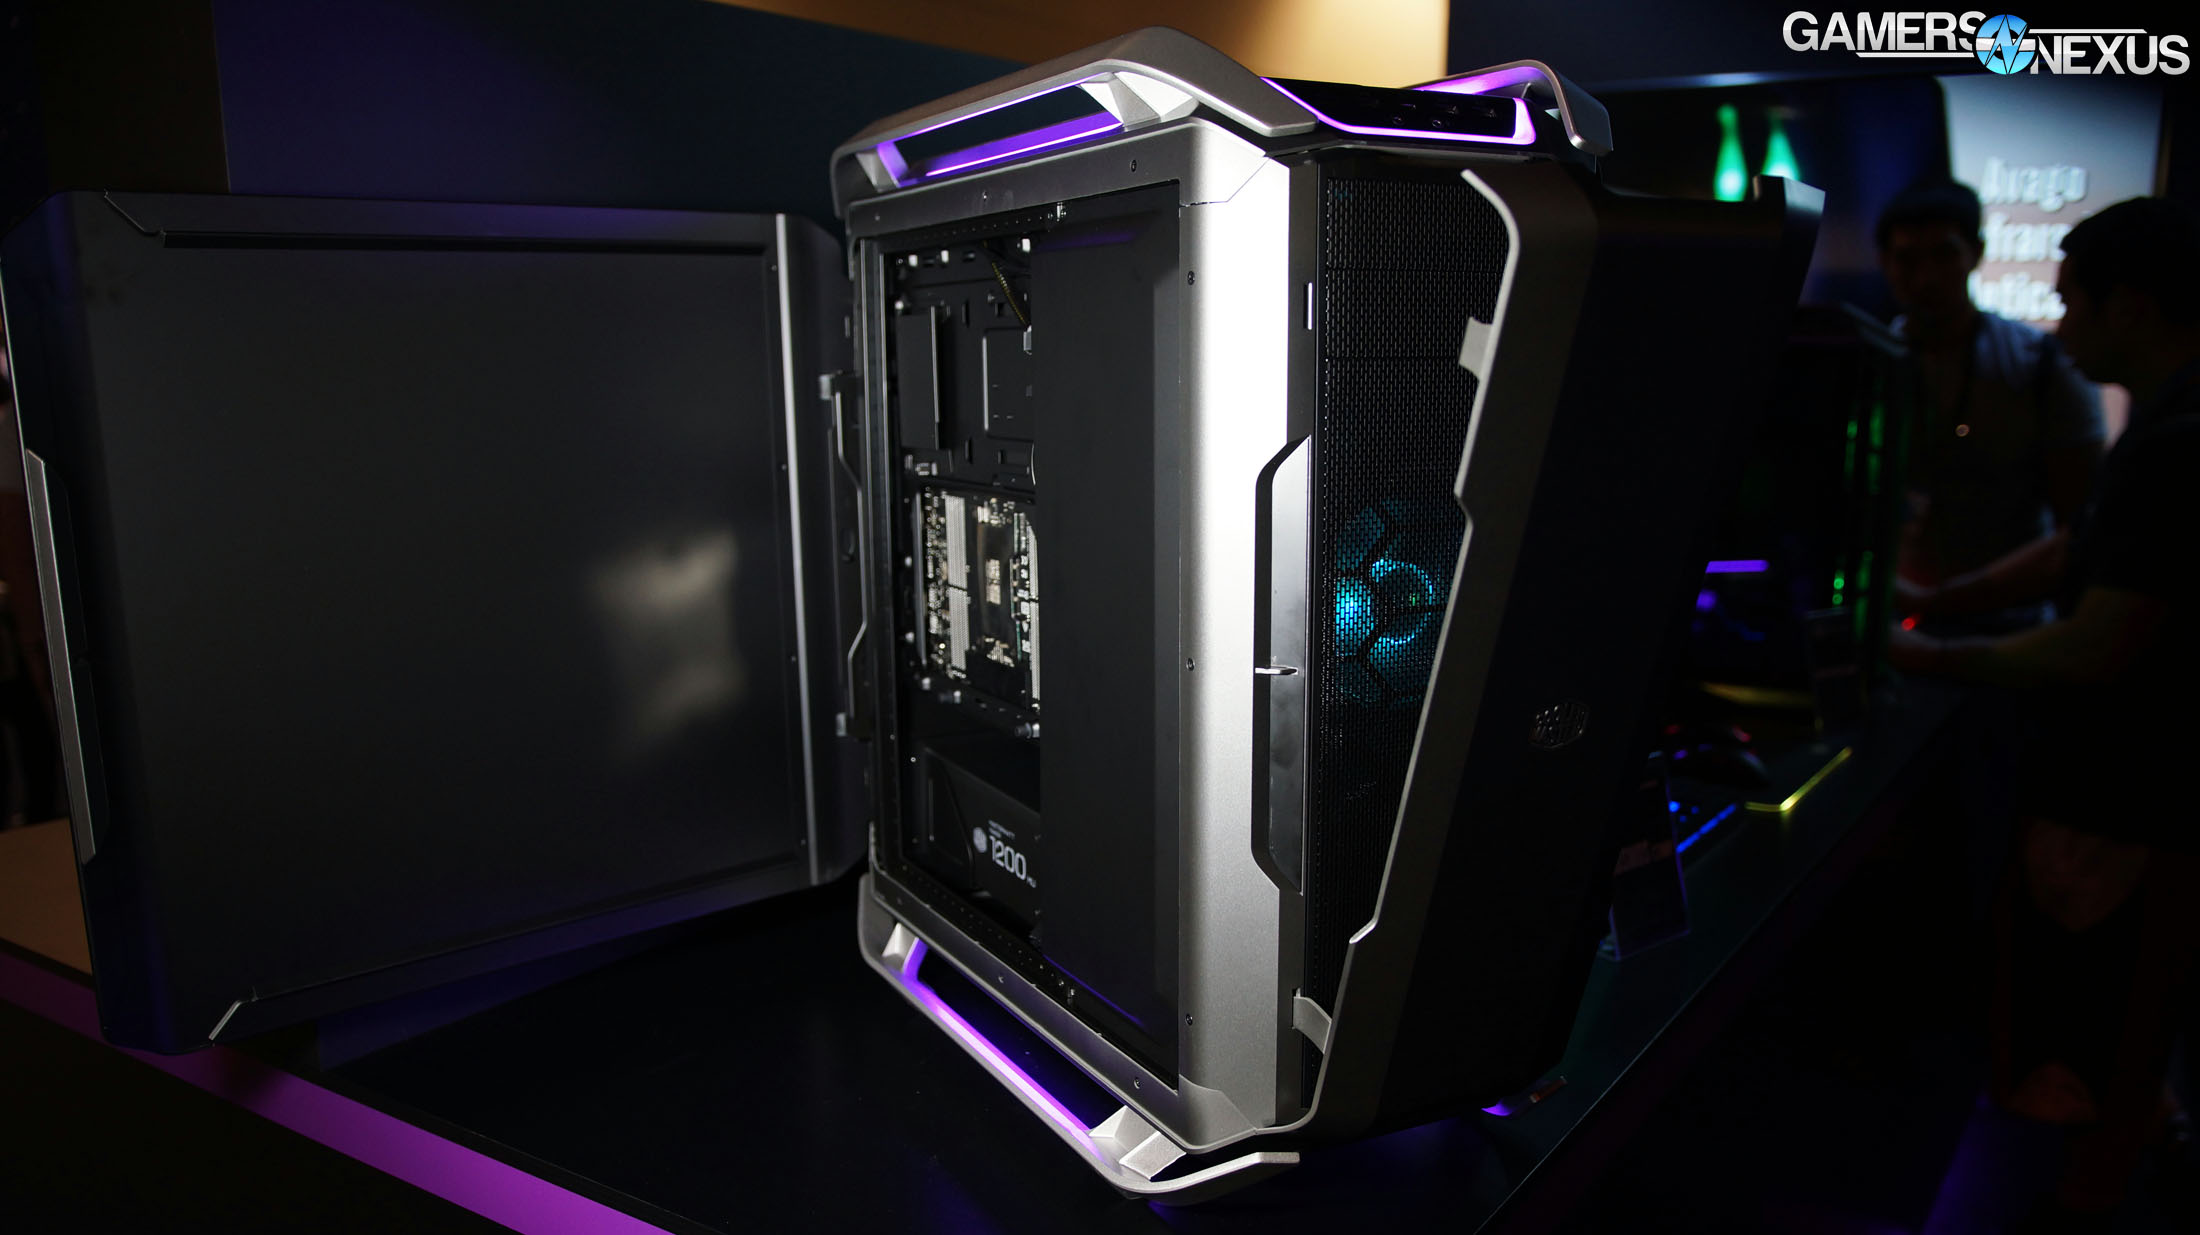
We ultimately left the PSU shroud out of the case – it would have made cable management a hell of a lot cleaner, but Cooler Master let us use their MIJ 1200W PSU, which is a $1000 80 Plus Titanium power supply. Being that this is definitively the best power supply we’ve laid hands on, it seemed wrong to hide it – so the PSU shroud was left off. The PSU would be powering the Threadripper build that Cooler Master and AMD provided: A 1950X, two RX 580s, and the ASUS Zenith X399 motherboard that we’ve recently praised highly. We would have liked to run two standalone PCIe connectors to the 580s, but neither is going to be drawing enough power under stock clocks to cause problems. For a show system, we cared more about the cable cleanliness.
We had to fight some tube length issues given the sheer size of the C700P – you’ll want something with longer tubes – but the upshot is that we did get to try both the top and front mounting orientations. For the top, Cooler Master uses a removable cage for mounting fans and radiators, which we ultimately used for three 140mm fans. My teammate mounted the radiator front-side while I handled the fans and video cards. Front-side, the front panel and dust filtration panel are both removed by a light pull, and grant immediate access to the radiator mounting cage. As for the video cards, those were oriented with the shroud upward, part of our decision to invert the layout. The downside to the layout was an upside-down CLC logo, but upward-facing GPUs gave us something different to look at. We’ve worked with inverted cases in the Raven 02 and Corsair 600C in the past, each of which received critical acclaim on GamersNexus.
As we got this far into the build, having fought a Threadripper socket that didn’t want to thread, tube length, and cable length, we realized that we now had a huge mess of cables to try and conceal. This was the nature of a time-pressured build, where we were cutting corners to get done in time for our Shadow of War meeting (side note: did not make it in time). Fortunately, cable management was easy – we salvaged Velcro ties from the $1000 PSU and tidied it all up, then Wei came in and stuck the cable shroud on. With the help of this shroud and cable management, the back-side was nearly spotless of cables. The power supply shroud definitely could have helped the front side, and we did have five RGB fan headers going into the board, so that didn’t help either. Still, for such a quick build and for how large the case is – which means more direct and more visible cable runs – the result wasn’t bad. This case manages cables easily. The cable management bar in the rear is particularly useful, and is where we bound the cable bundles.
As for challenges, well, most of them revolved around the environment. The case-specific challenges included short cable runs on the rear-panel RGB hub, which didn’t quite reach when we inverted the motherboard tray. We probably could have made it work eventually, but we’d like to see Cooler Master add another inch to that cable run. We aren’t sure if Cooler Master is planning to do this already, but it might also be wise to include a couple of 8-pin EPS12V extenders for normal orientations, as the cable length will be long. Two would be ideal, given X299 & X399 power configurations. NZXT previously did this with the Phantom 820, and we’ve since been fans of the idea for full towers. The last major challenge was just the motherboard inversion process – it’s a good chunk of time to get right, and there’s some finagling that’ll happen along the way, but the result is worth it. Just budget an extra 30-40 minutes to get it perfect. Tube length should be a consideration for closed loop coolers. This isn’t a fault of the case, it’s just the reality of a full tower. Be aware of tube length. We’ll try to measure optimal lengths once we have one in for full review.
The case itself came together nicely, and being primarily full tower users at GN, we’re looking forward to reviewing it properly. Thermals will be particularly interesting – the front intake is largely blocked-off, but the case is also massive, and there’s plenty of breathing room in the bottom. The sheer size of the case will benefit thermals, just by way of getting thermal mass farther away from the components.
We’re mostly at review status already, we just need some thermals and noise tests. That’ll come eventually. For now, our thanks to everyone who came by and witnessed the build at PAX West 2017! Release is September 28, price is $300.
Editorial: Steve Burke
Video: Andrew Coleman
Special thanks: Wei Yang of Cooler Master